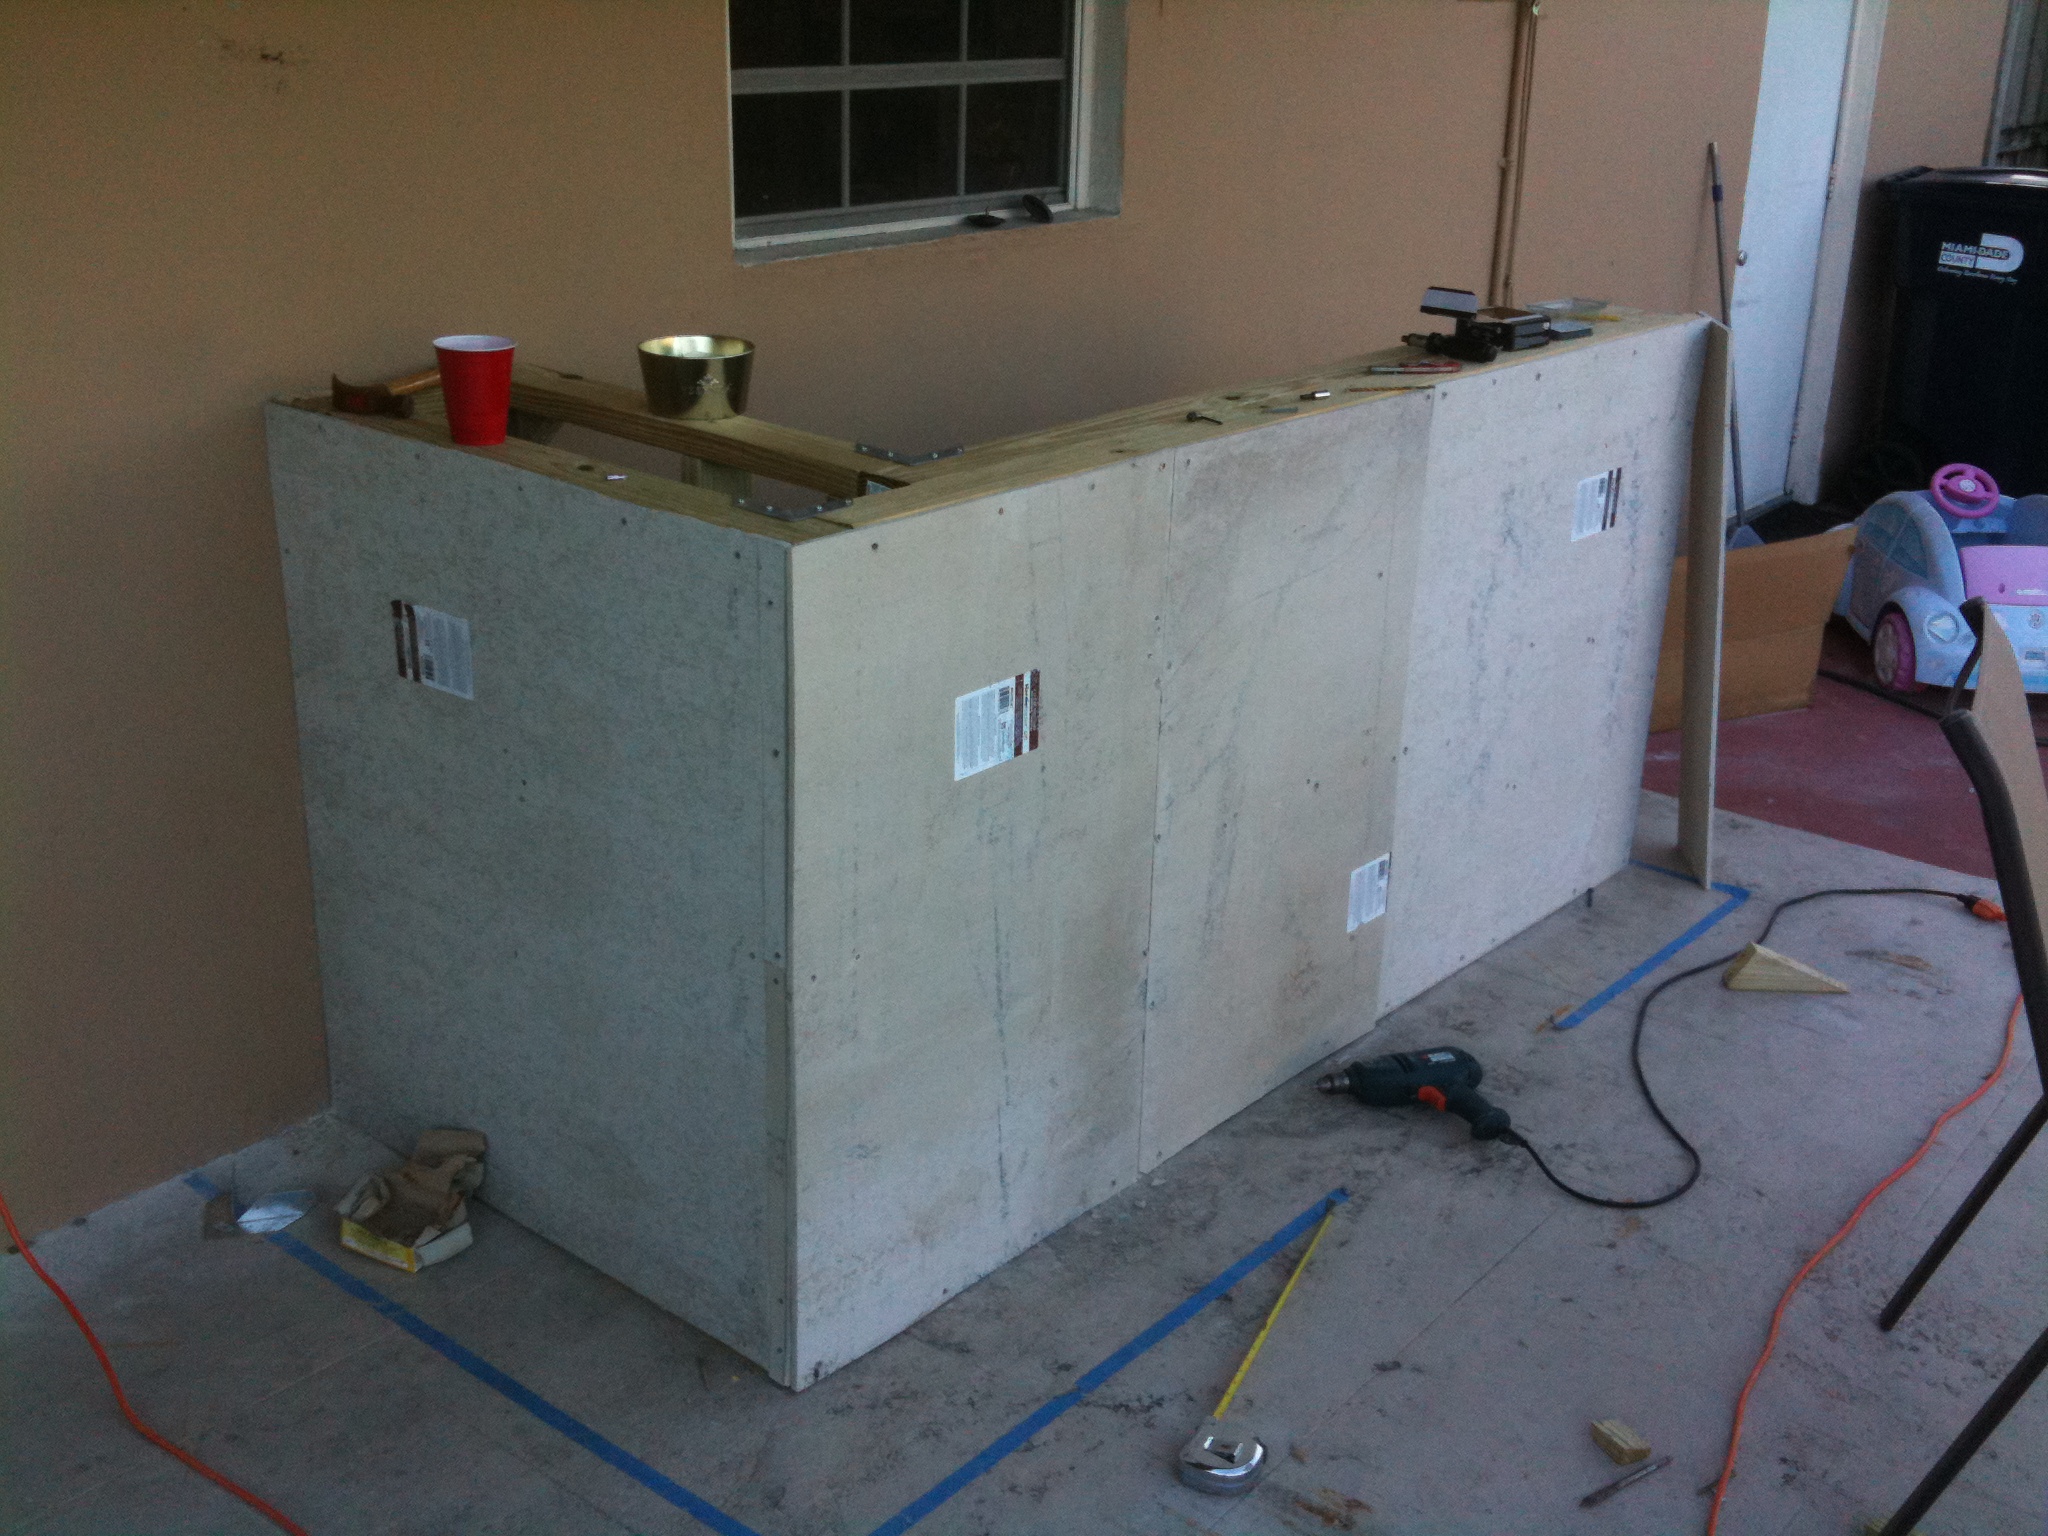
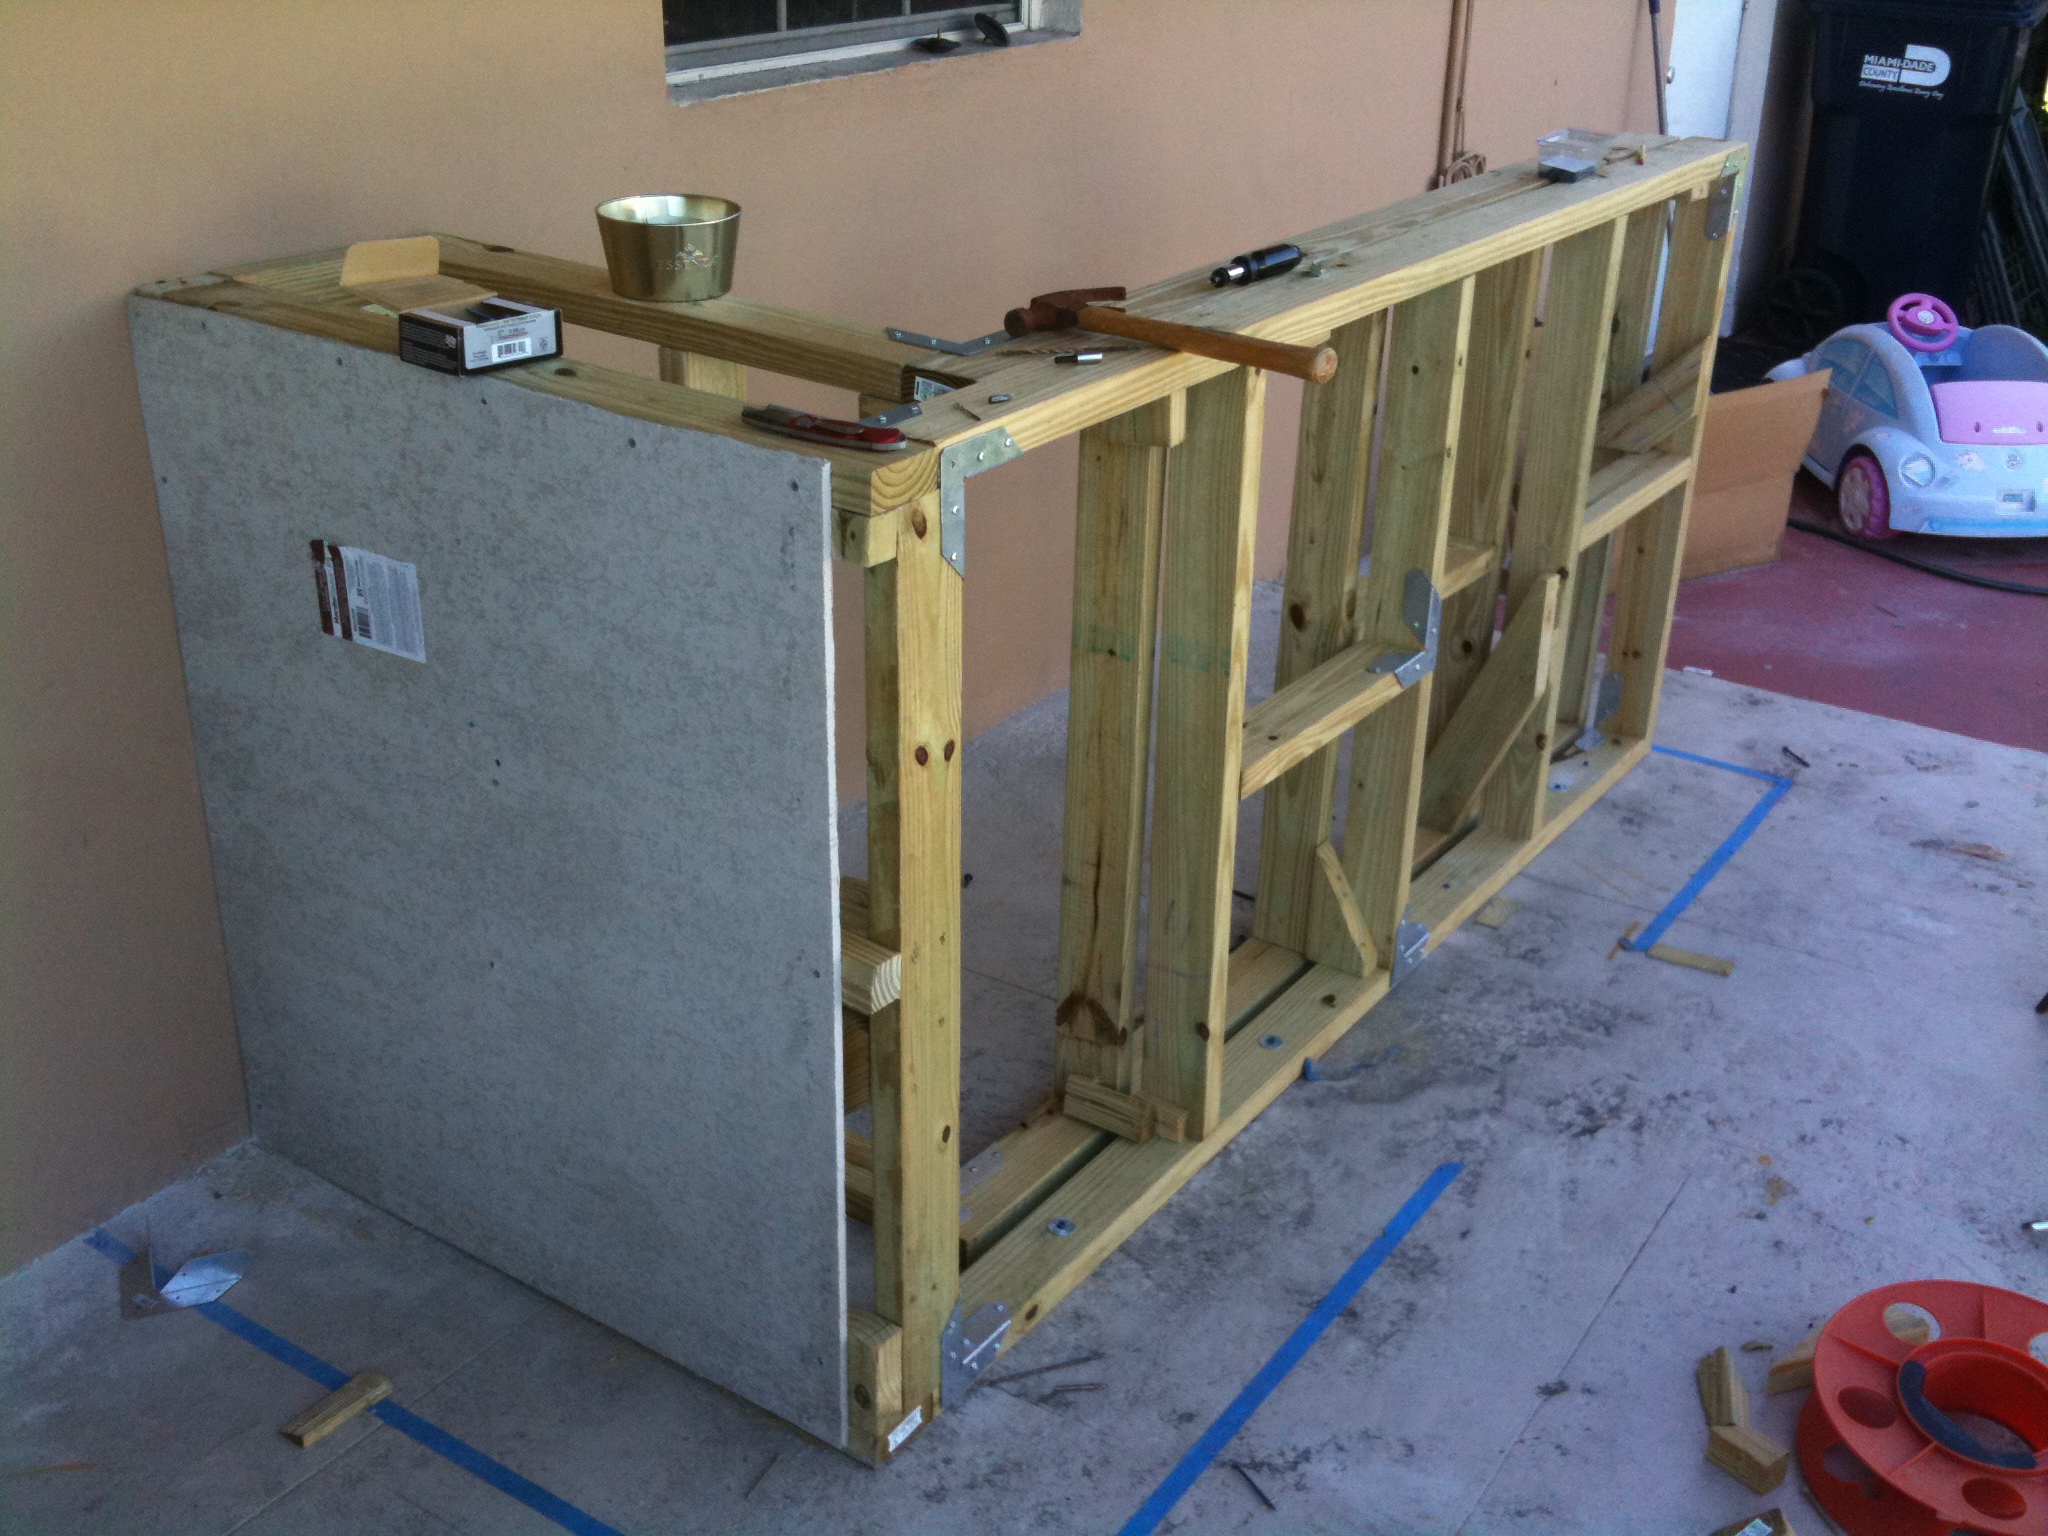
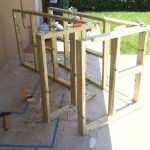
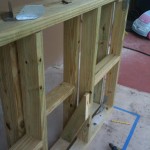
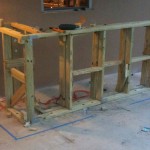
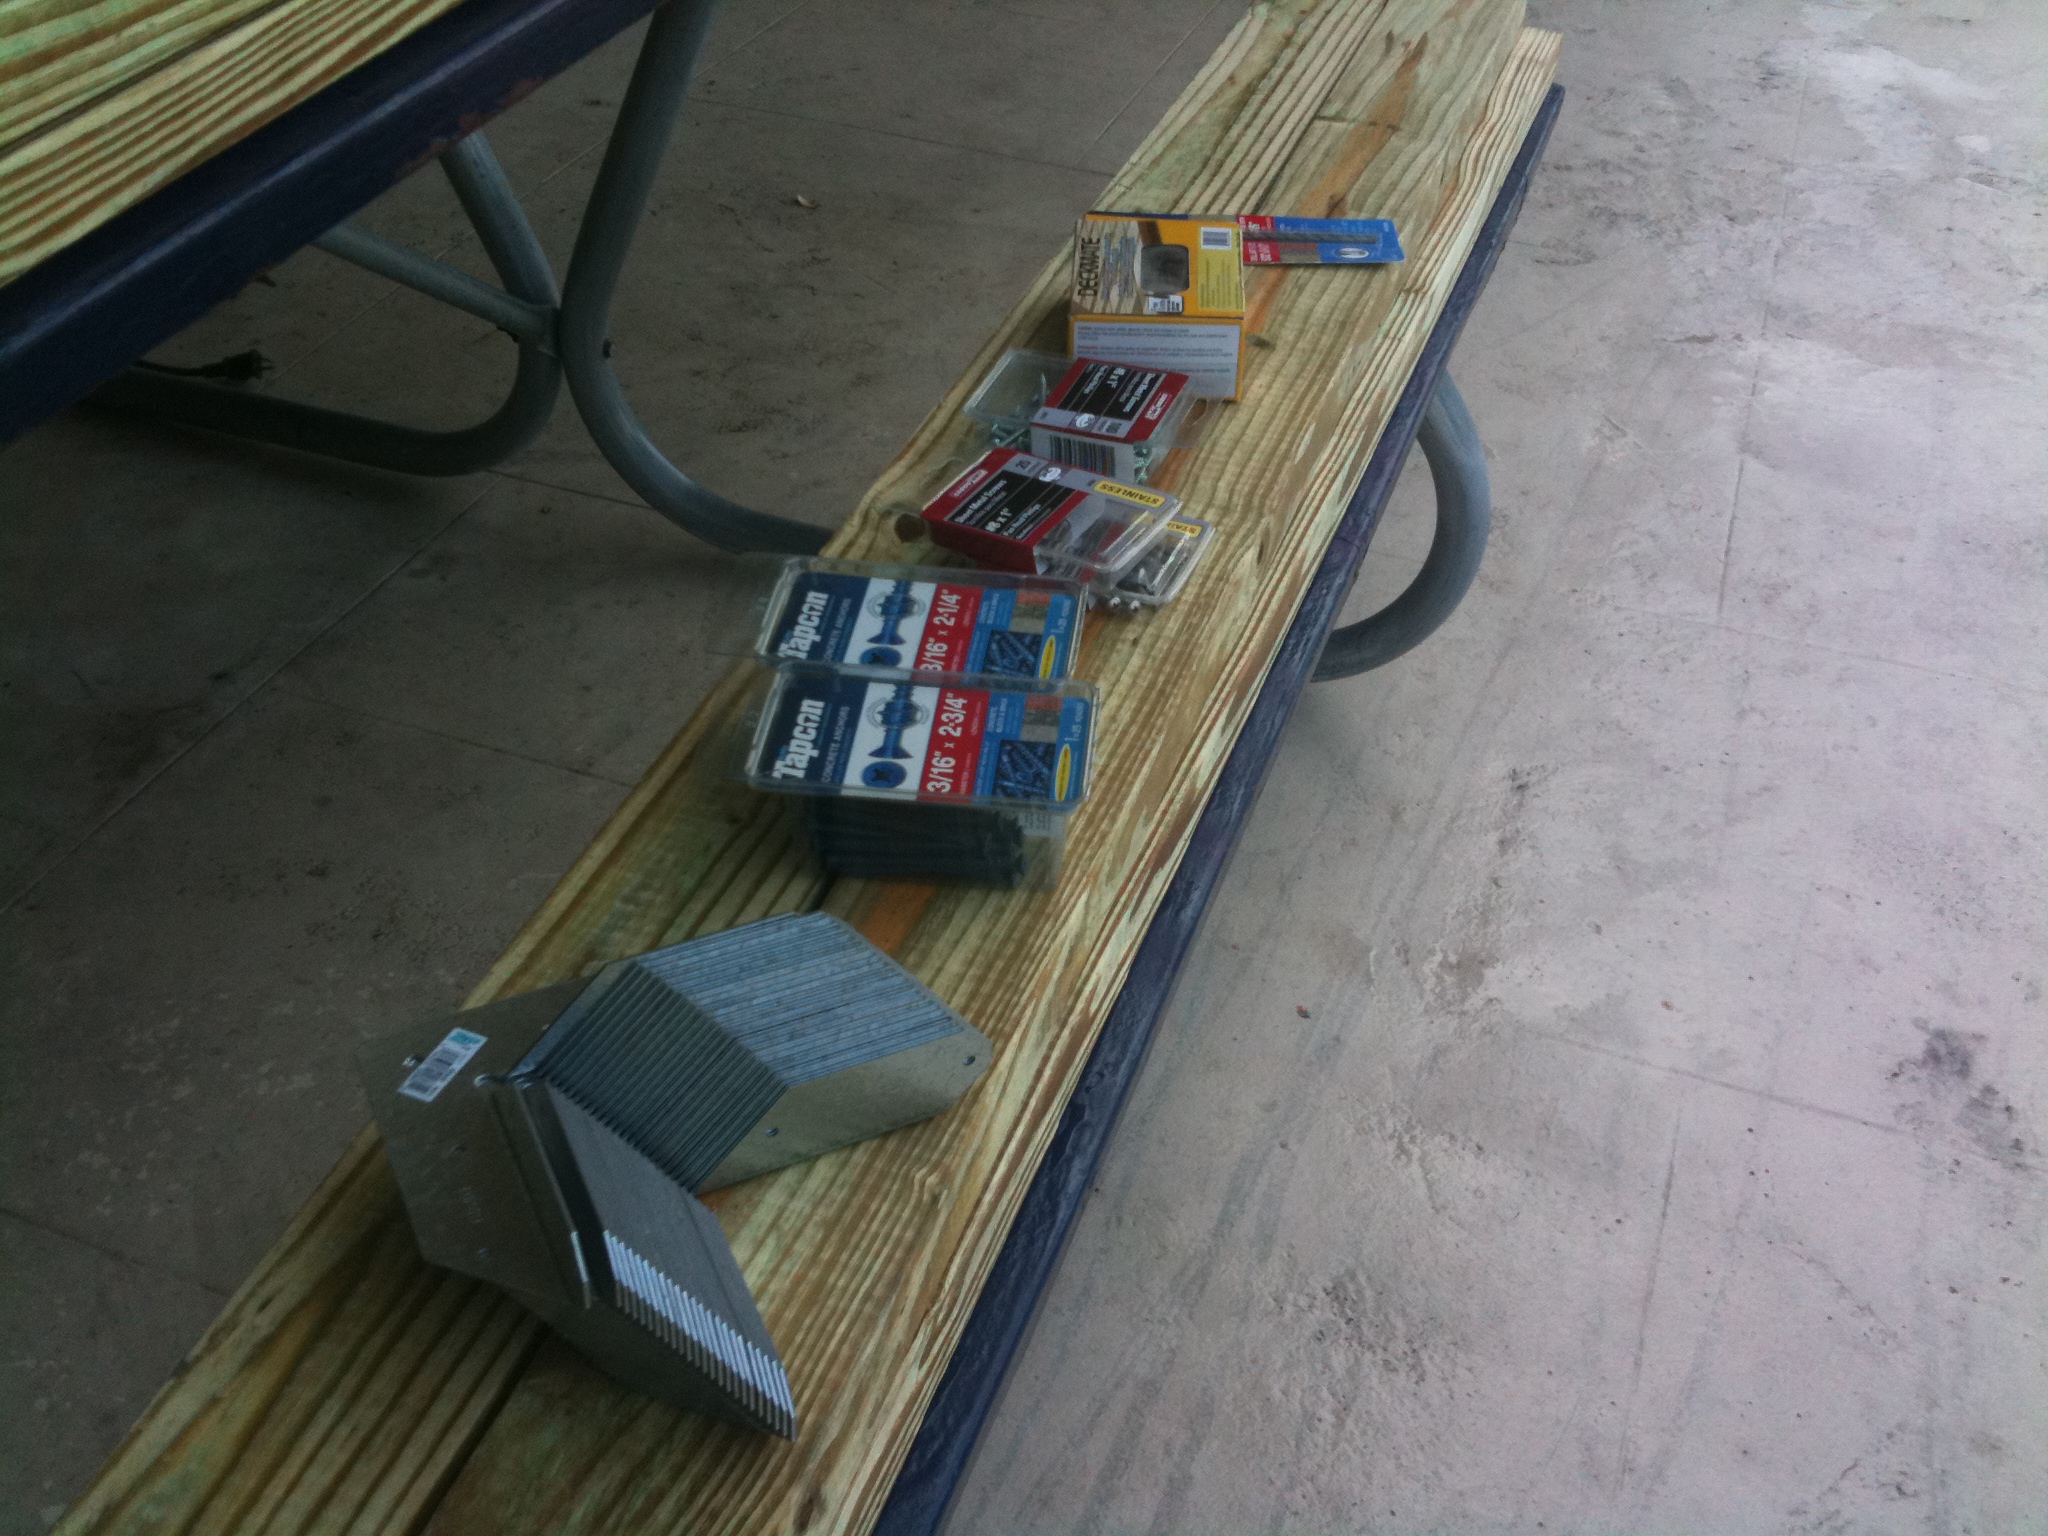
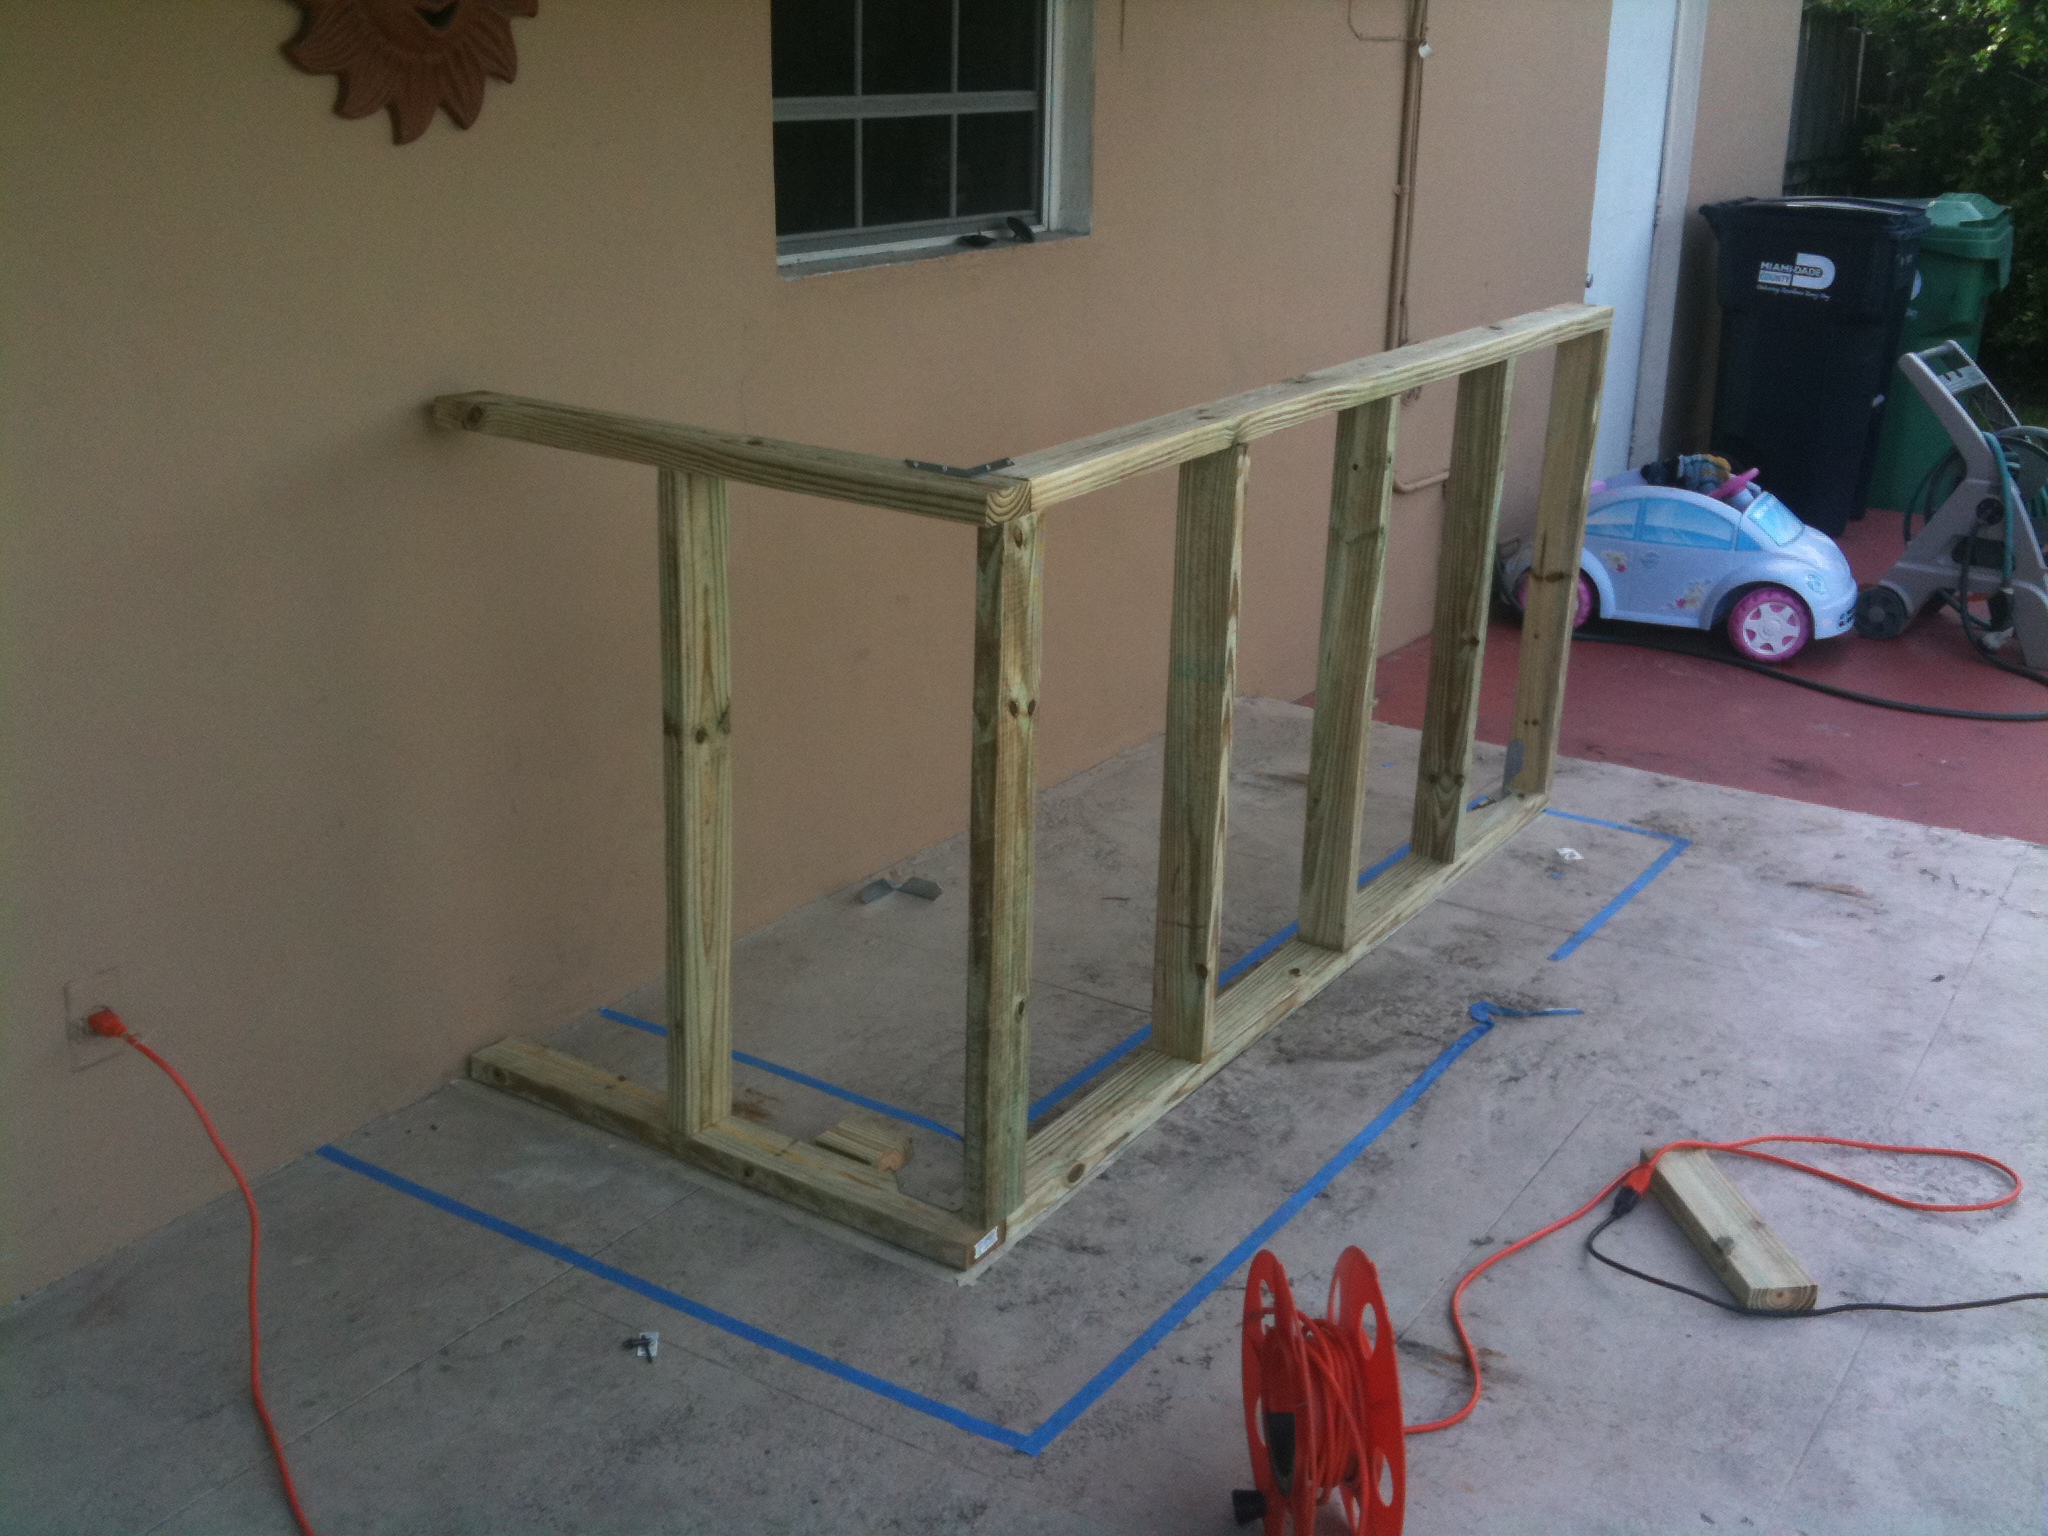
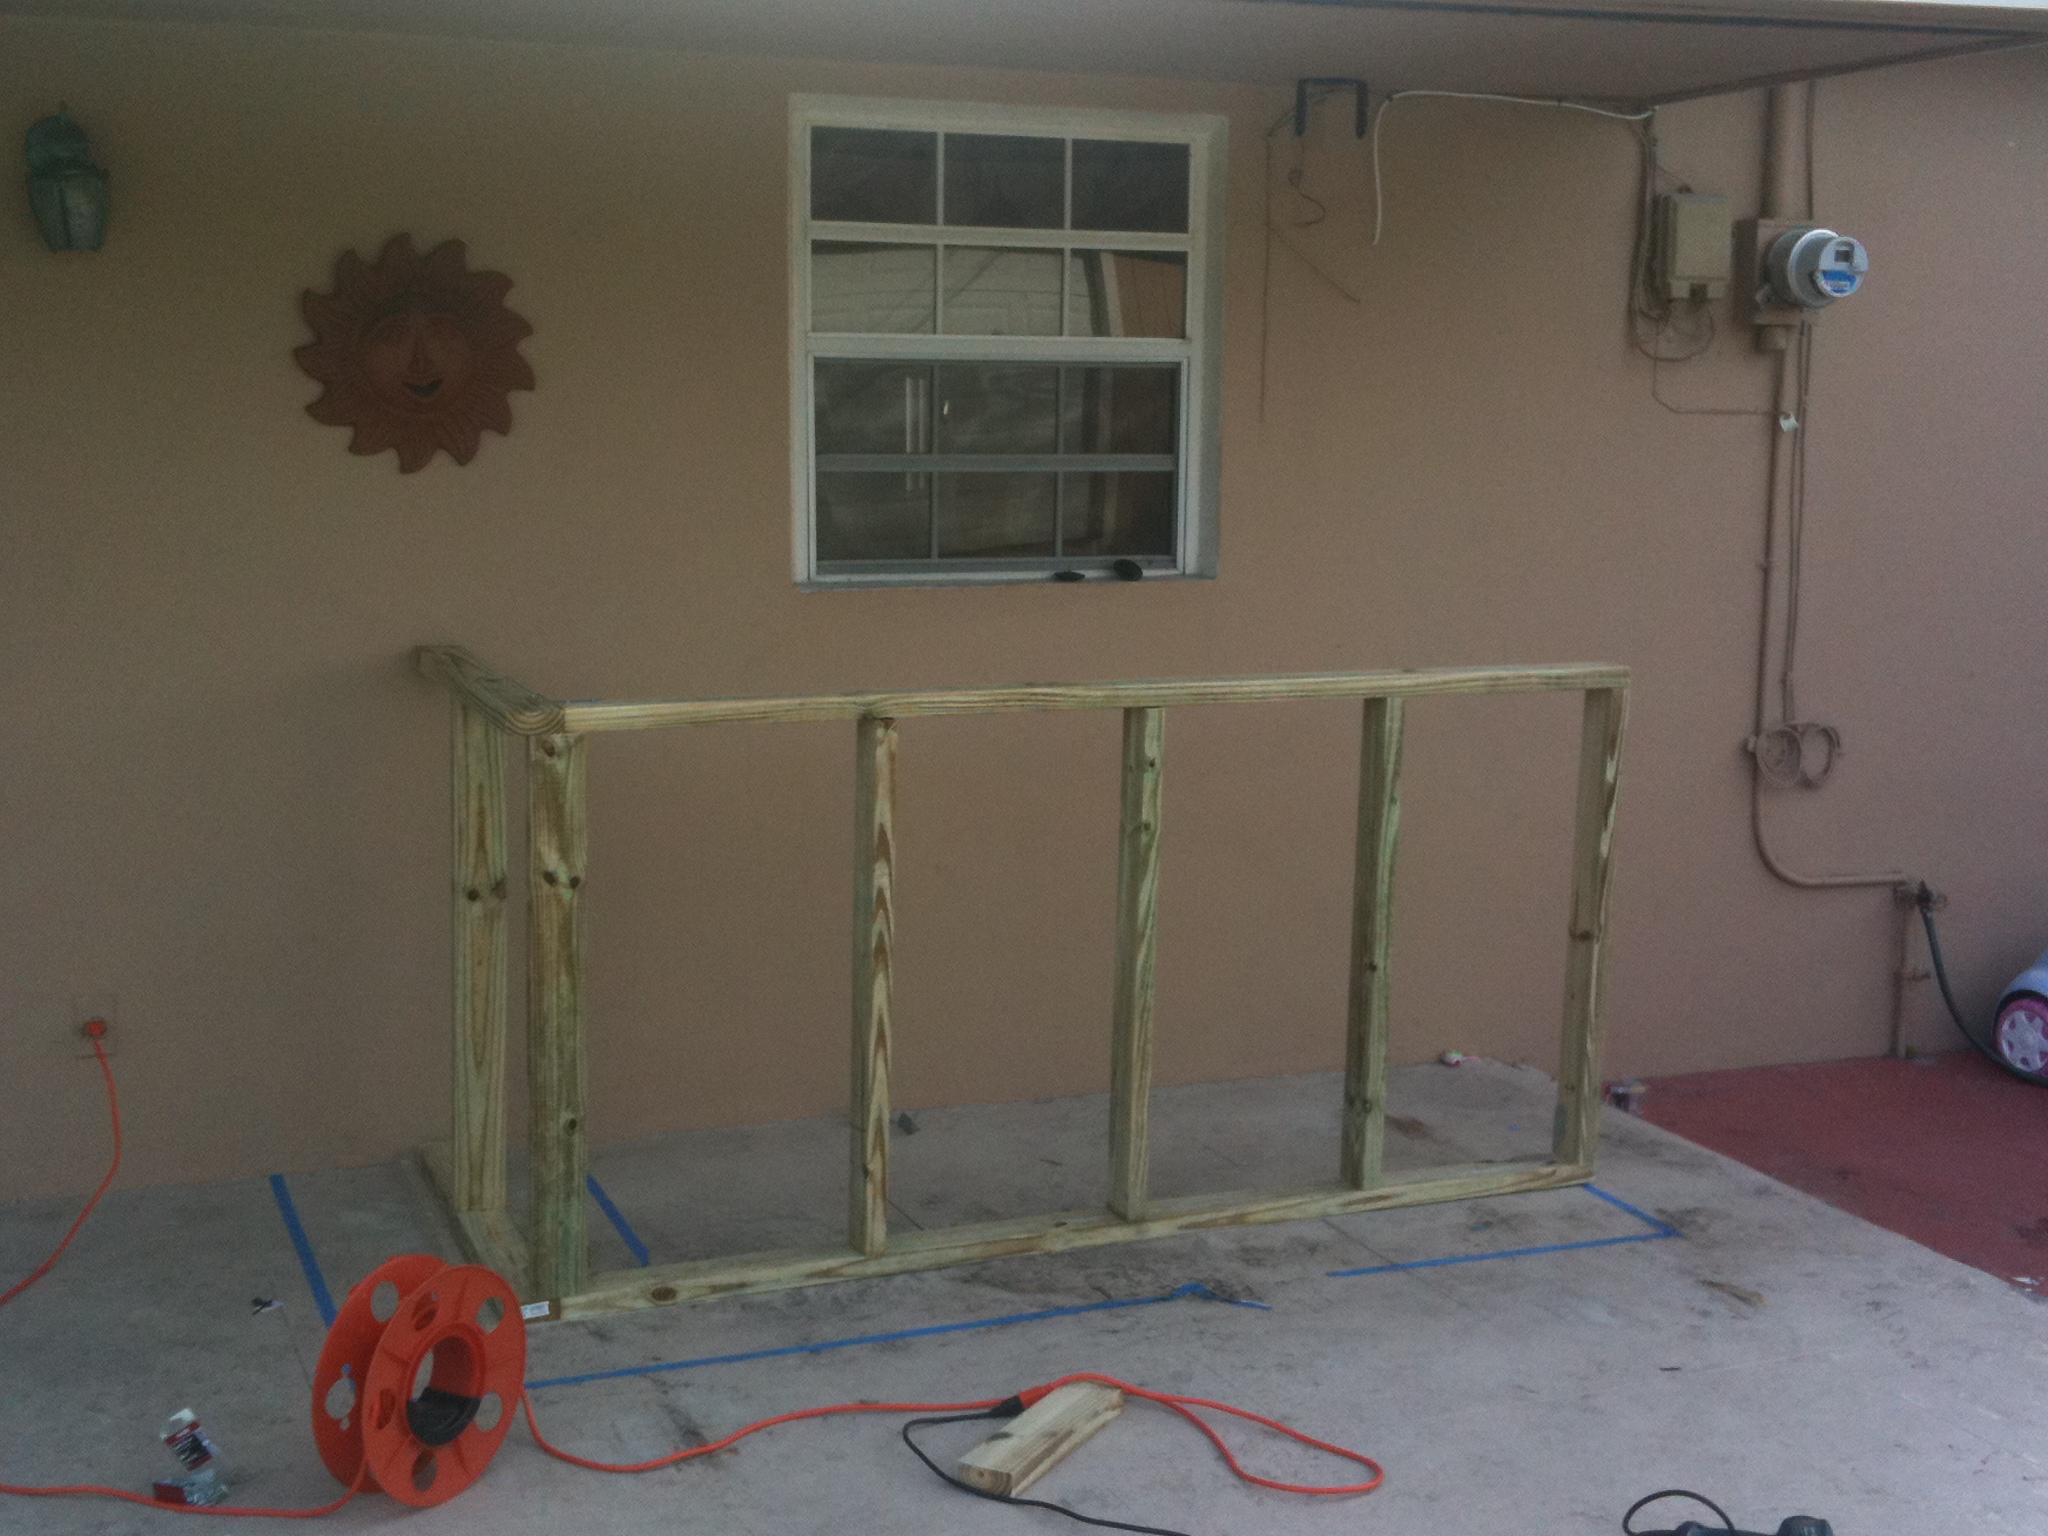
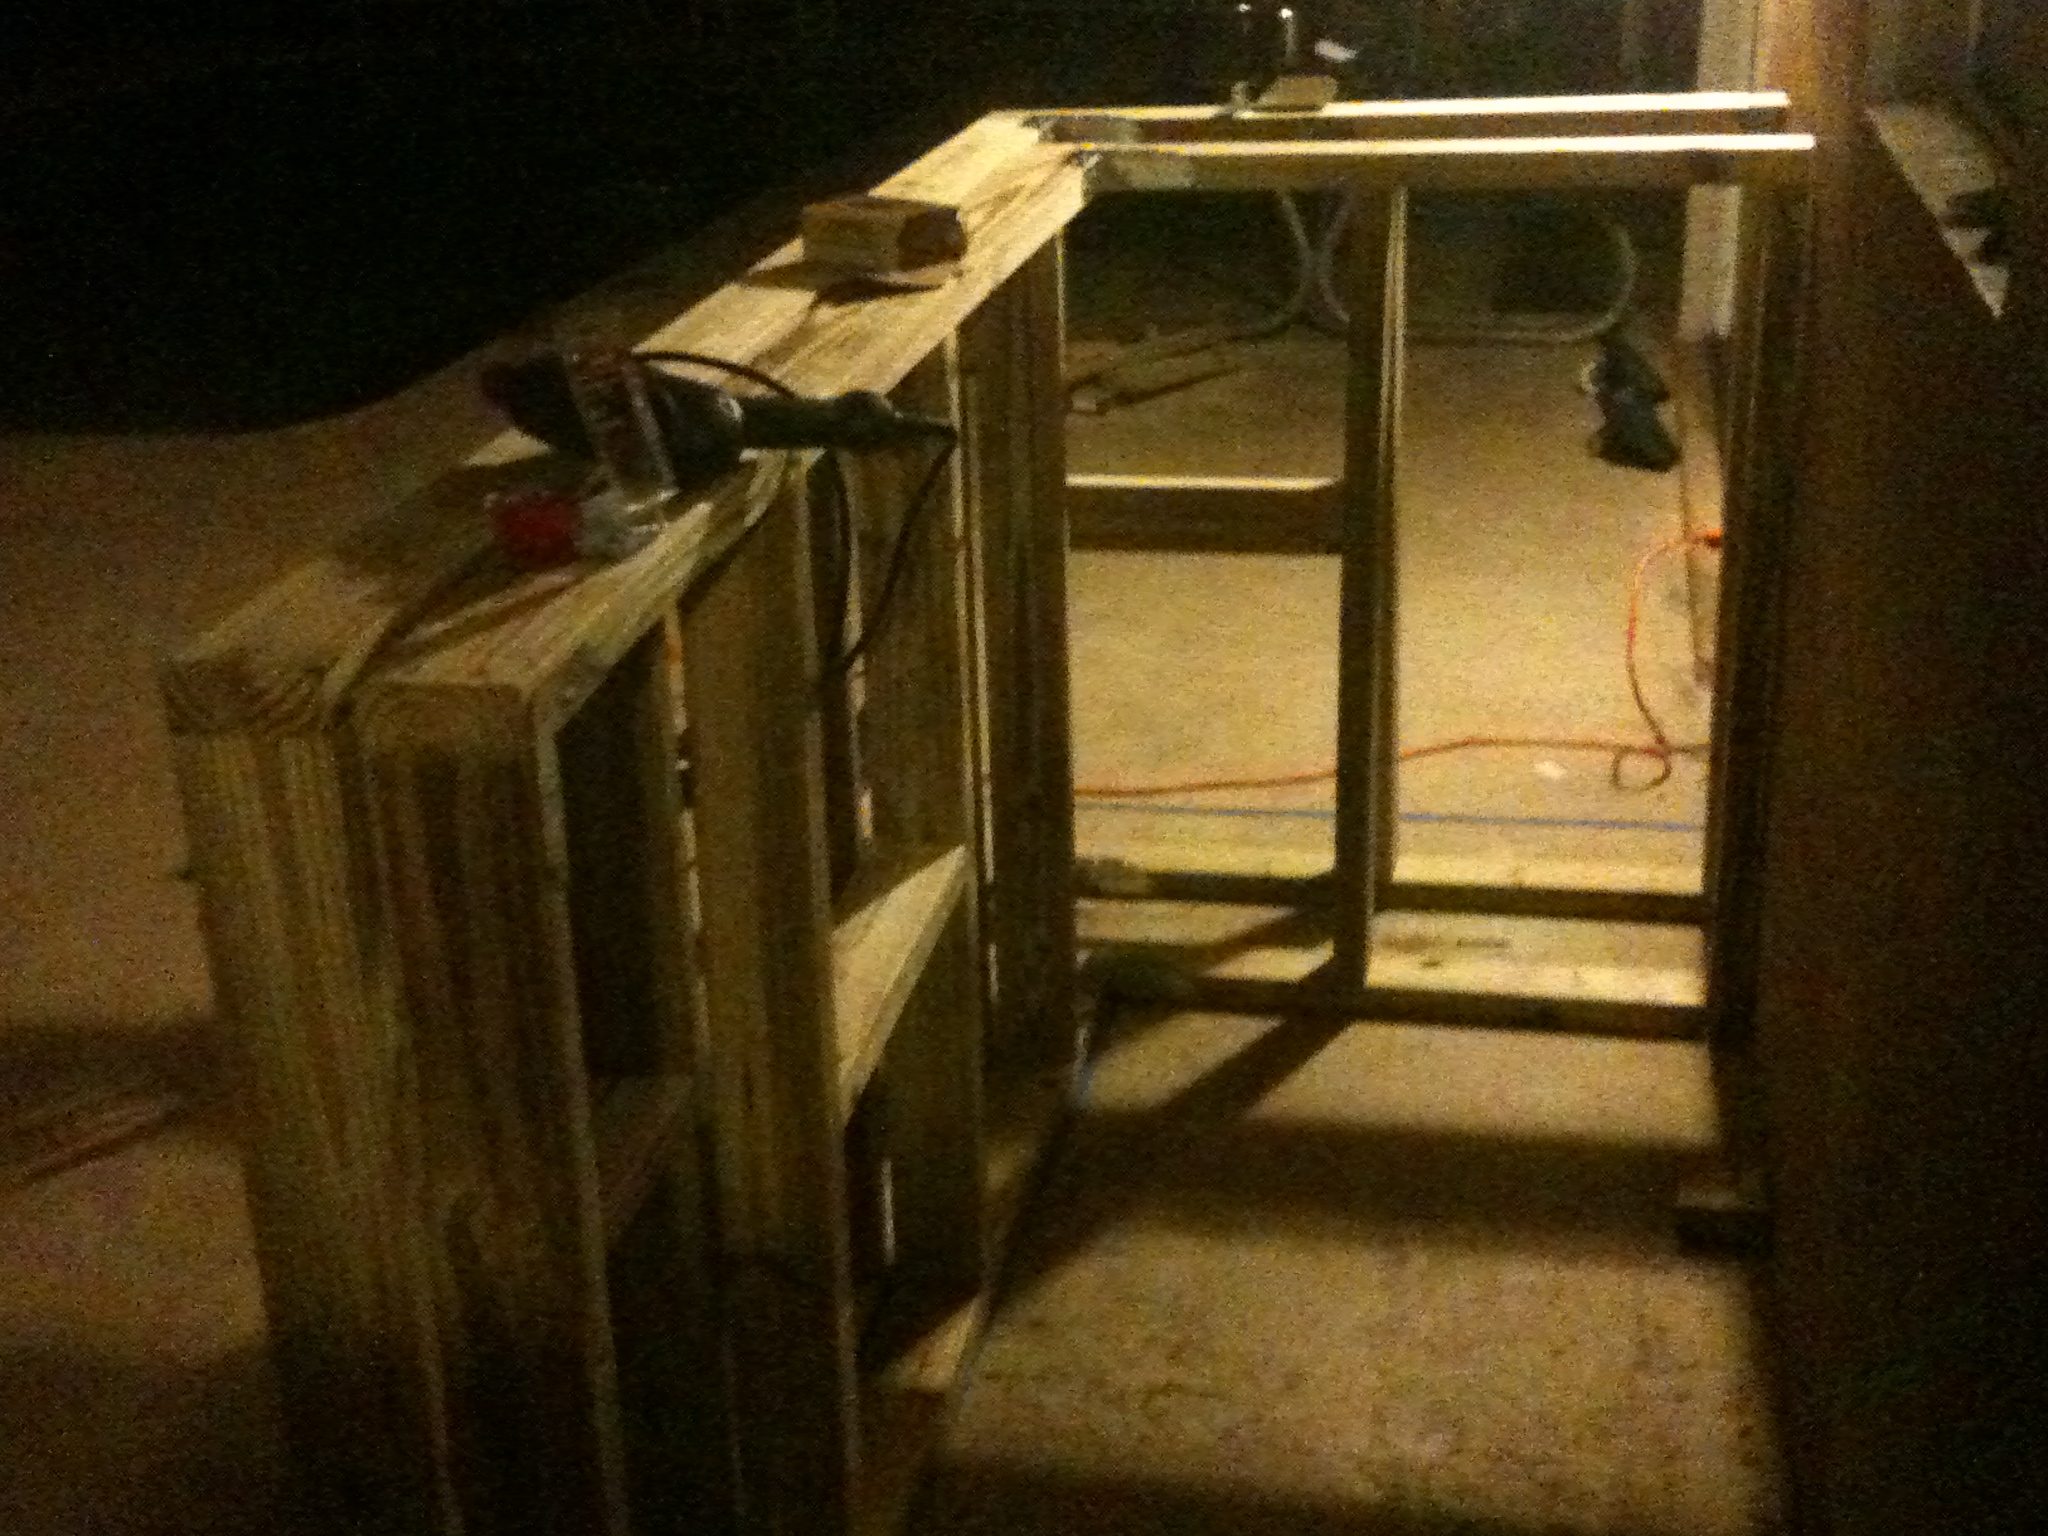
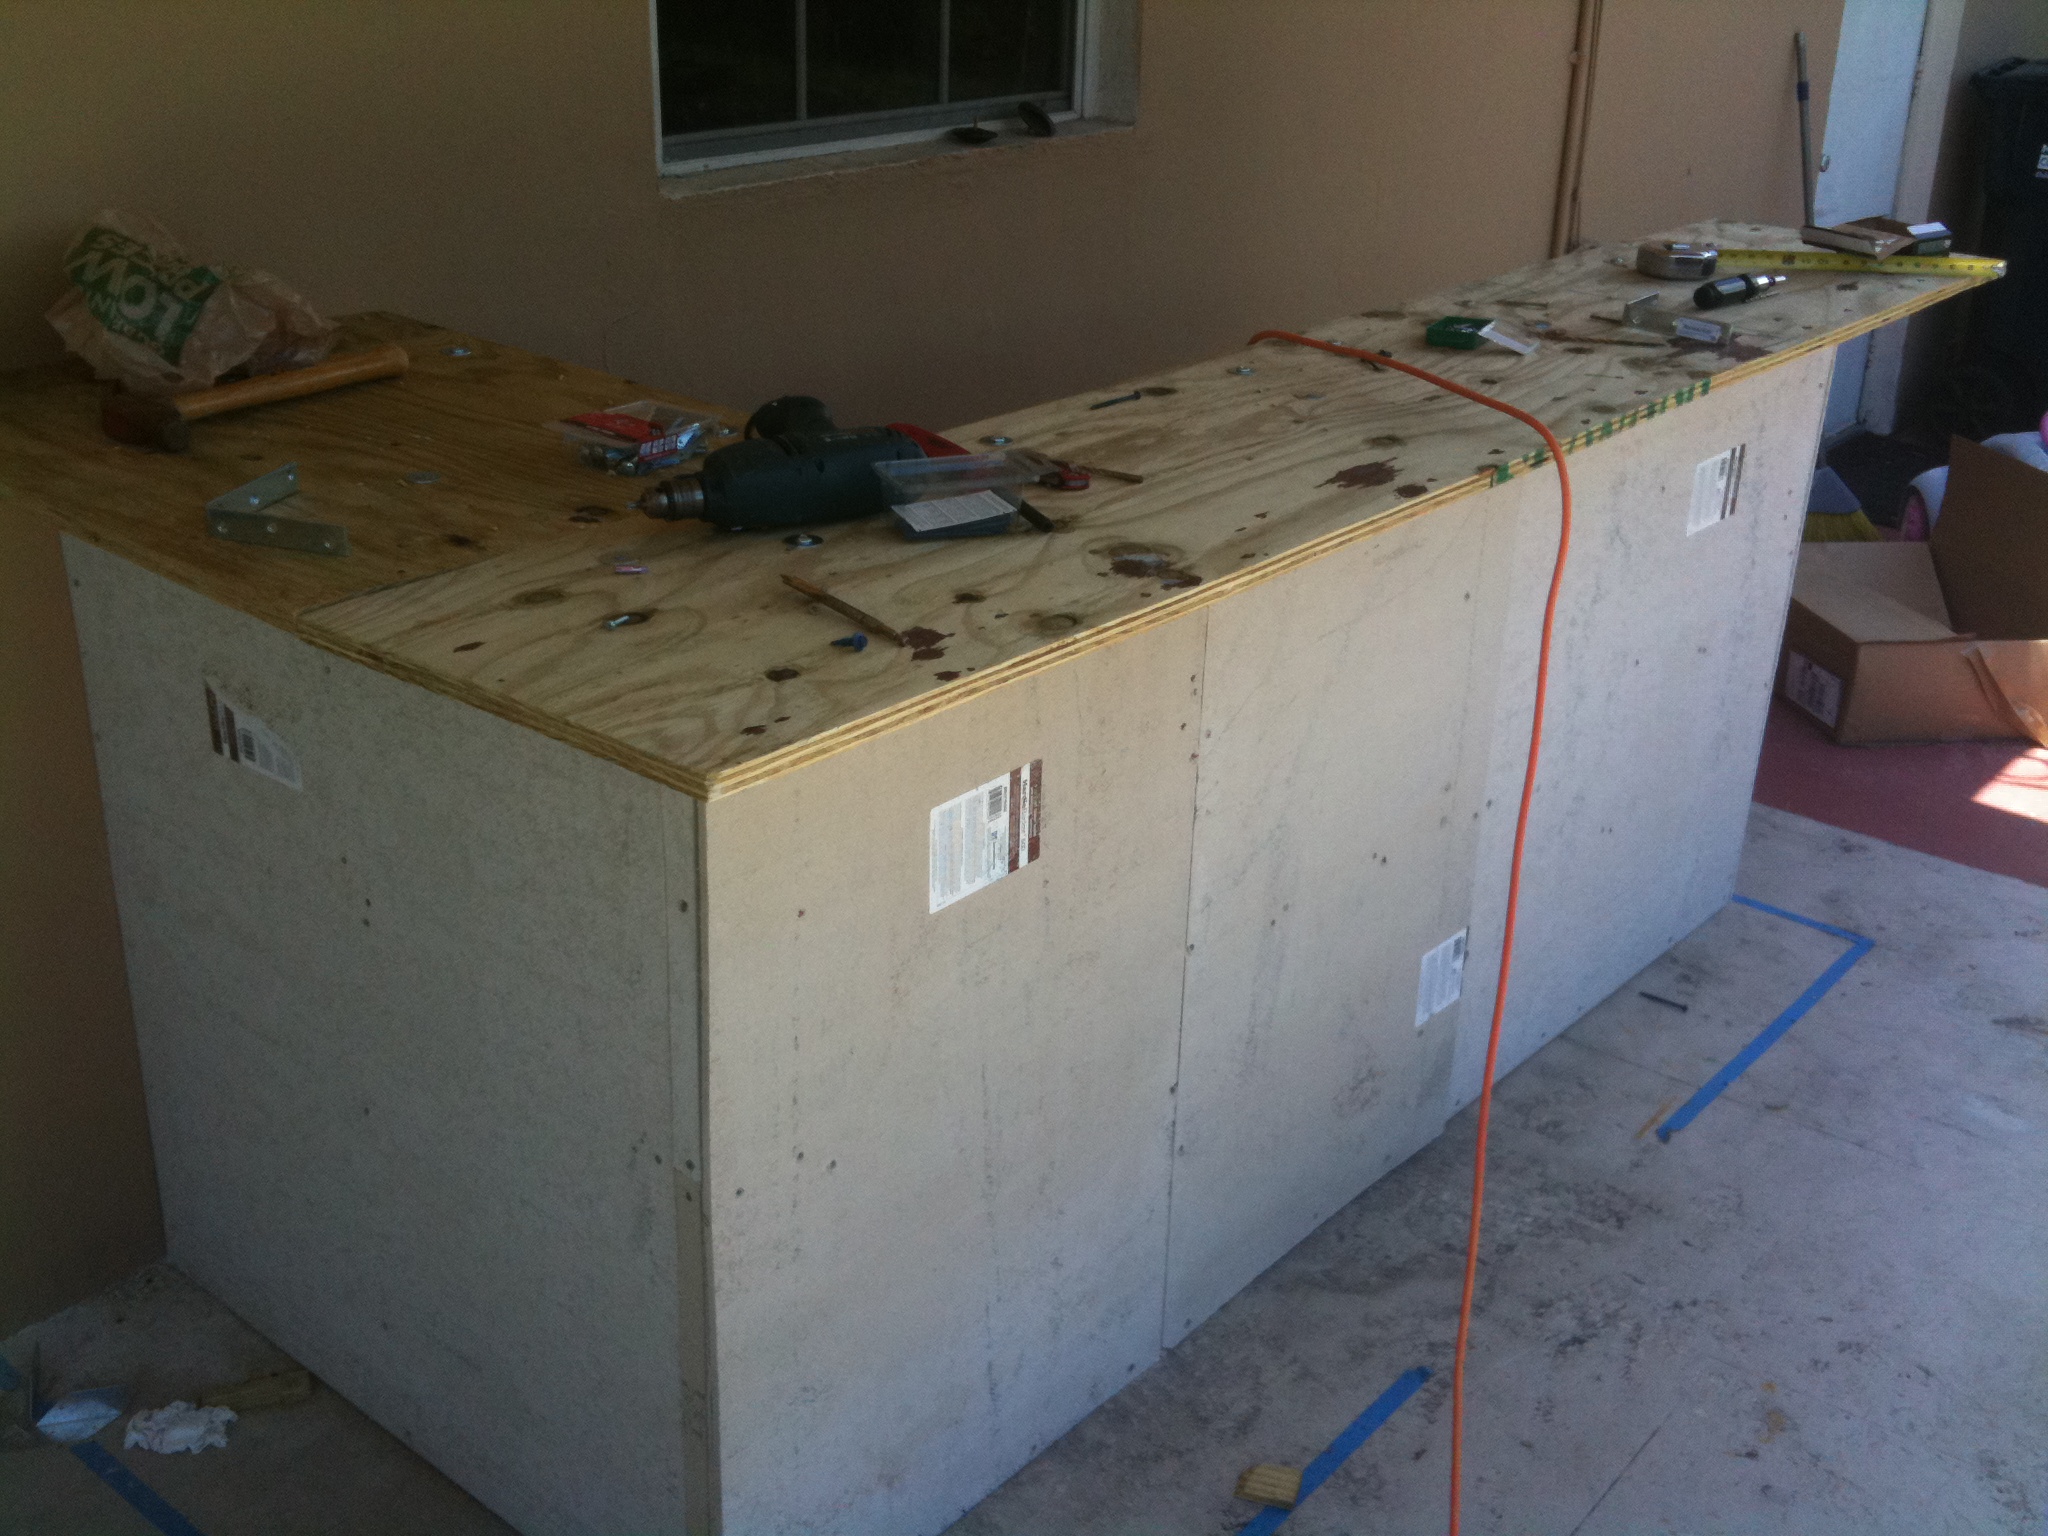
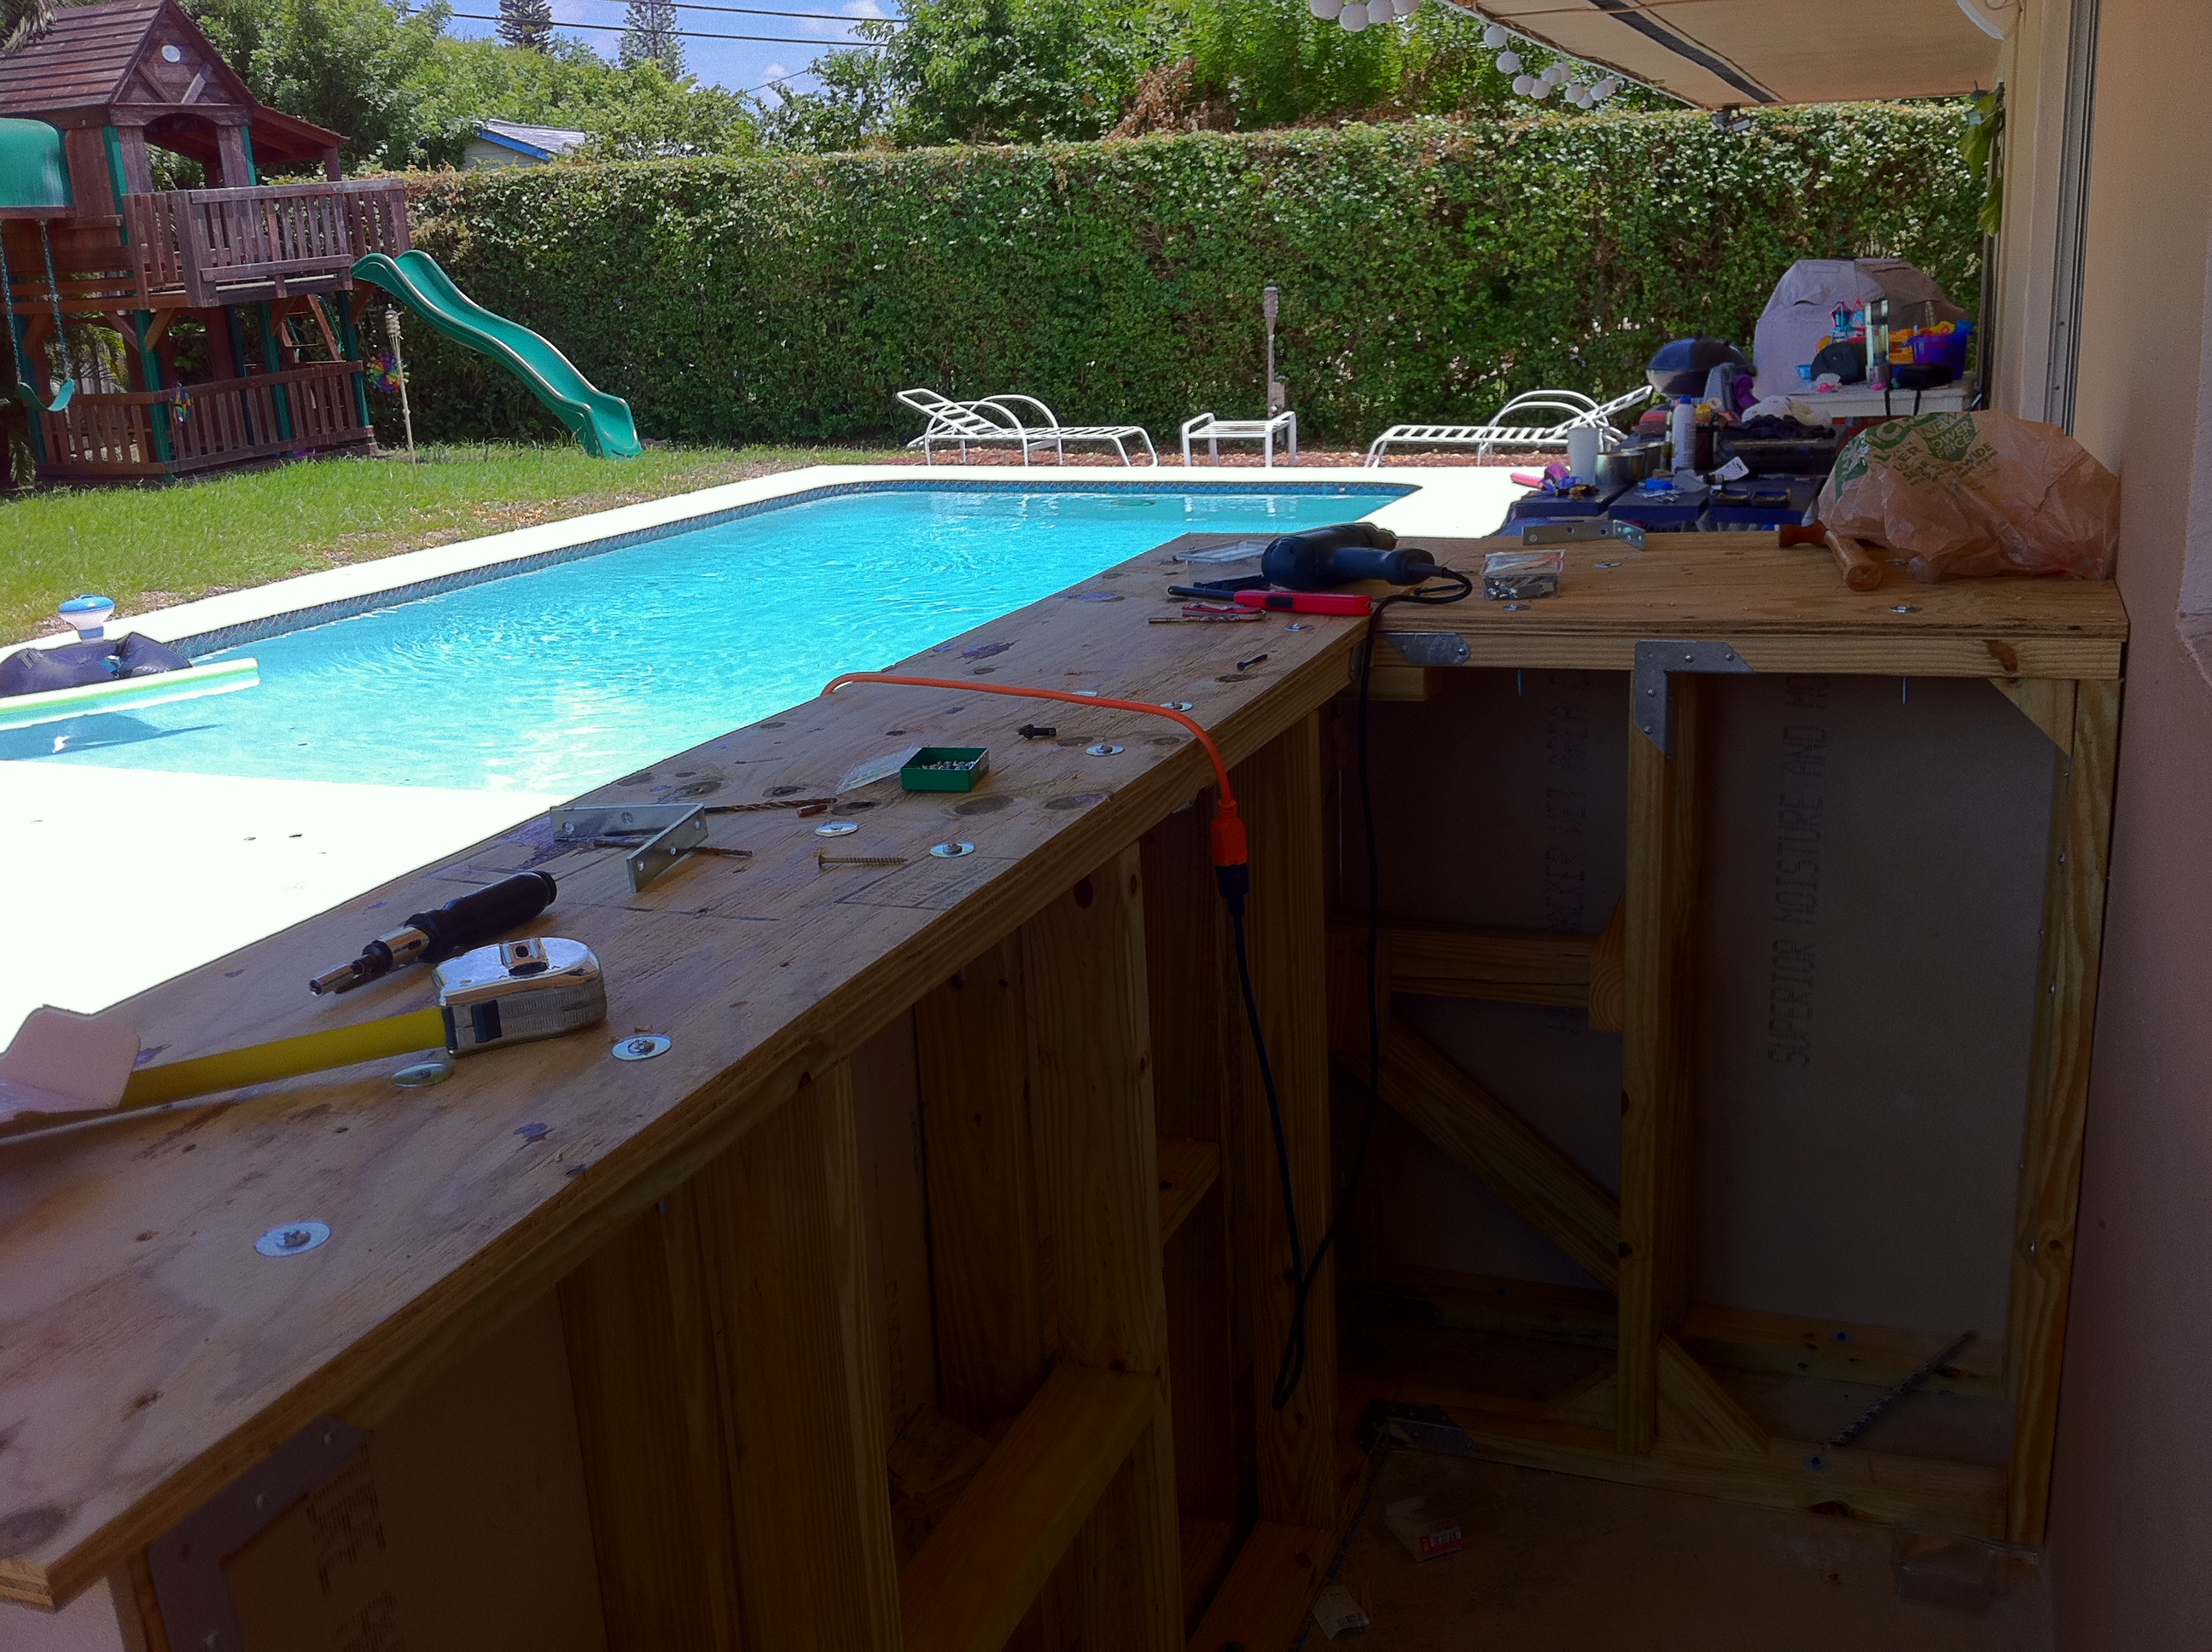
Of course, all bars need a top. Where all the magic happens. Well, at least where the elixirs that make the magic happen are consumed!
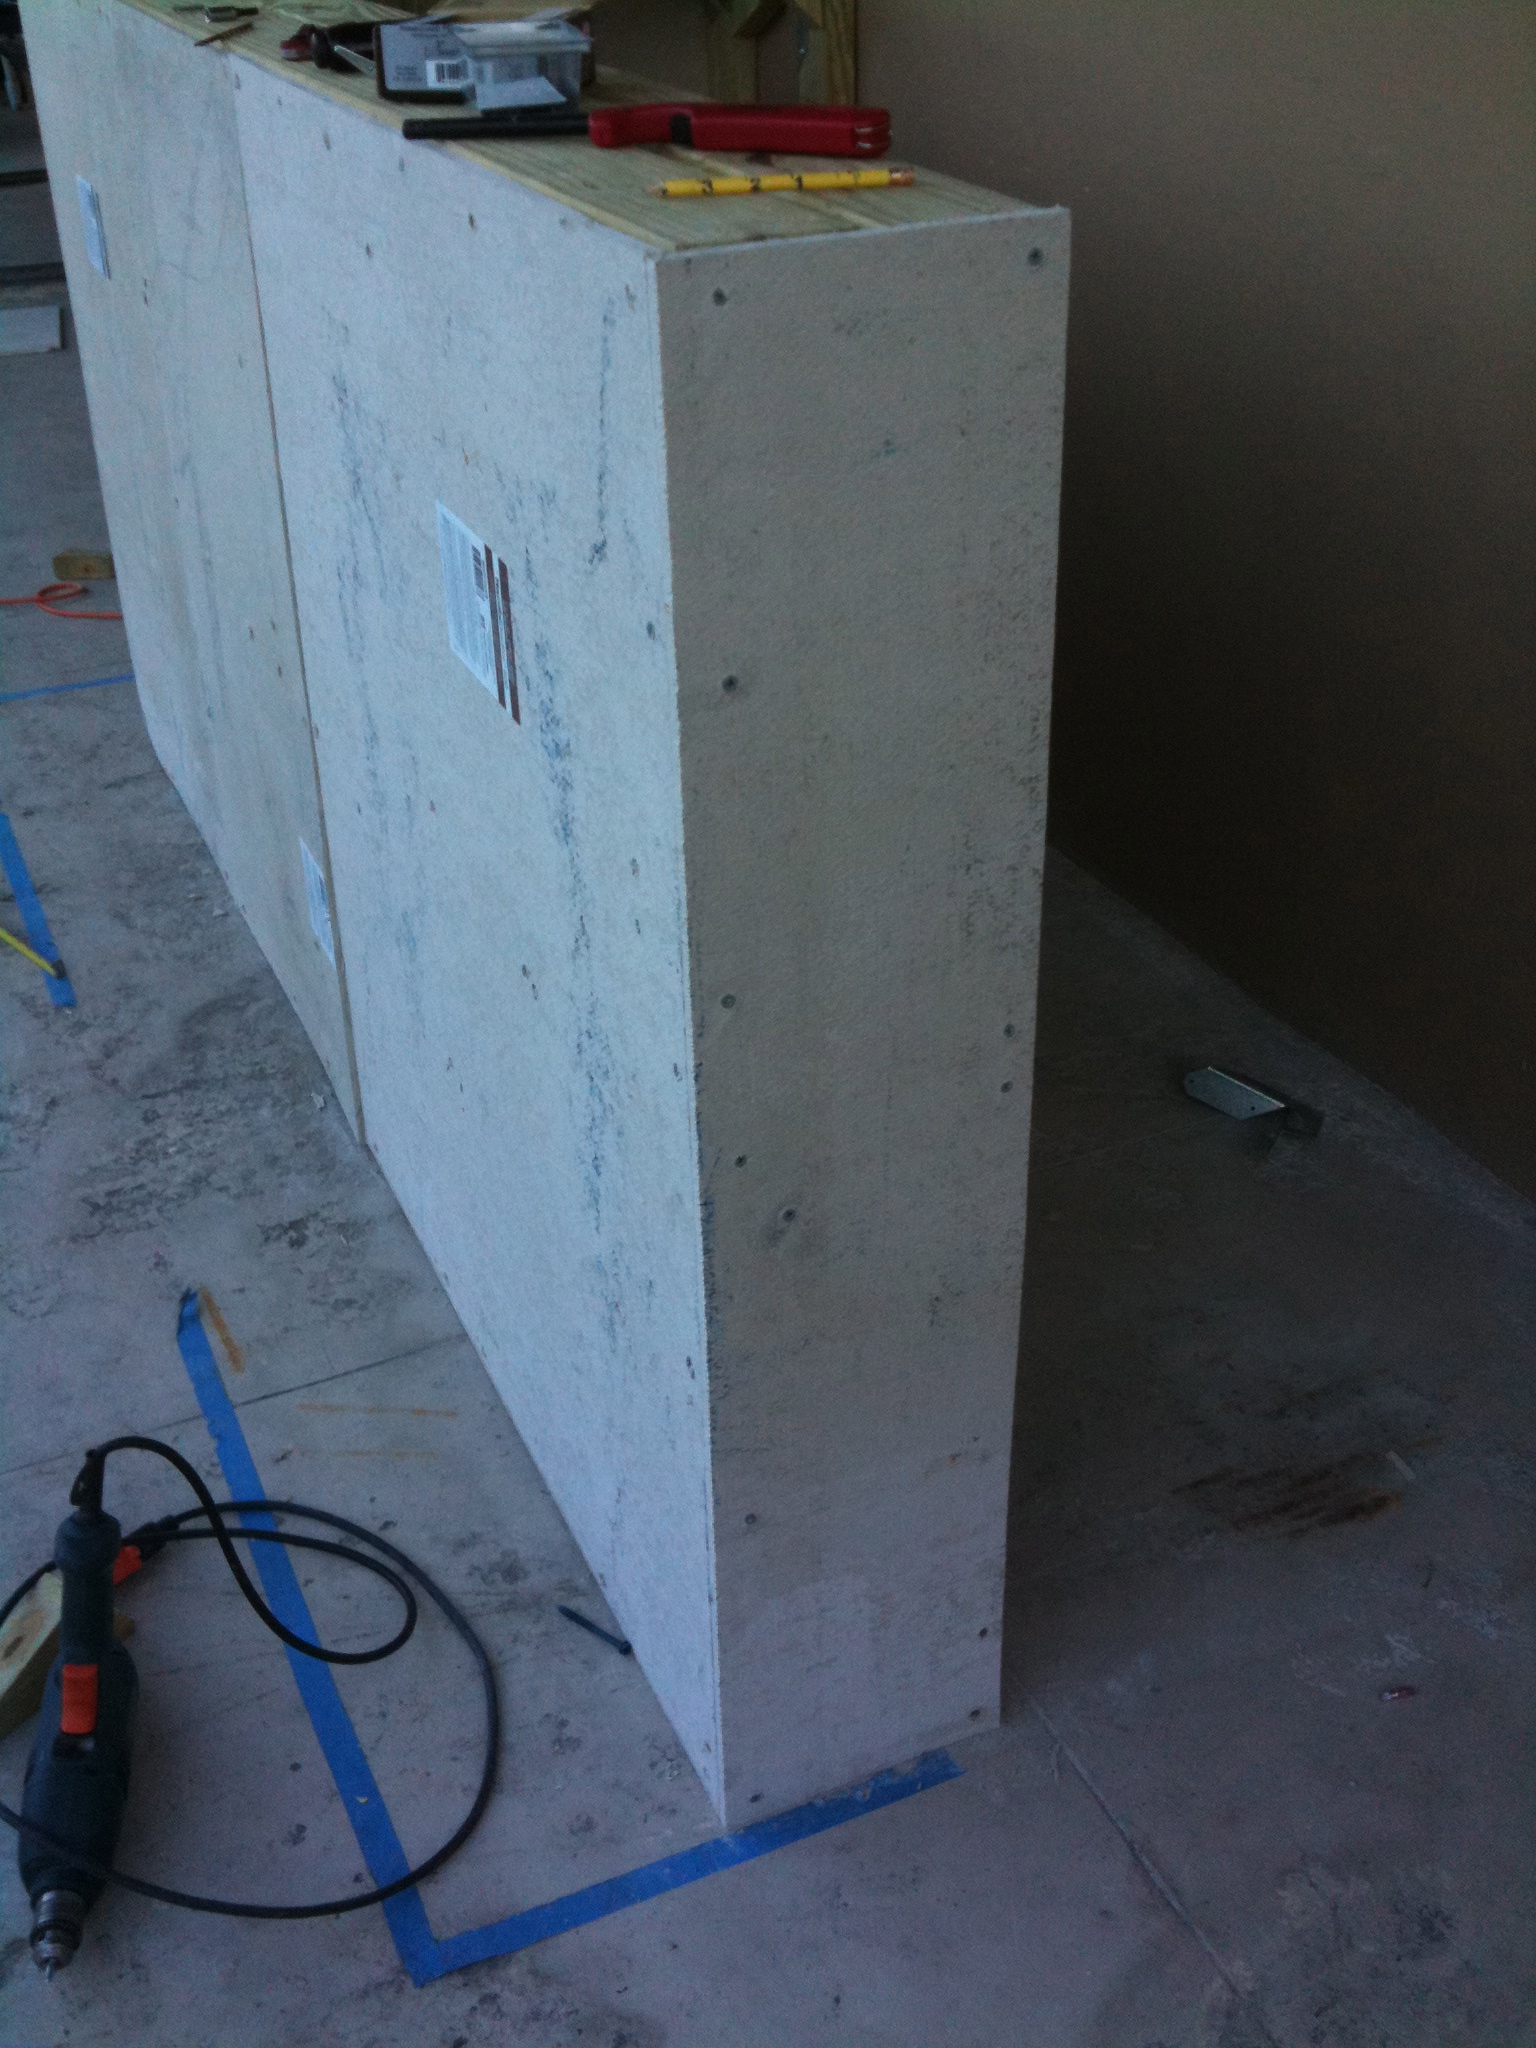
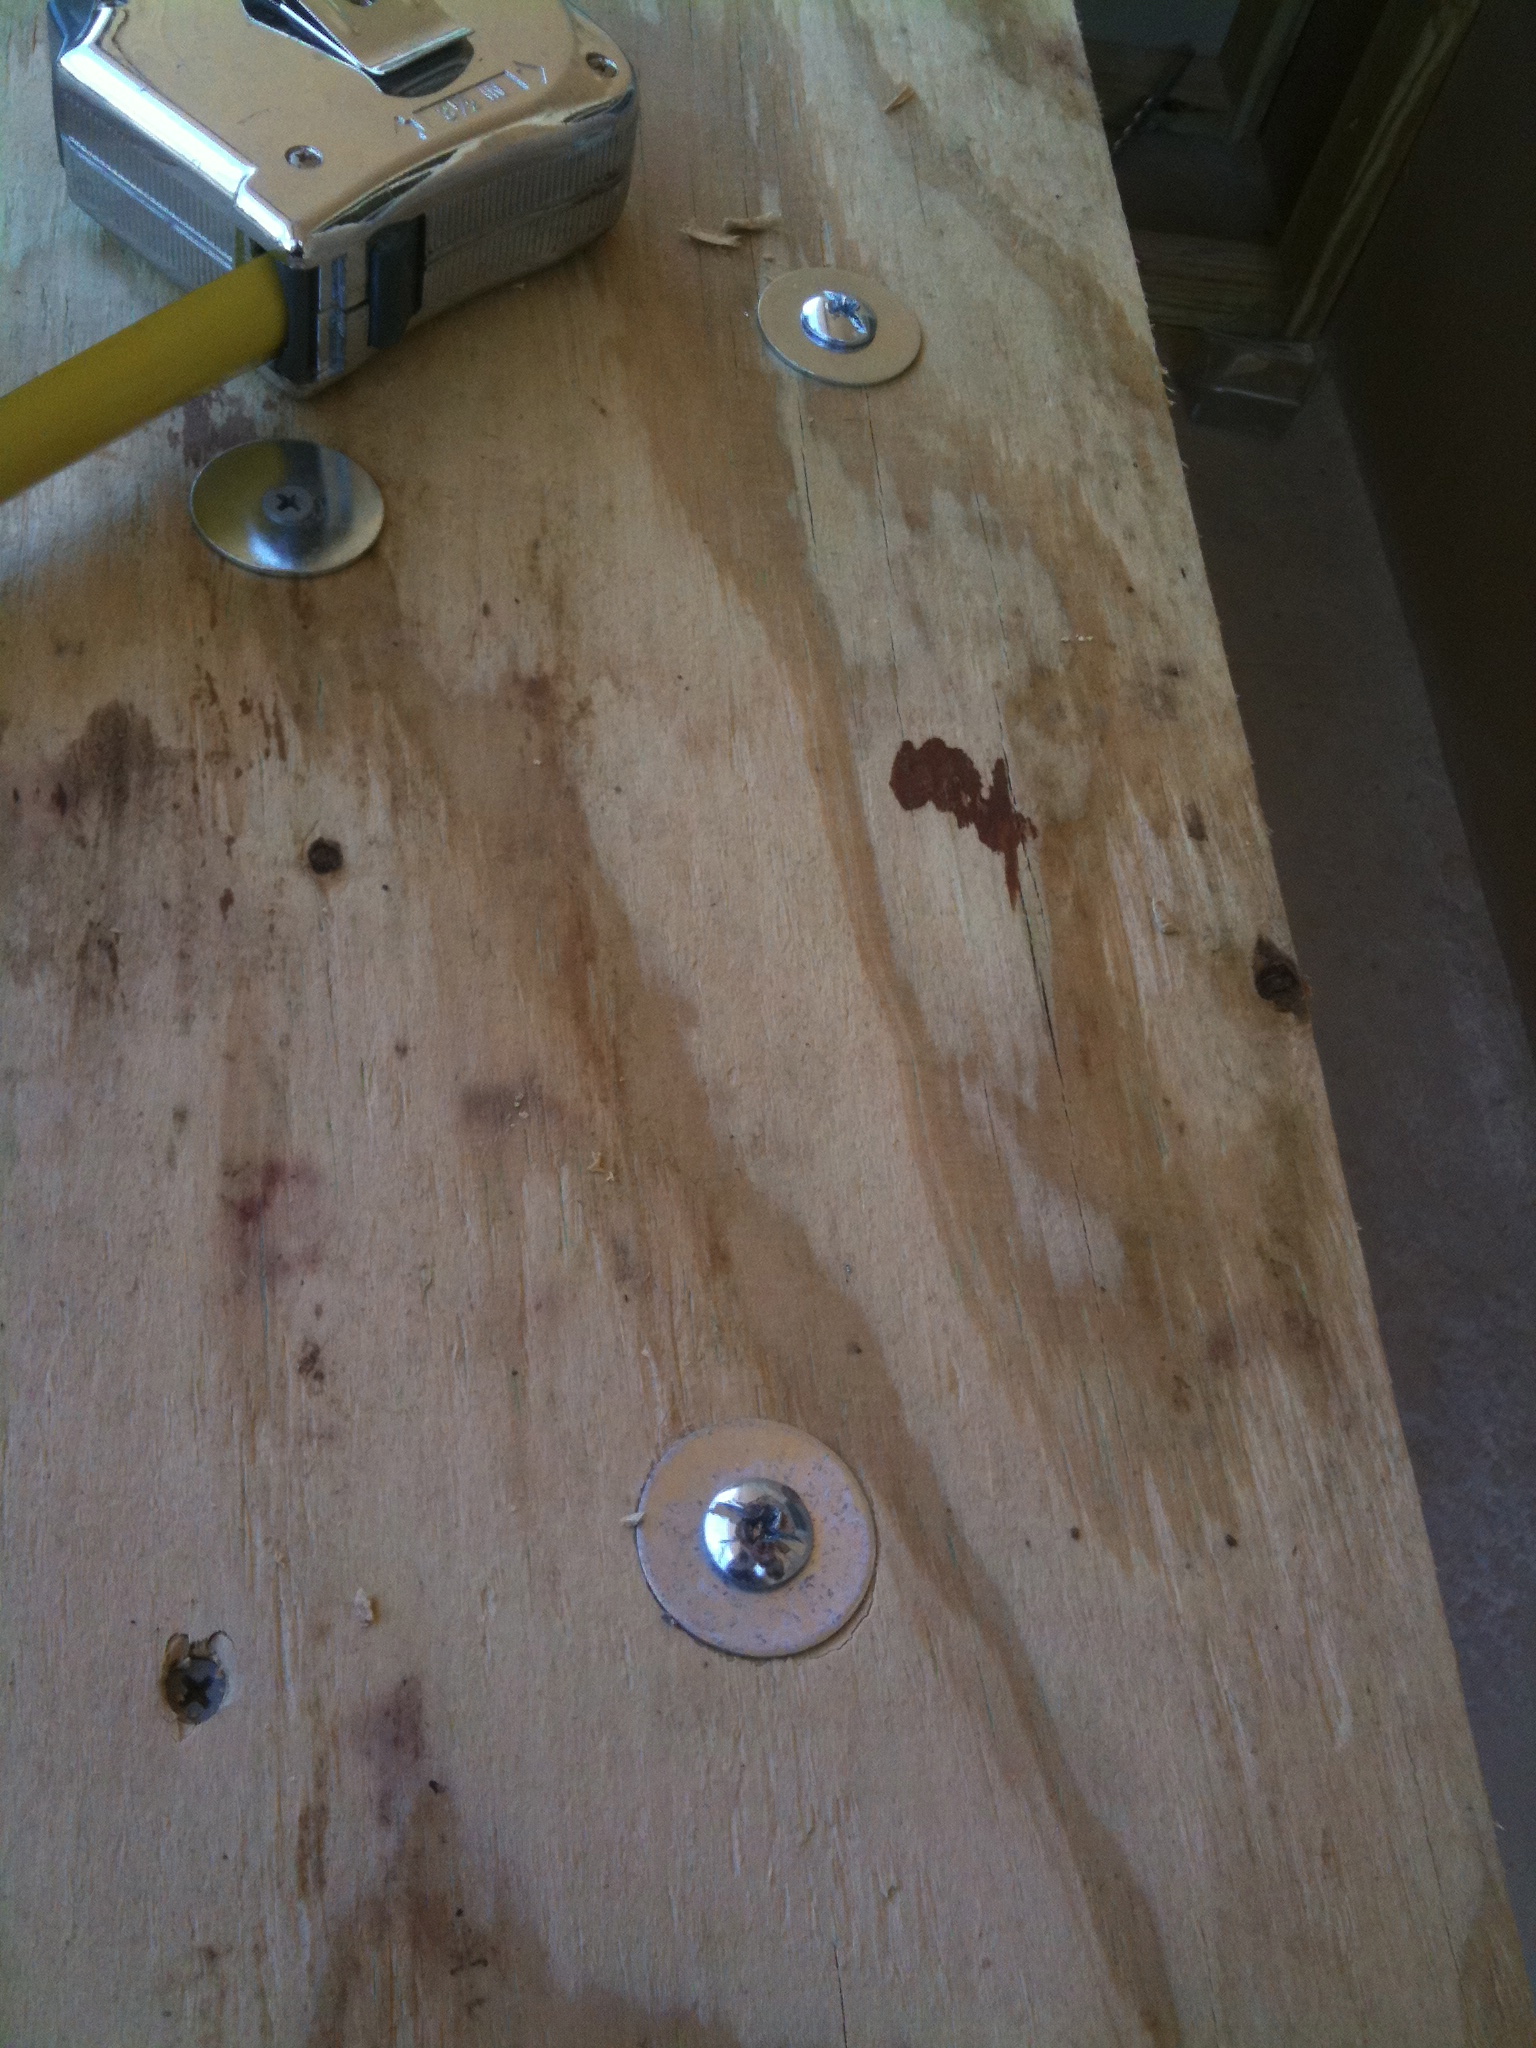
3/4″ pressure treated plywood will do it. 8 feet for the long side, 17″ wide which gives me a 9″ clearance underneath for stools, knees, & such. Short end will be a bit deeper because sink will go under there! (oooh… foreshadowing!)
-
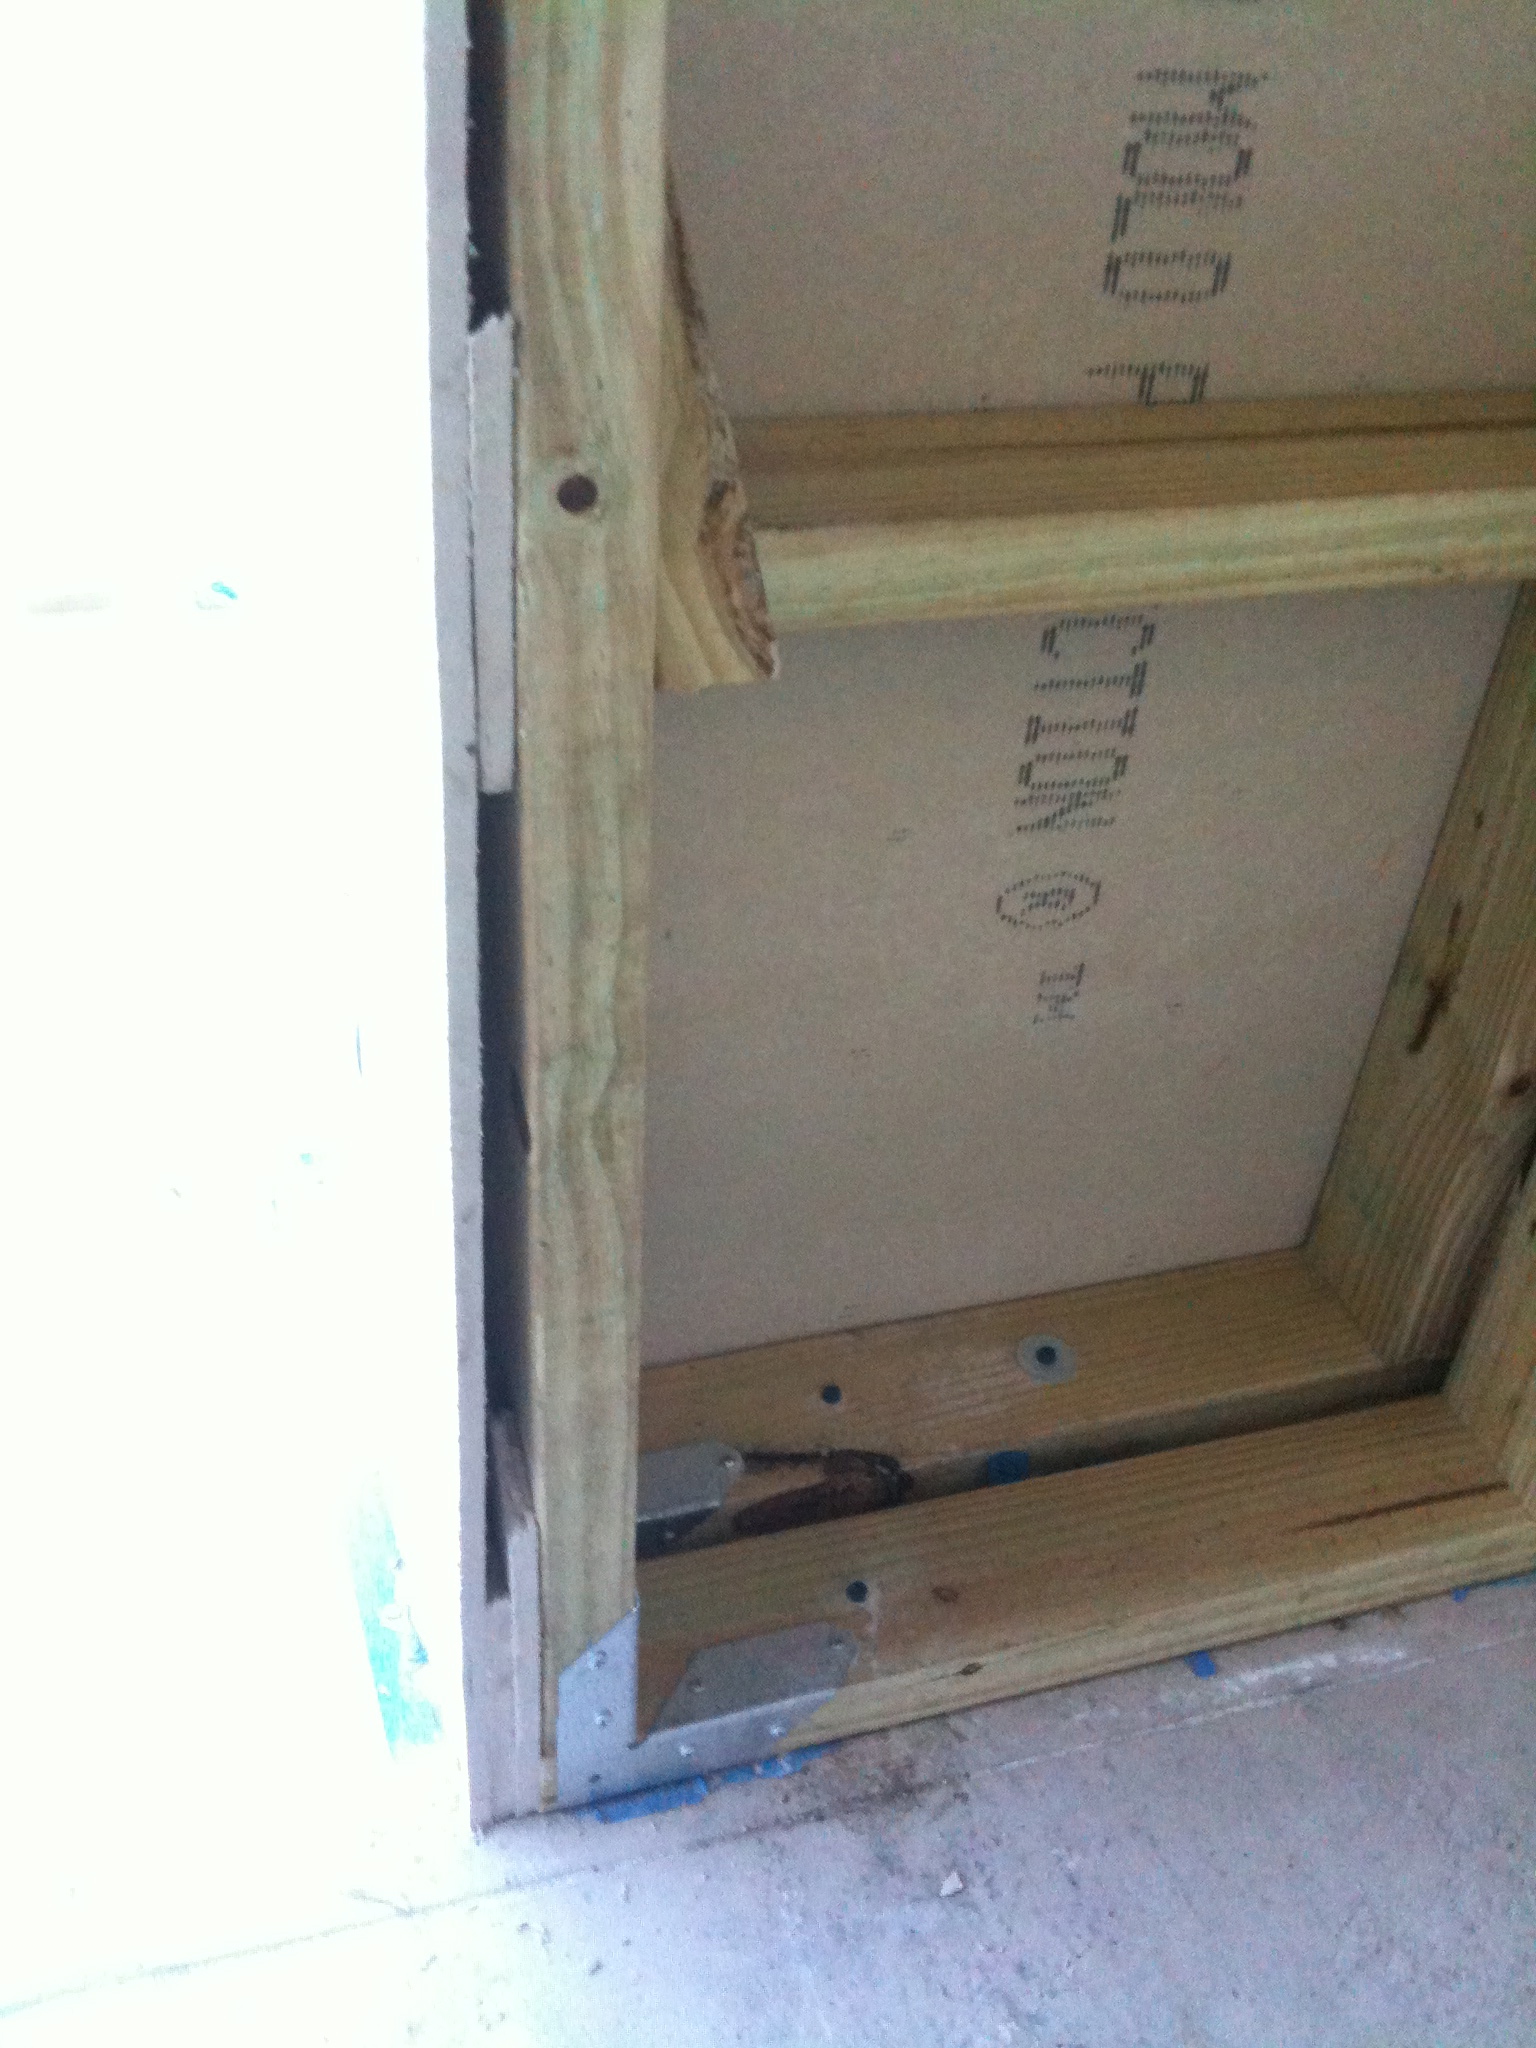
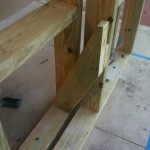
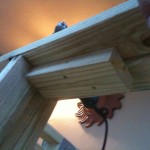
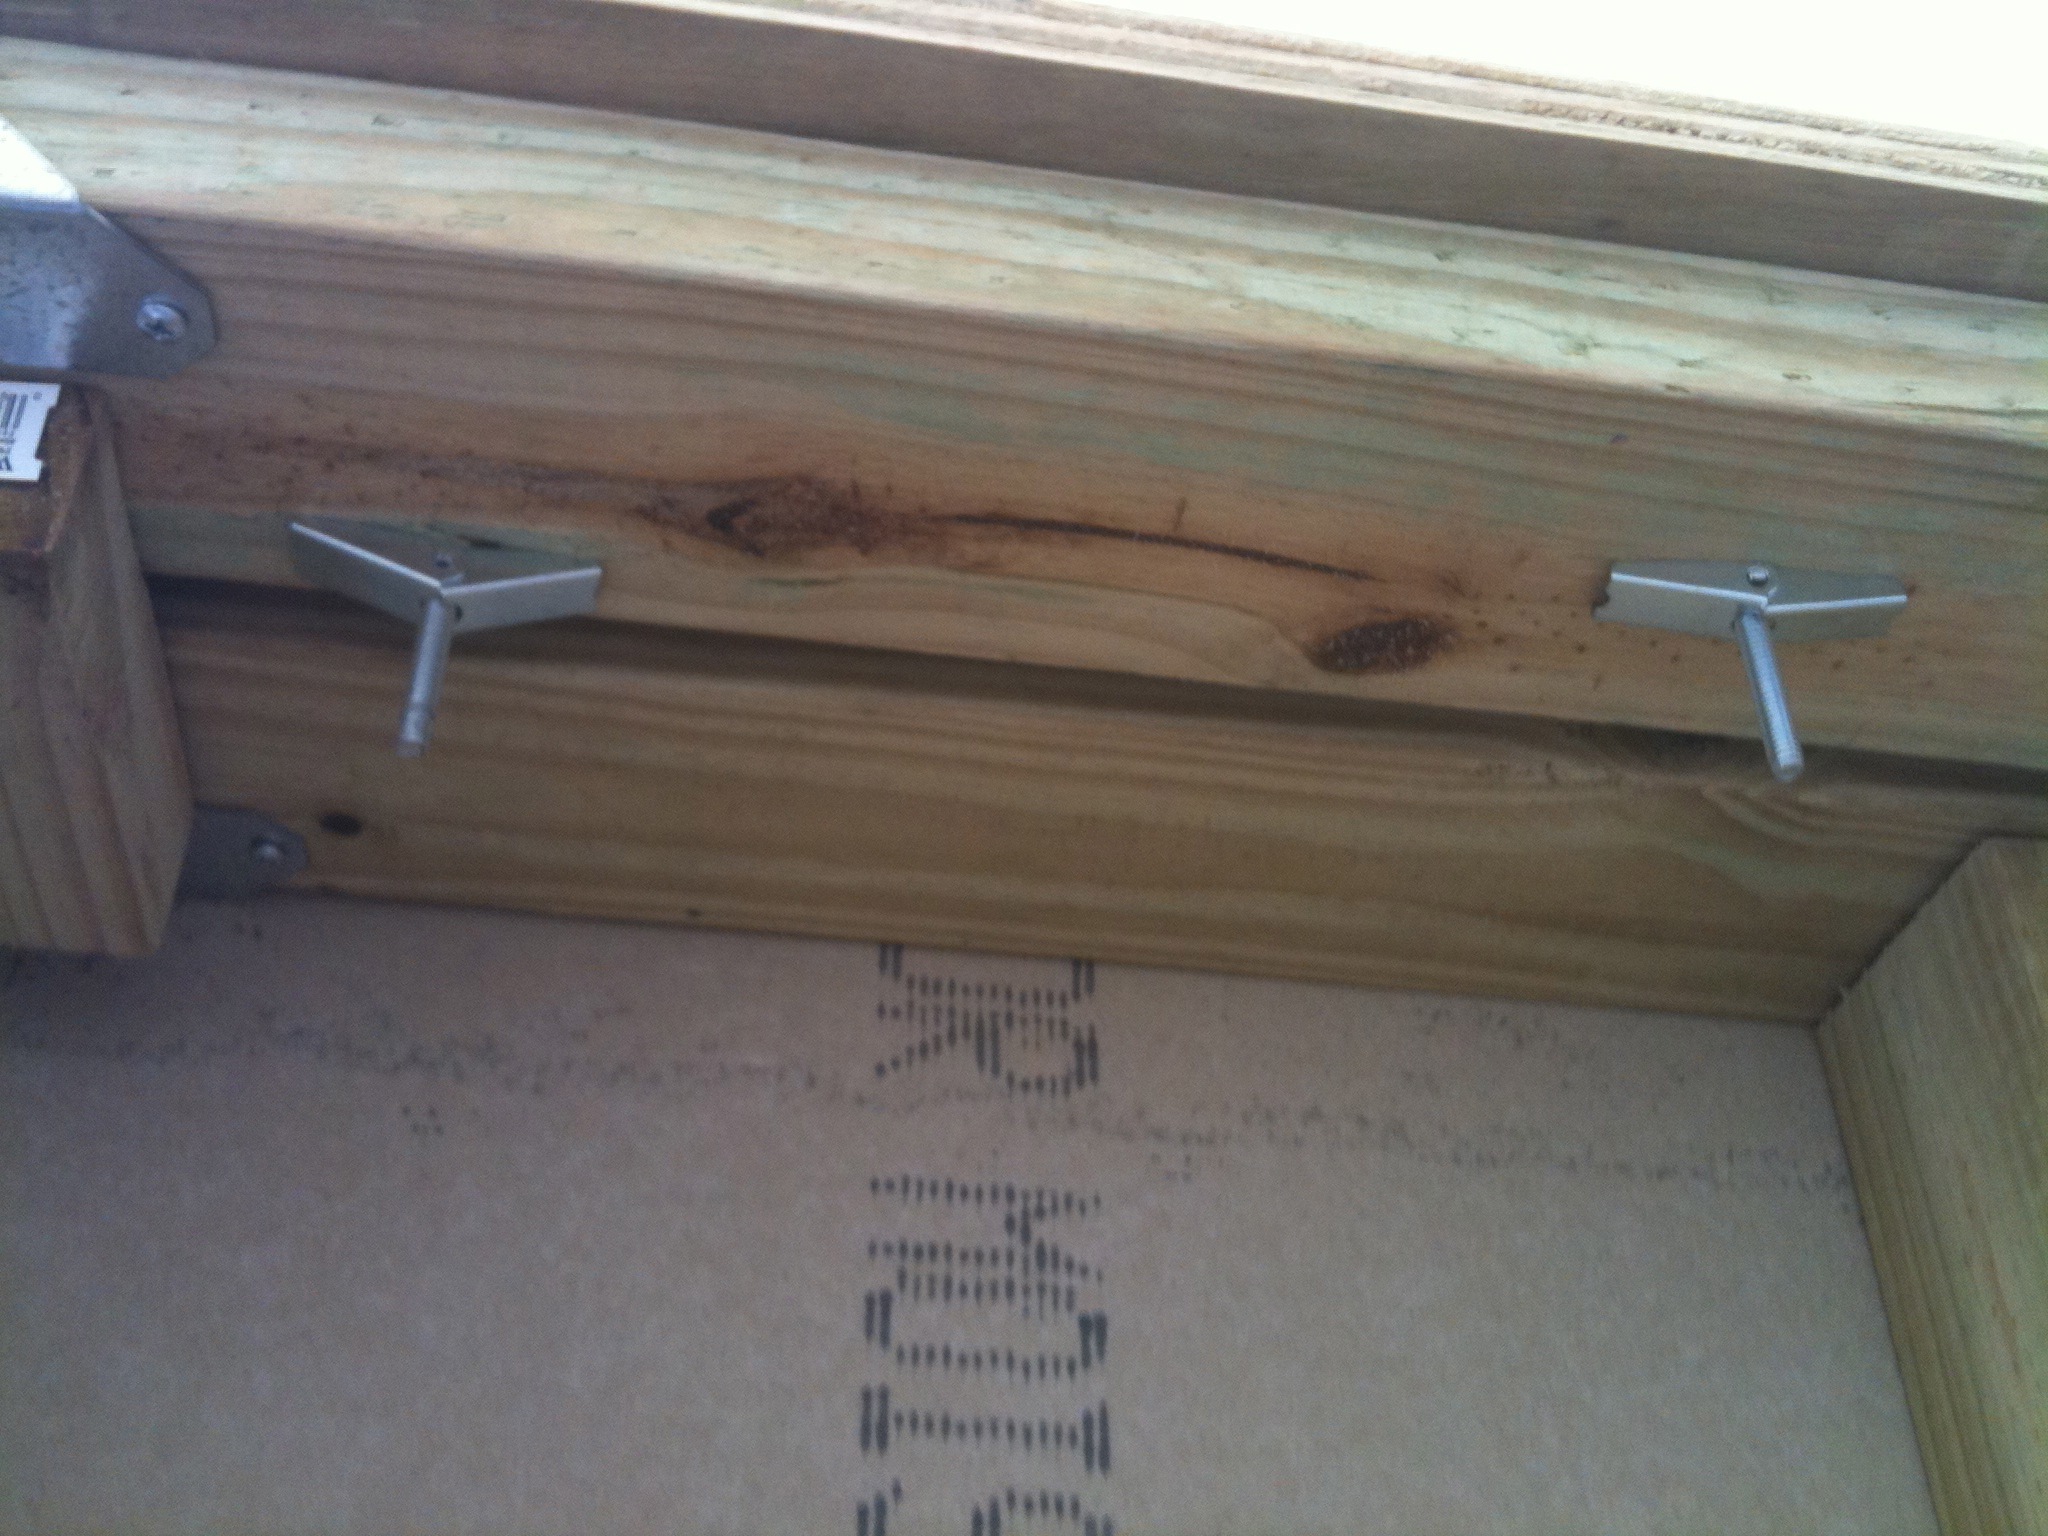
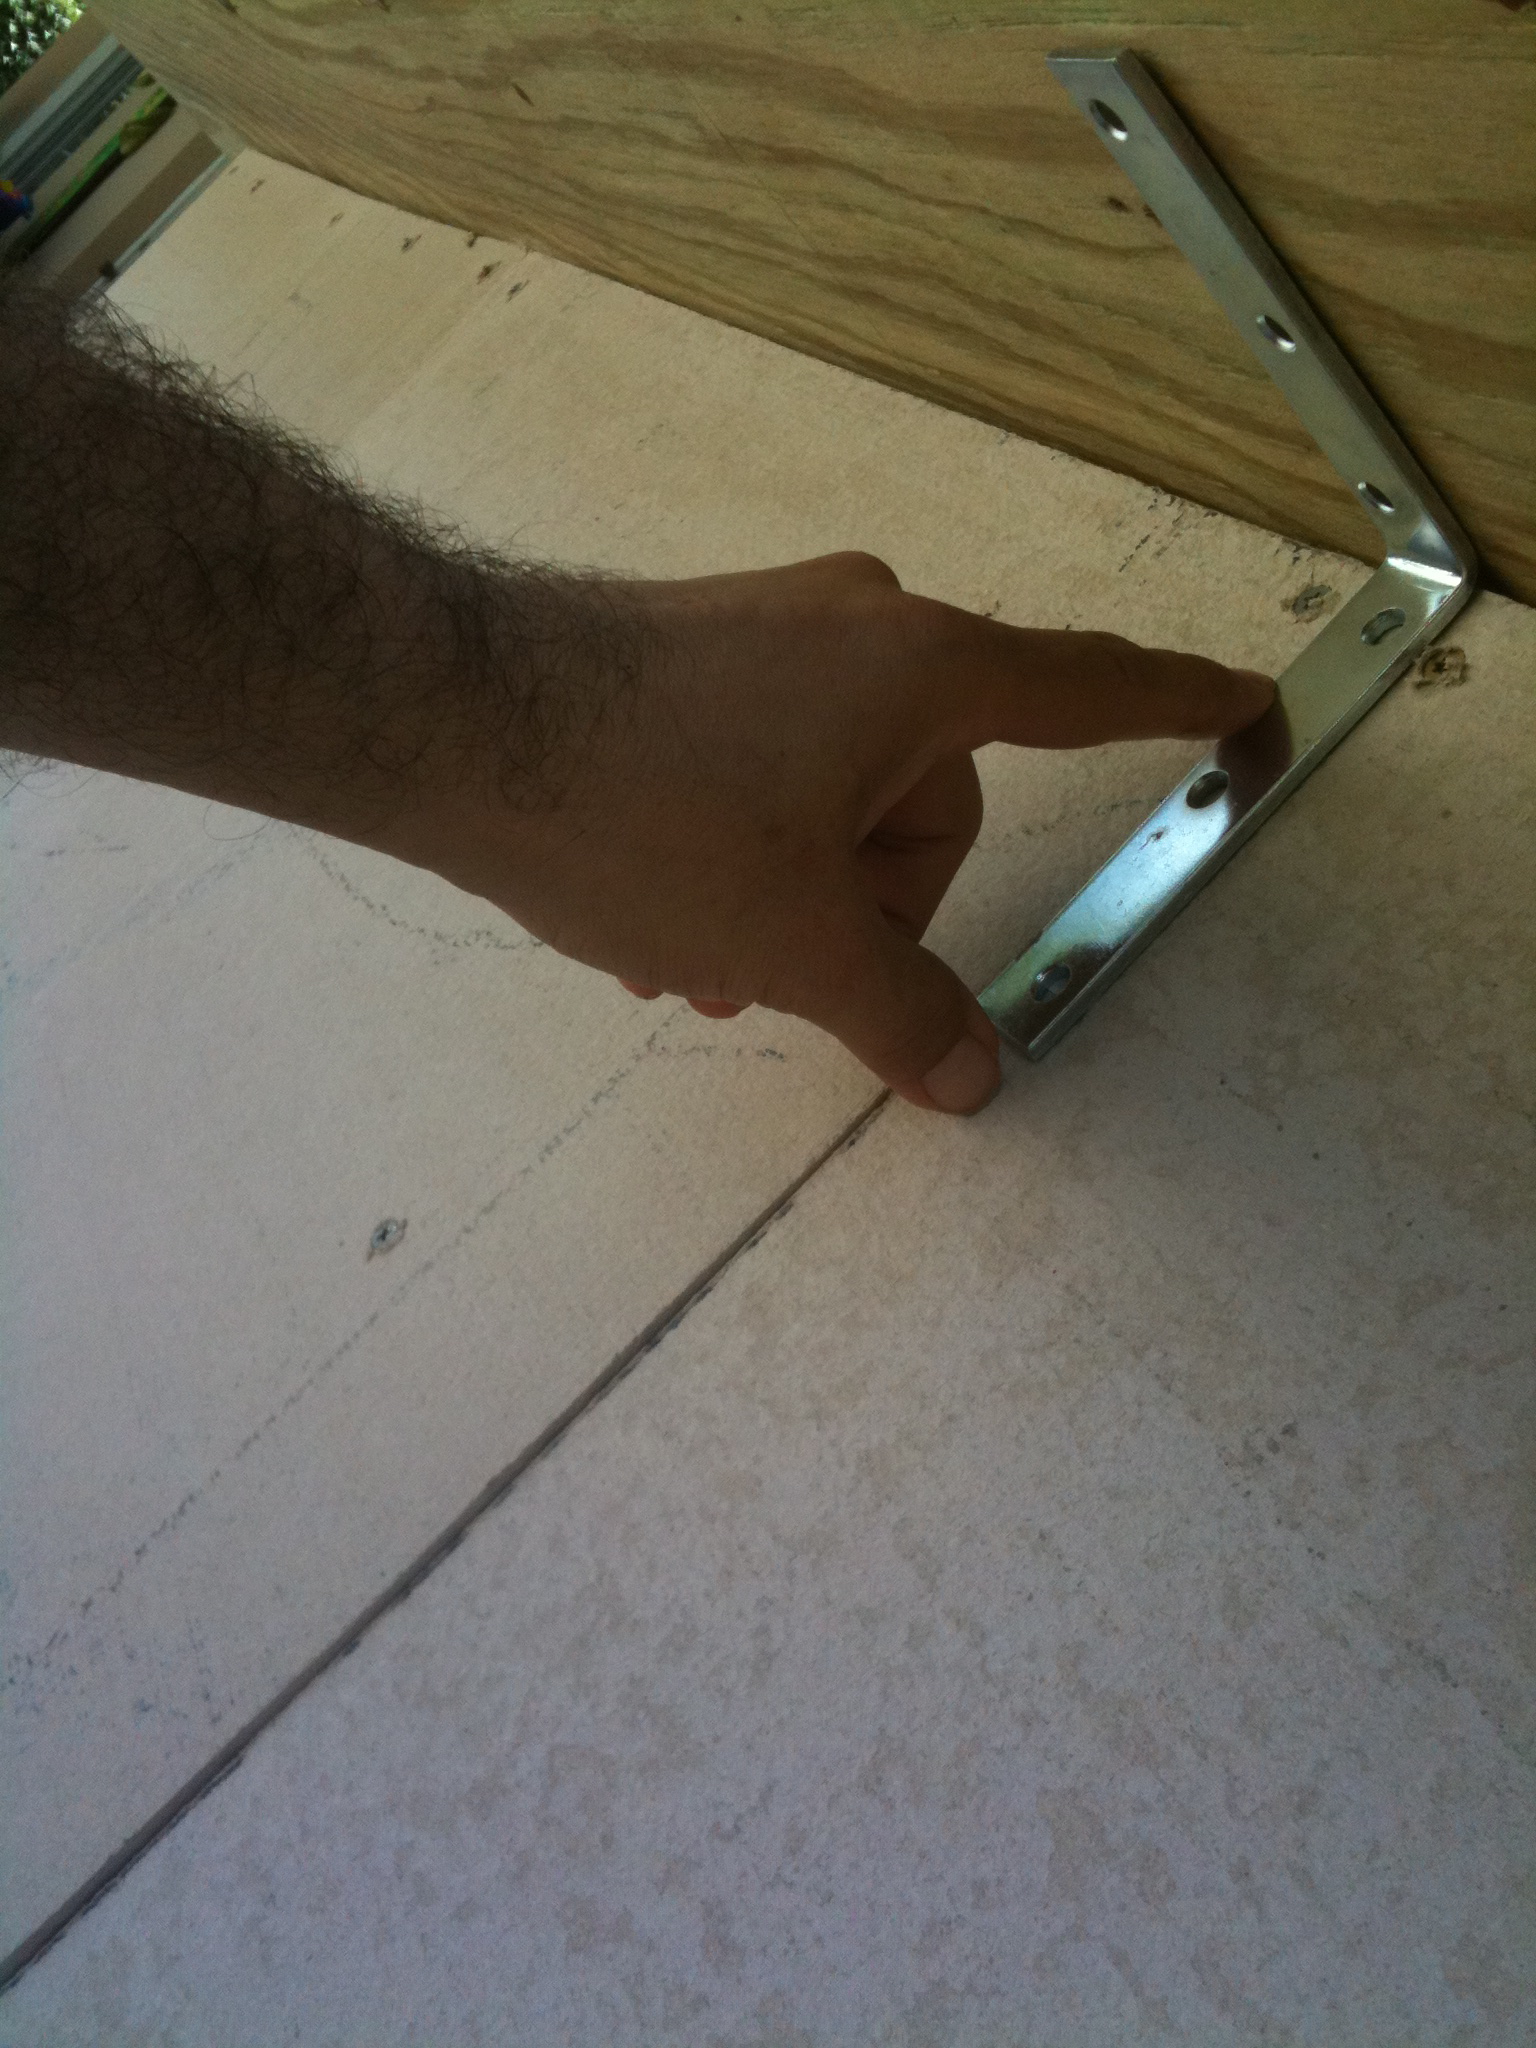
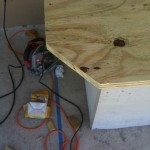
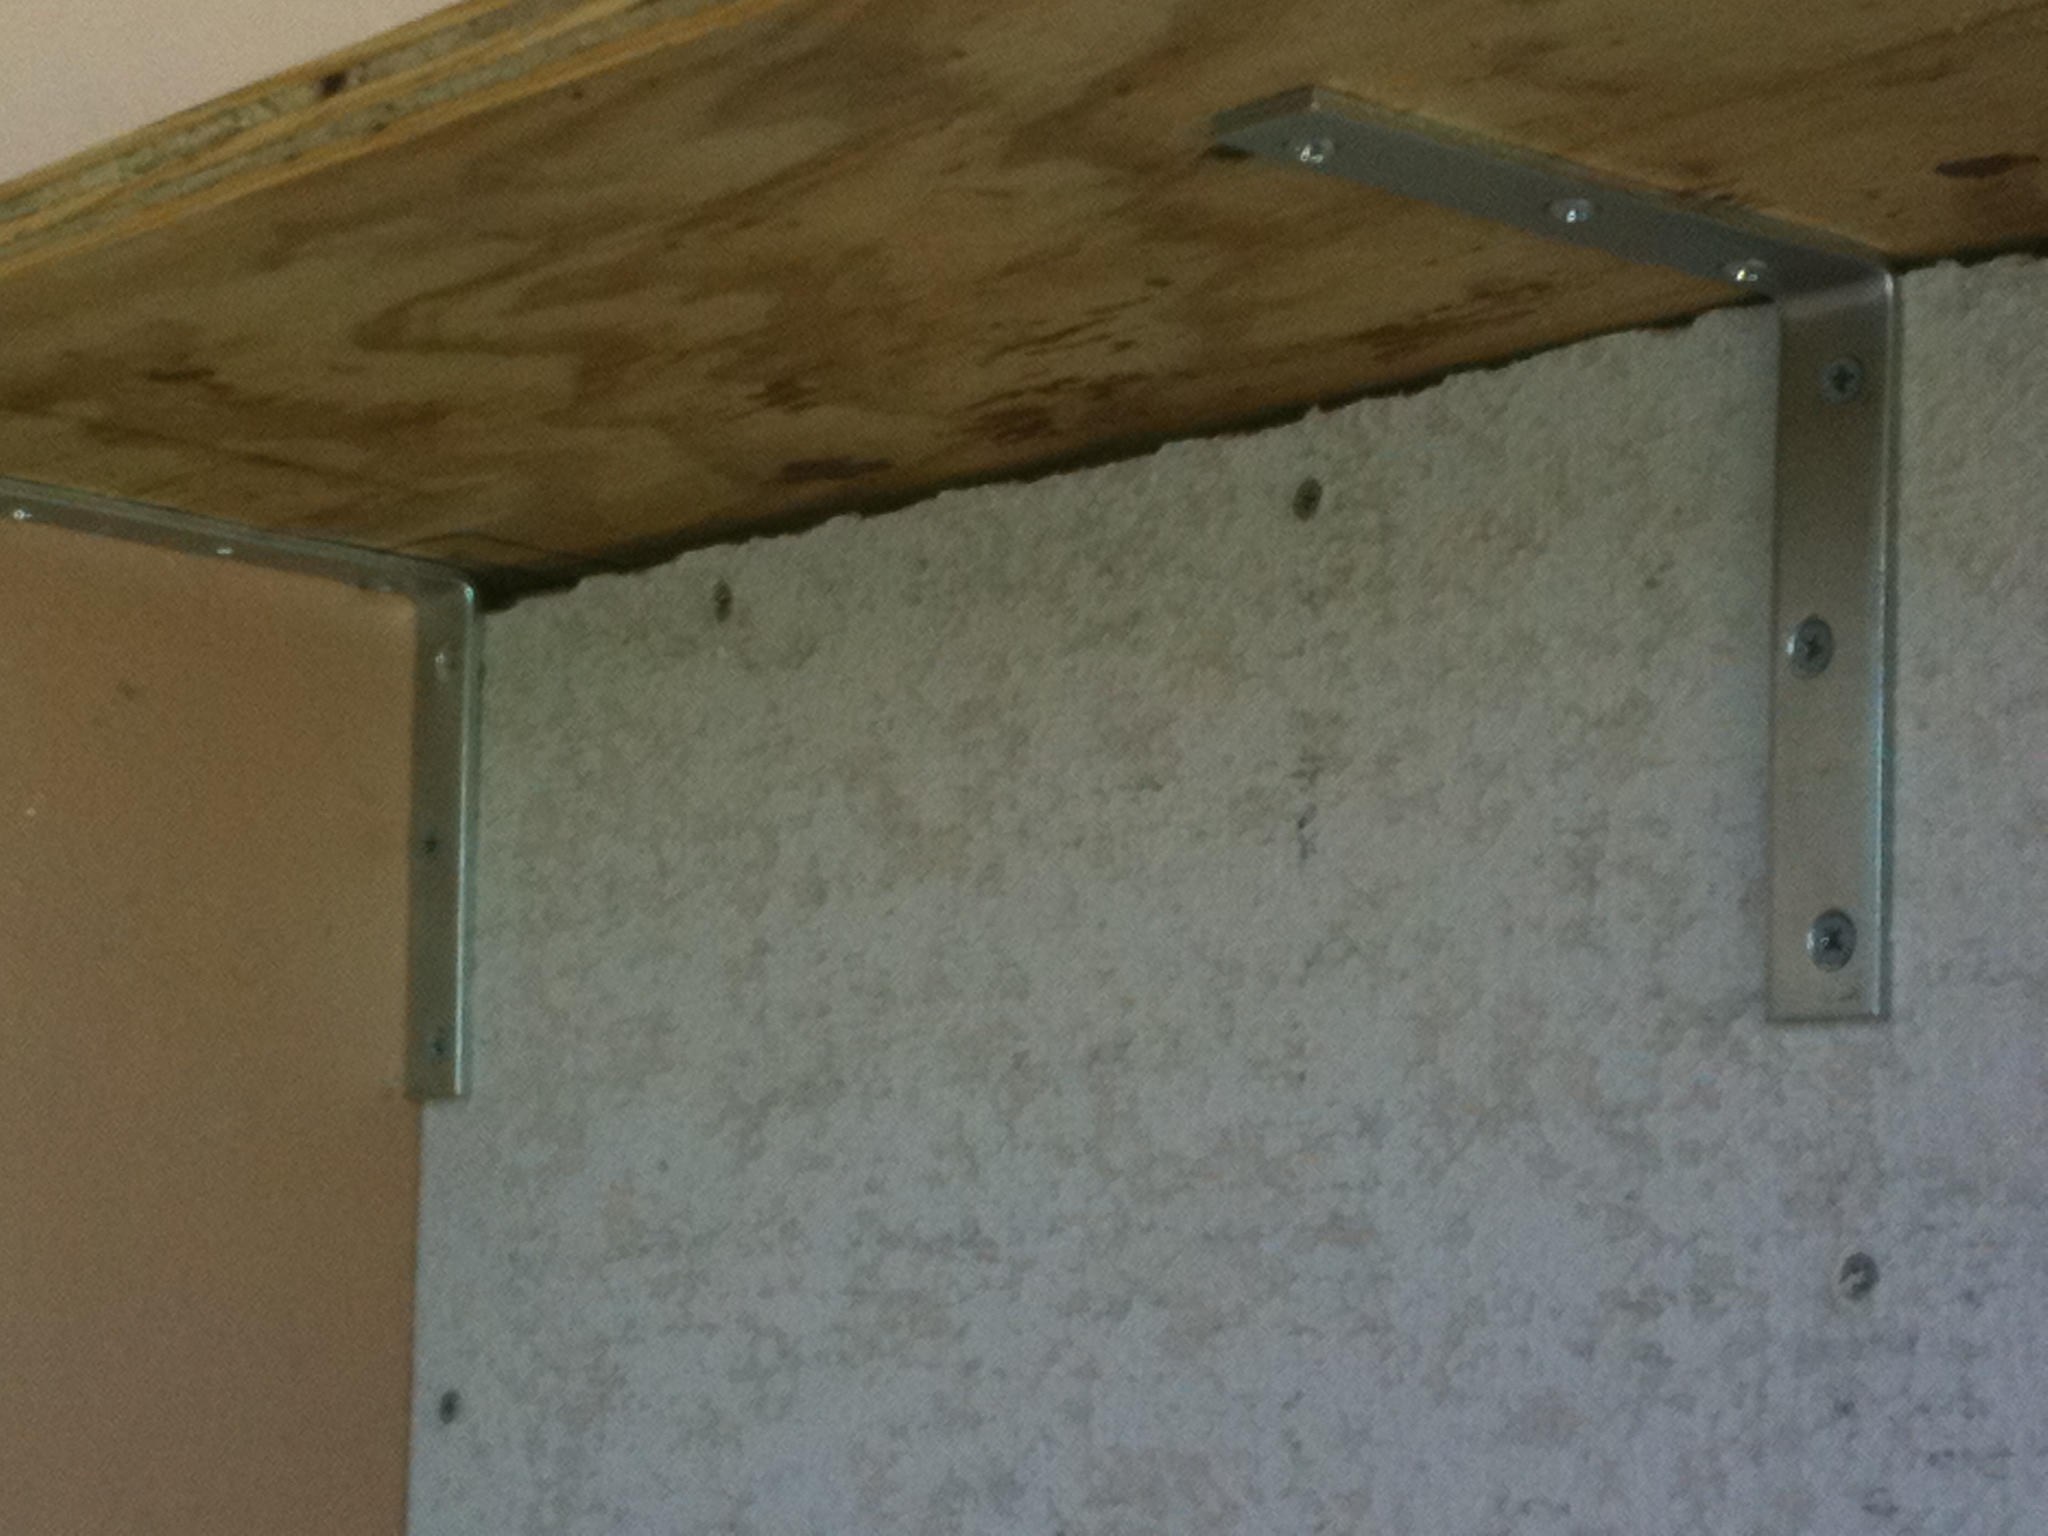
- Toggle bolts view from underneath
-
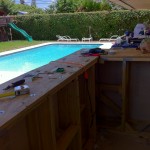
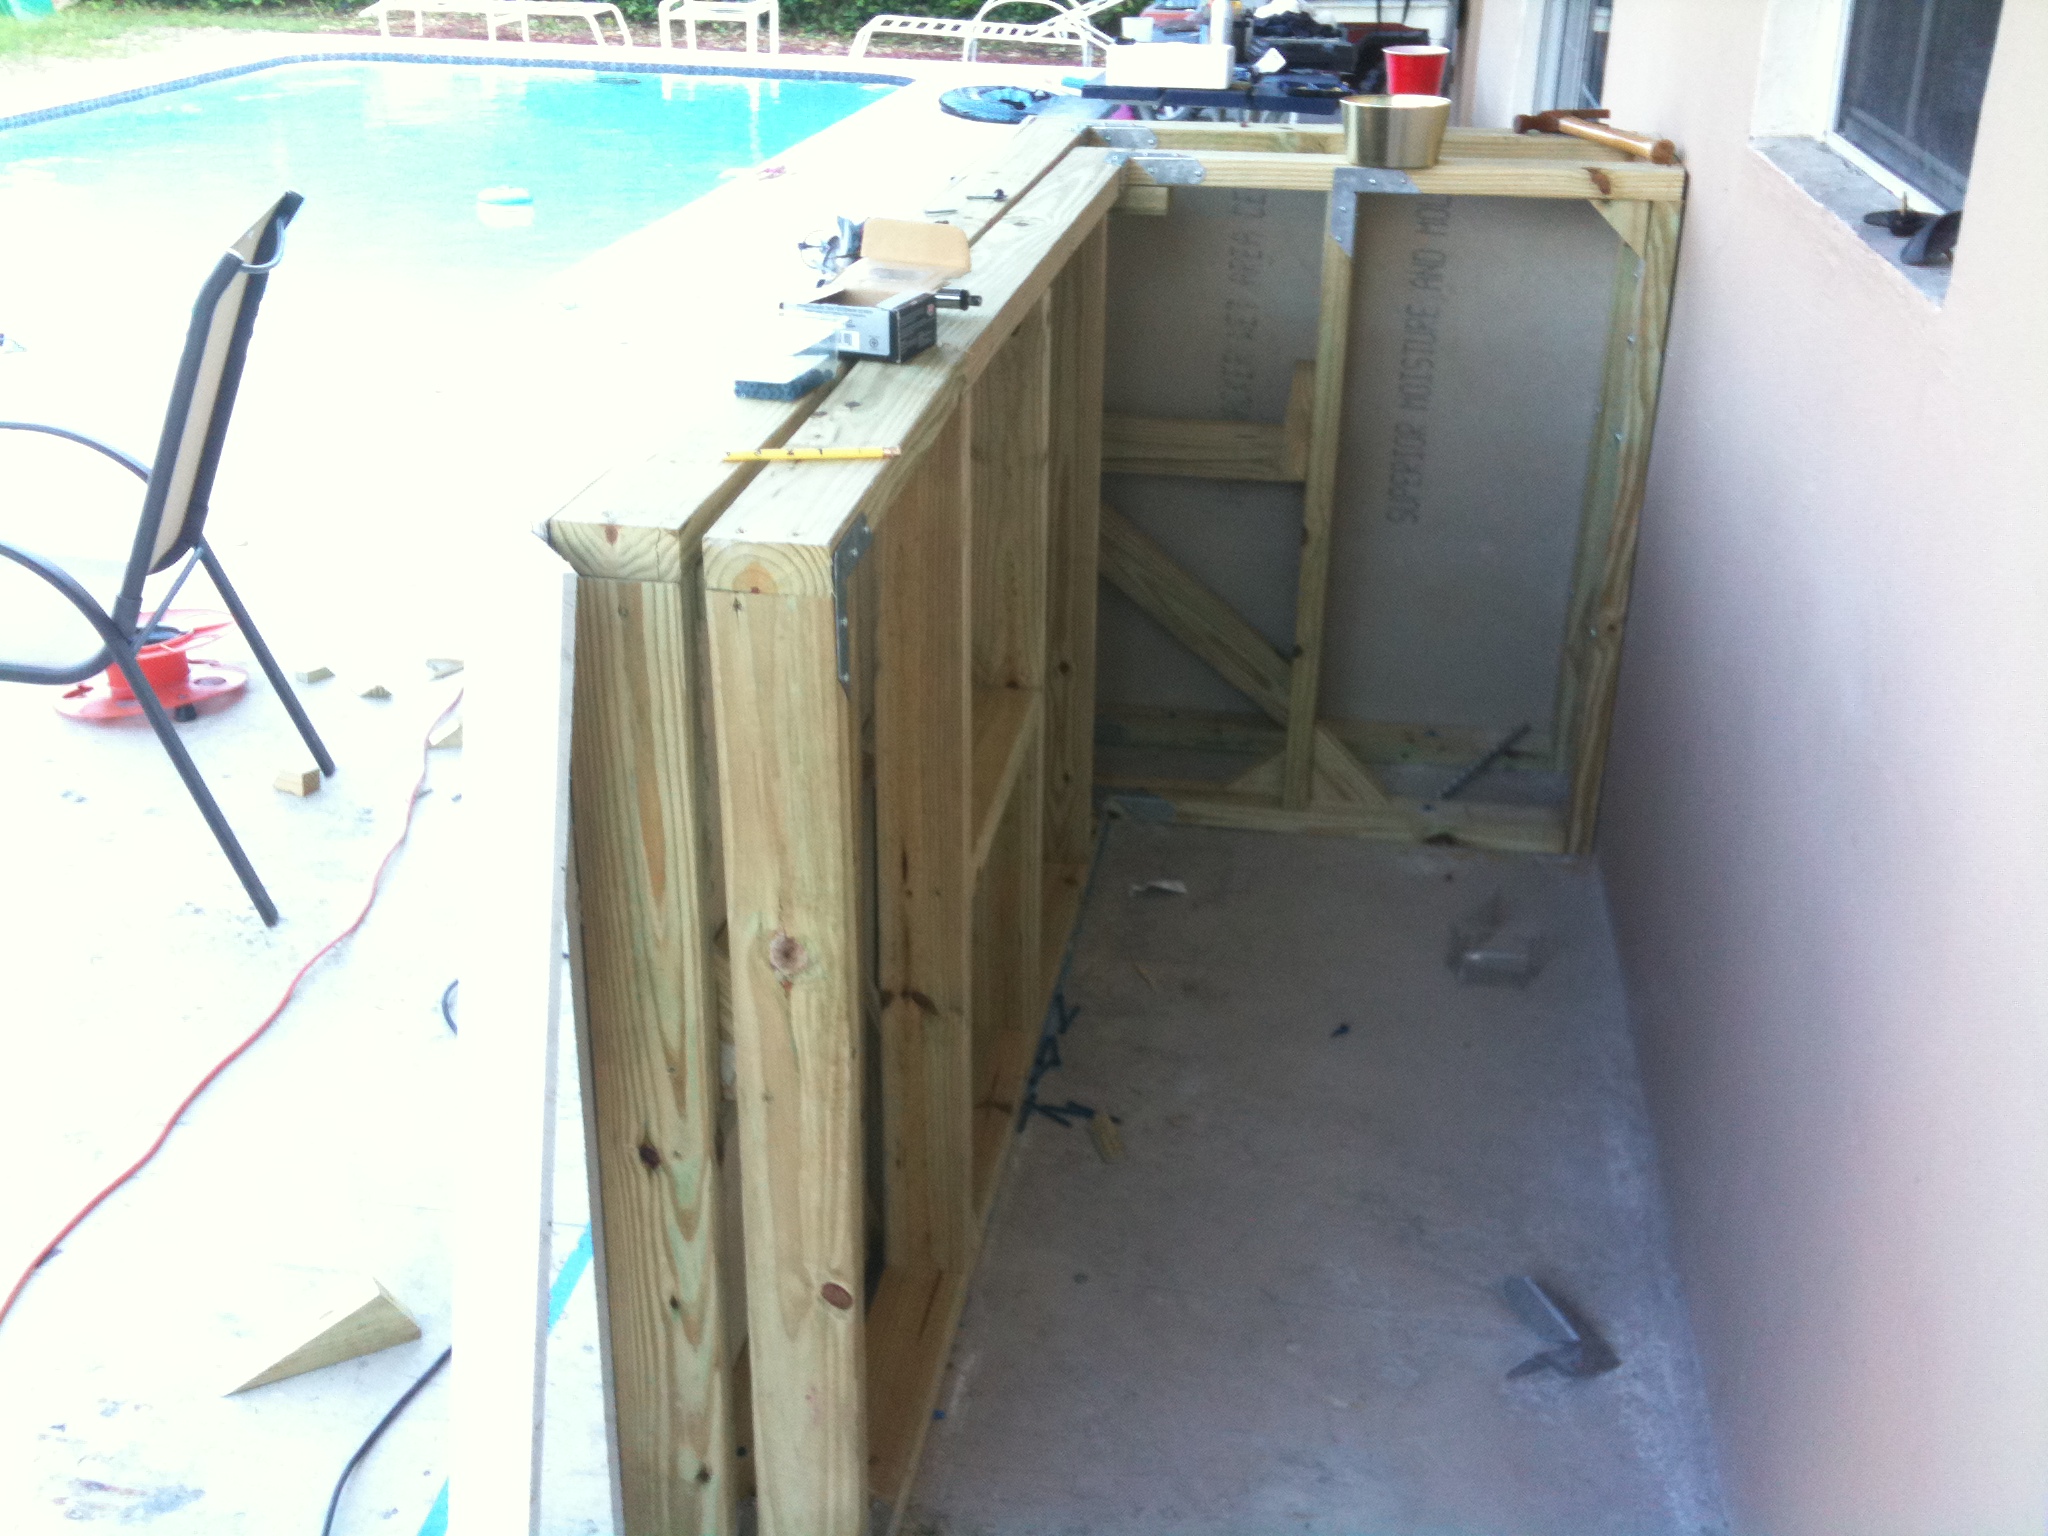
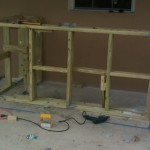
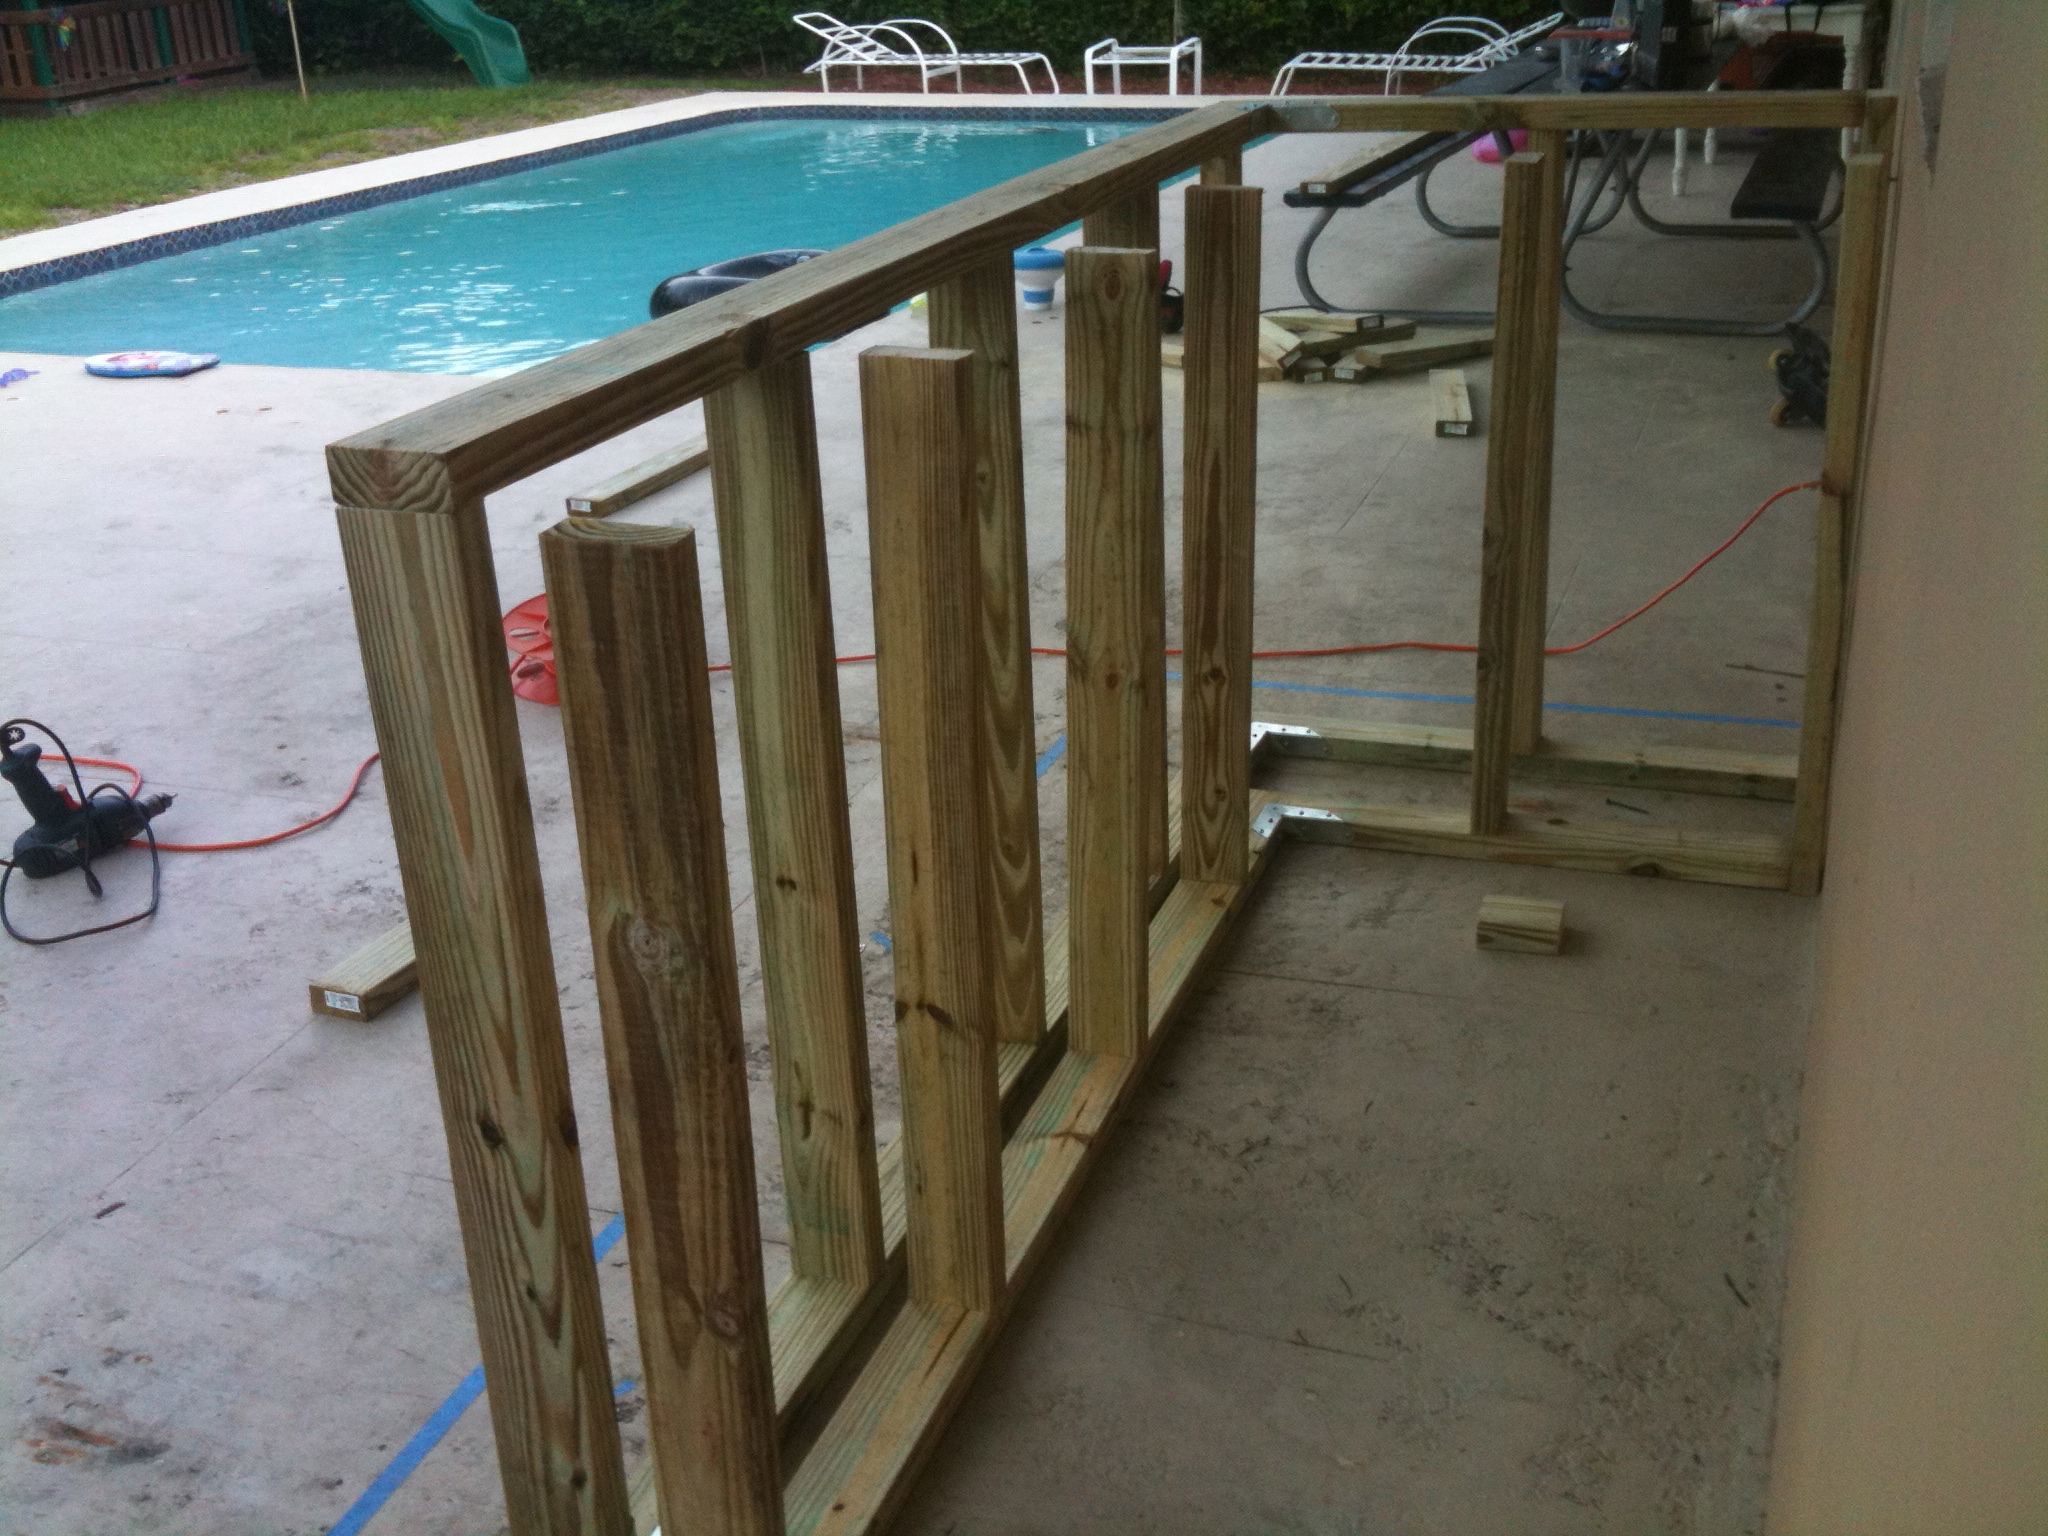
- Pool’s looking better with the HEAT!!!
-
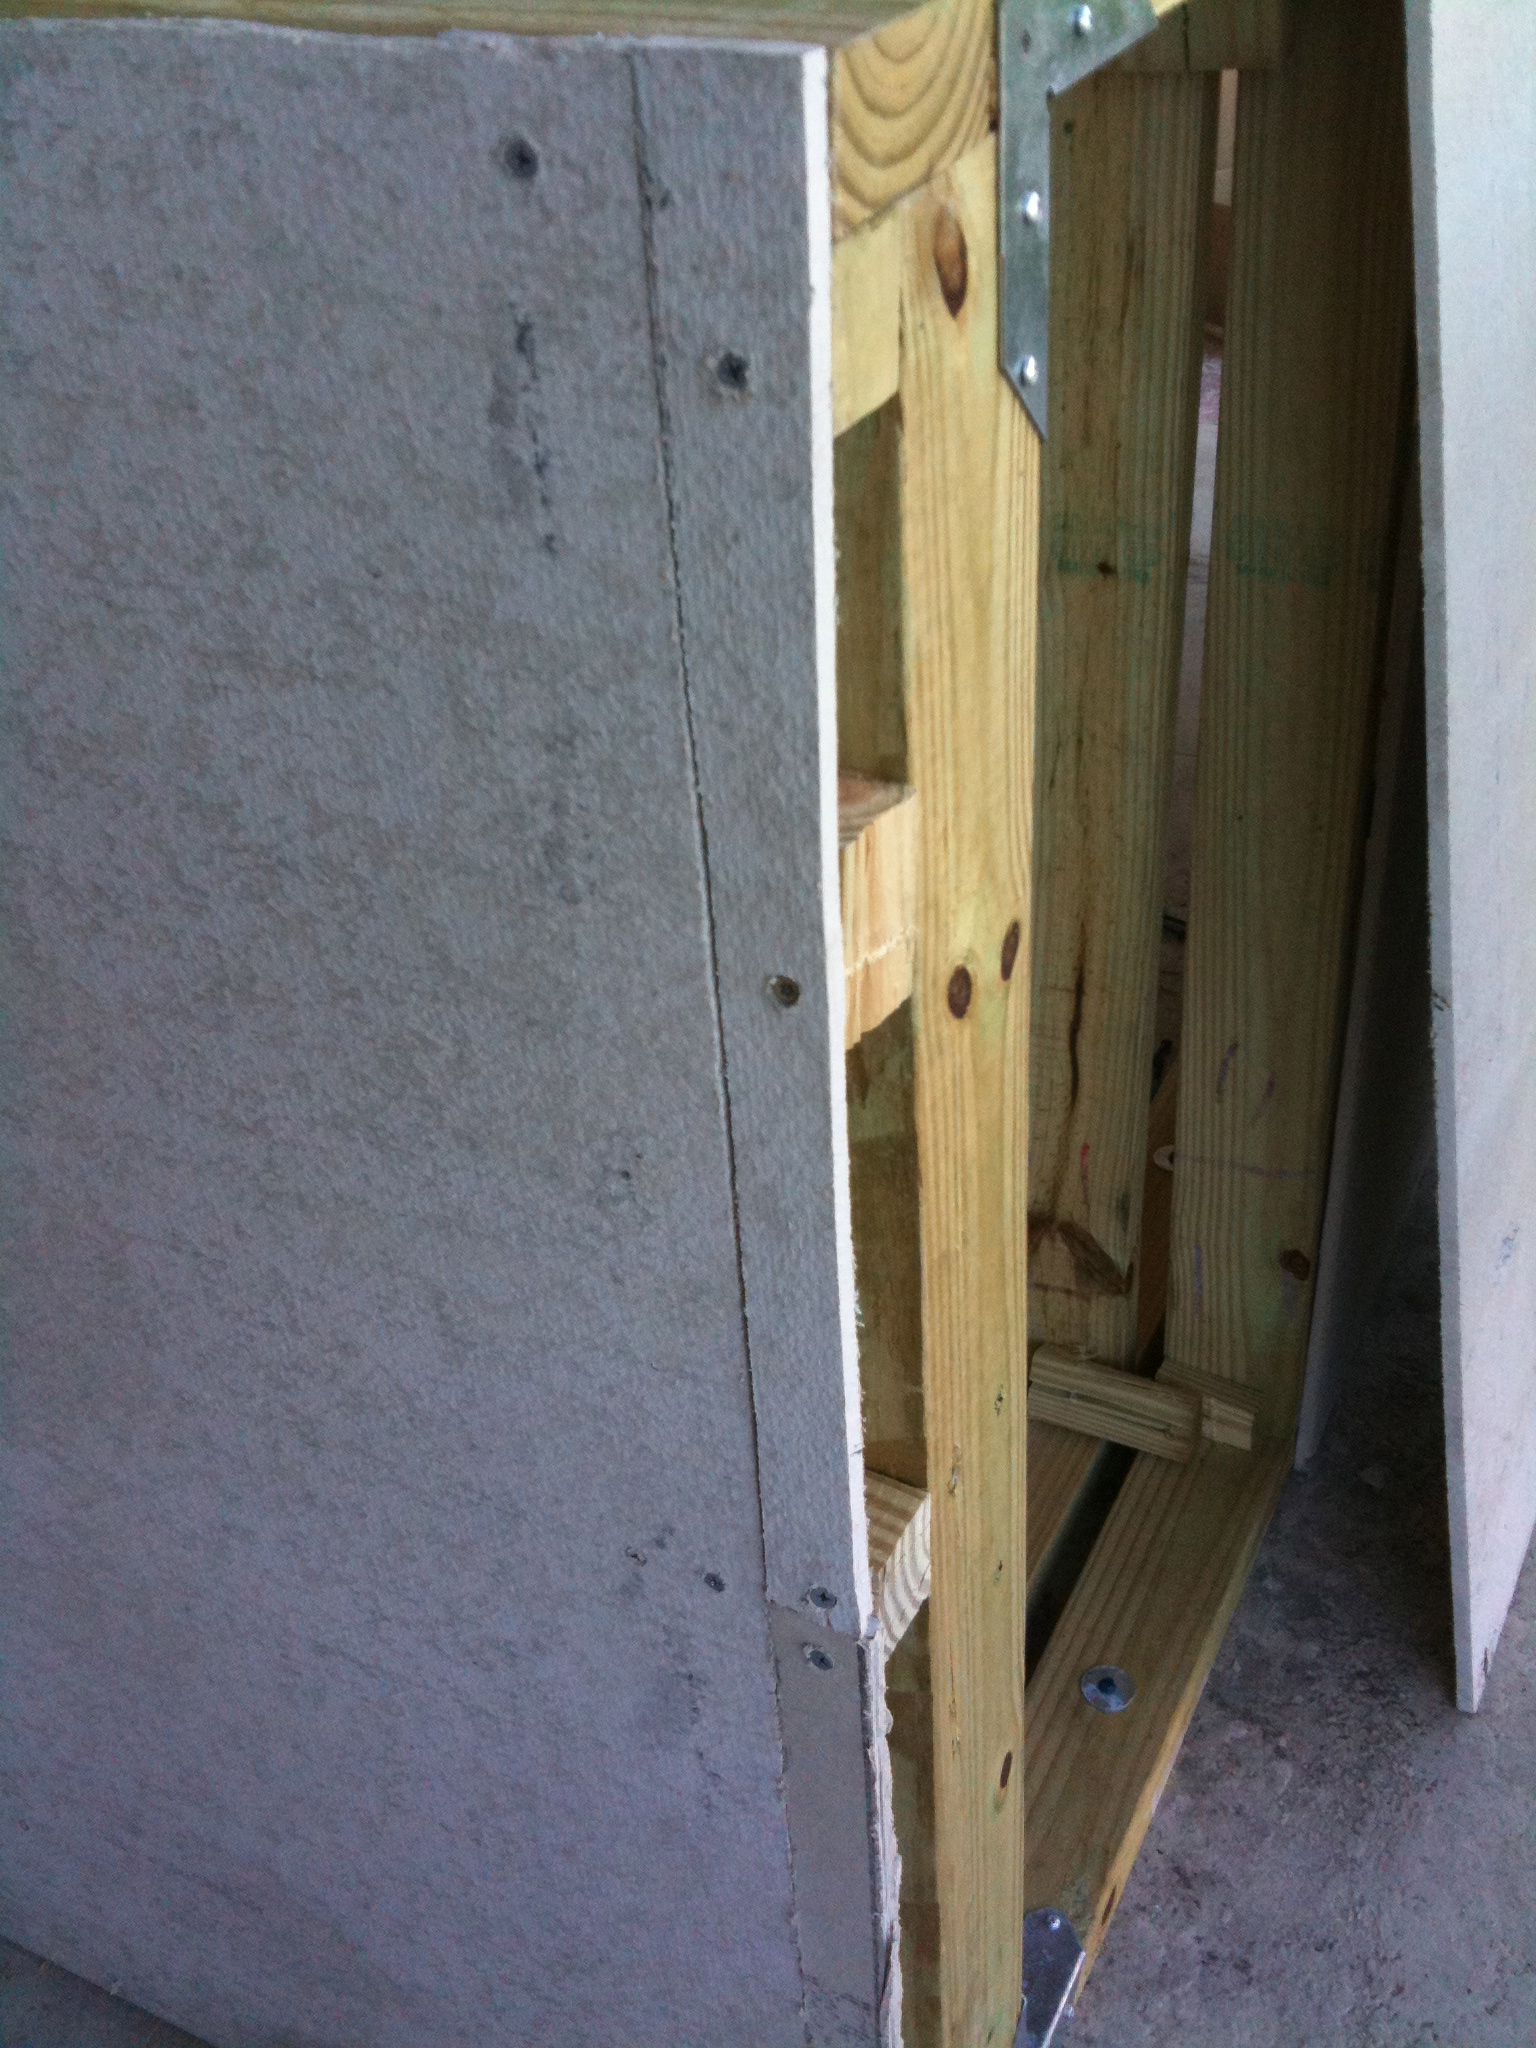
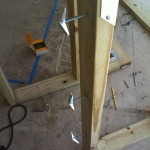
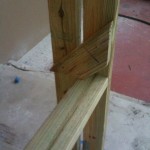
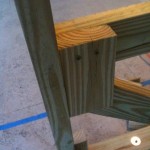
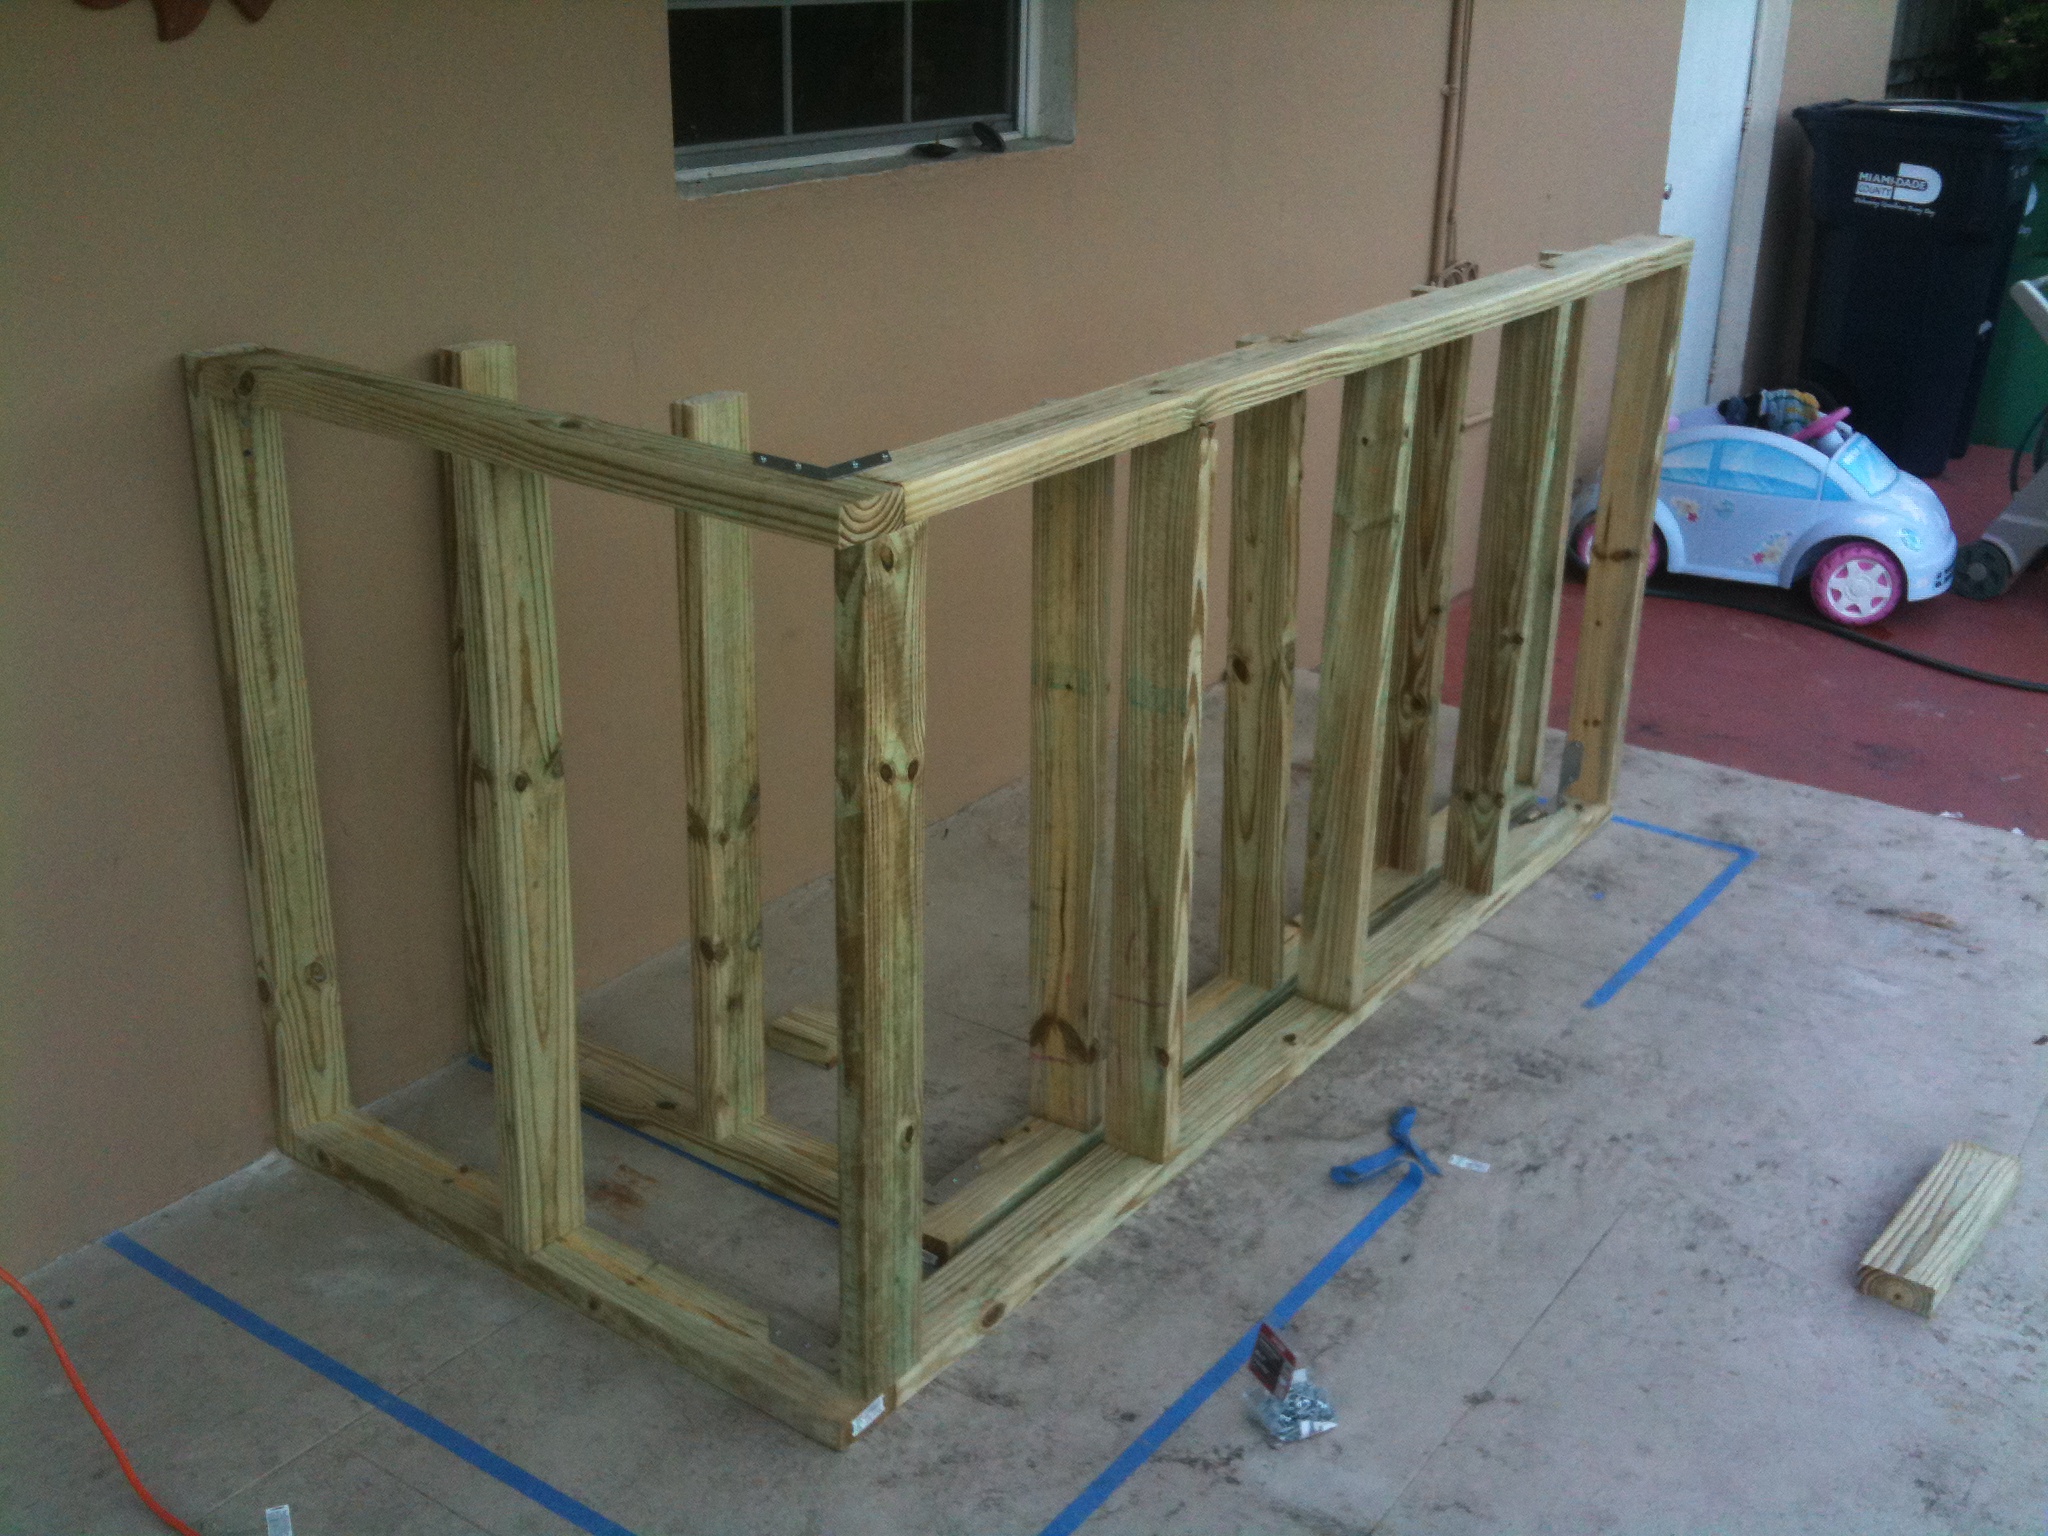
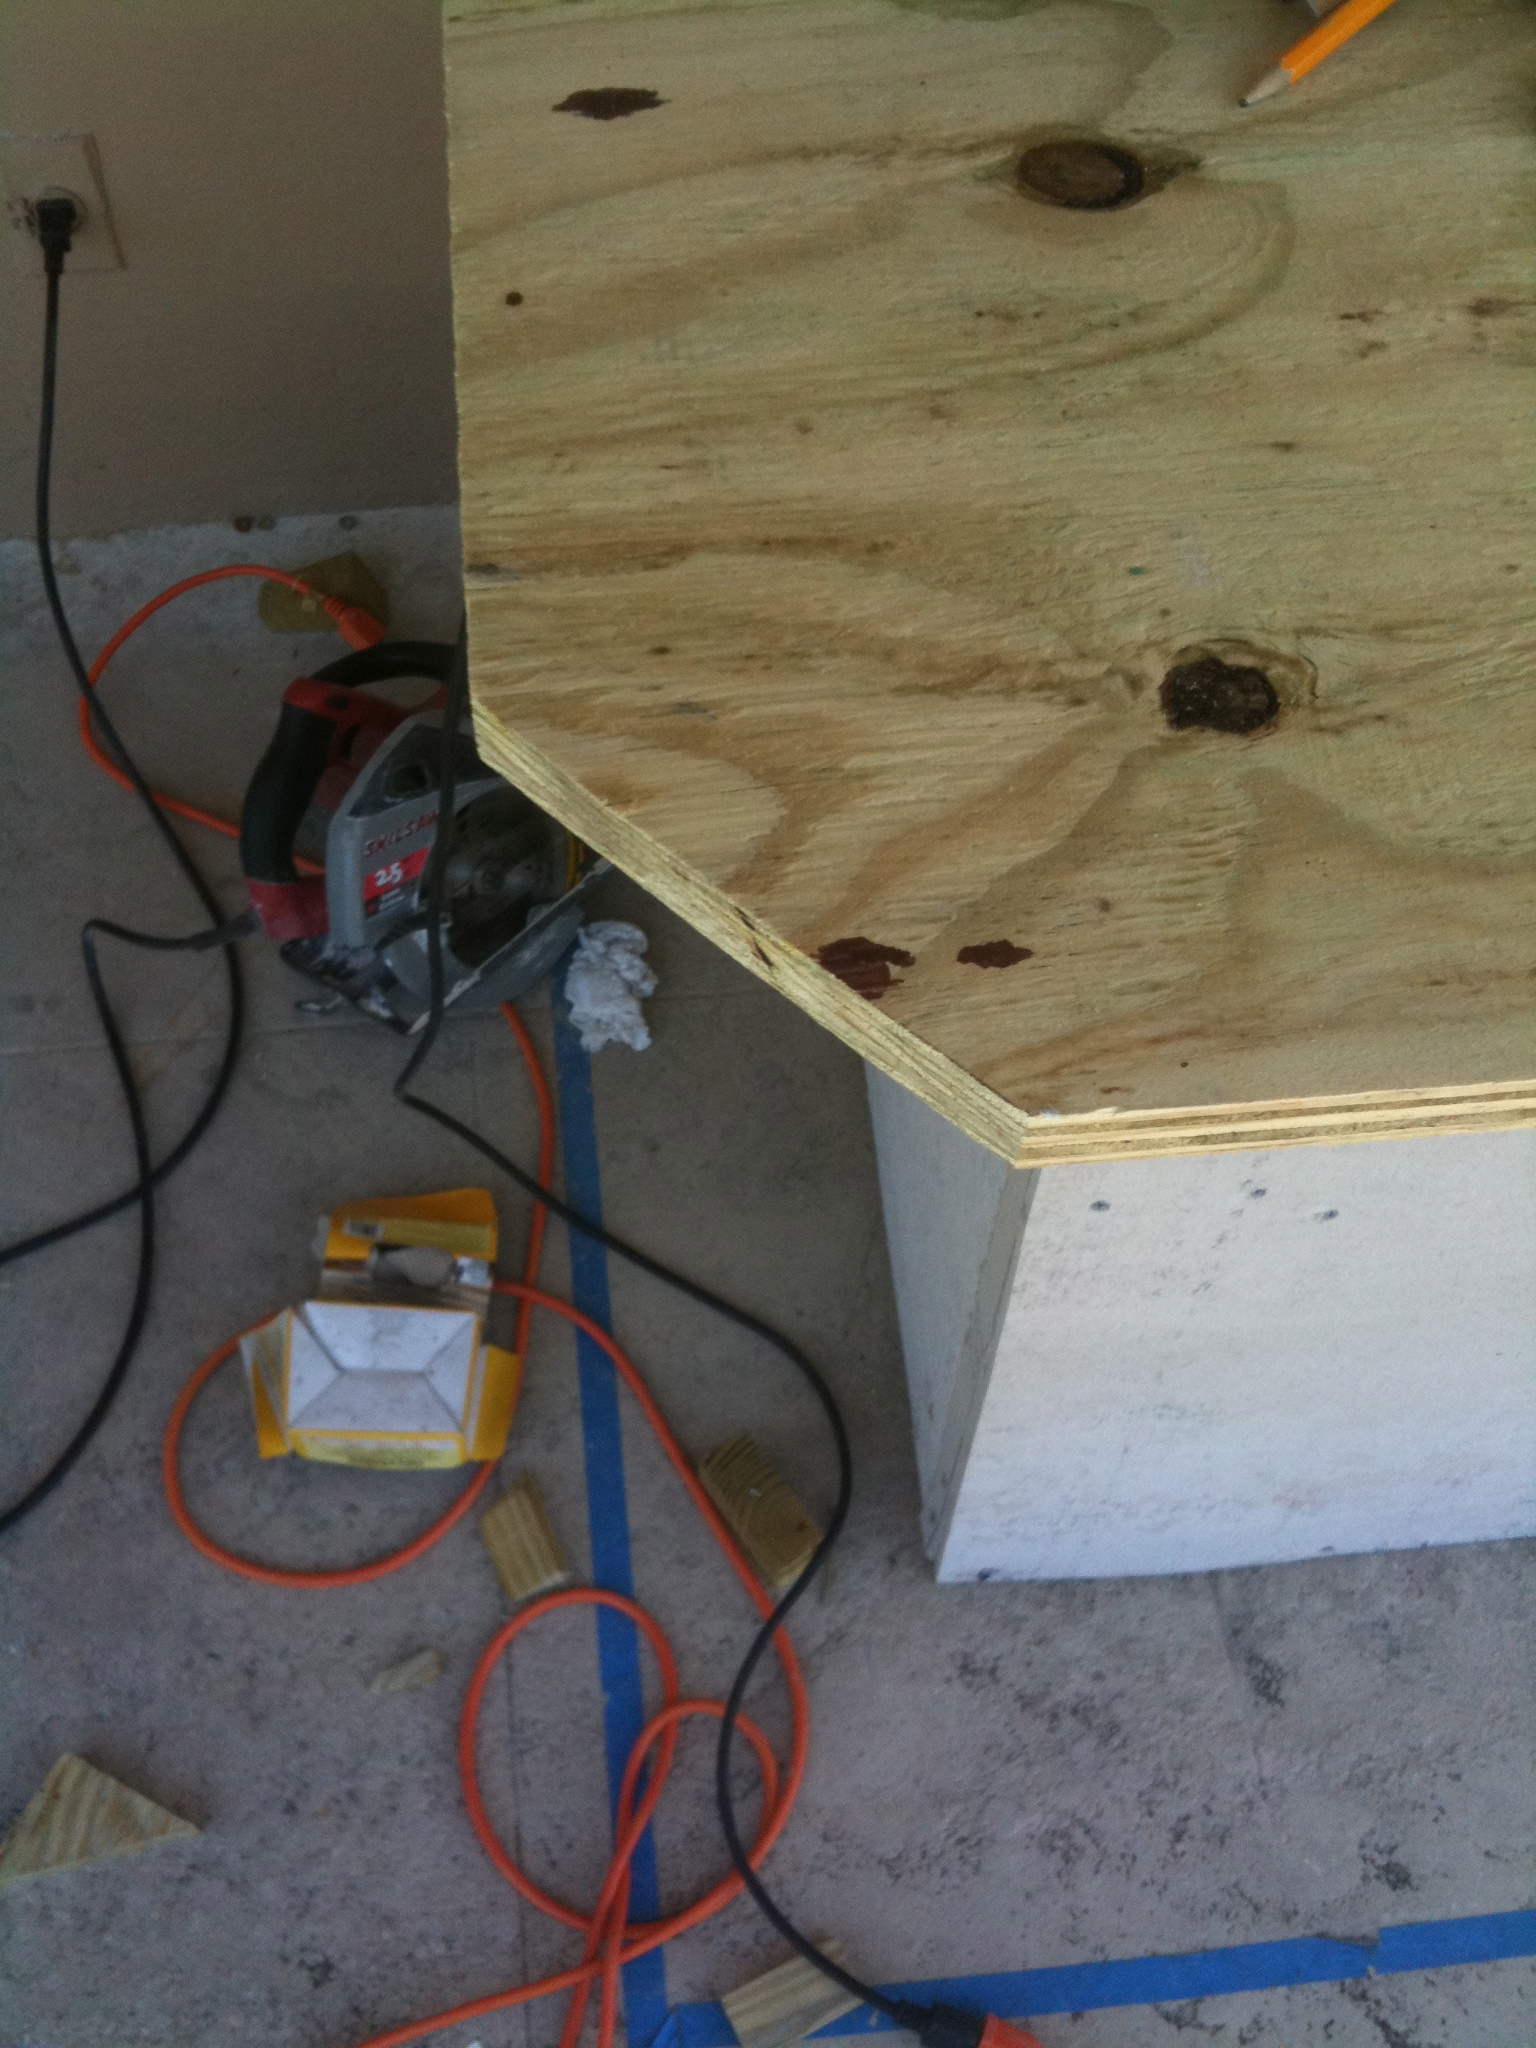
- Corners cut at 135 degrees

-

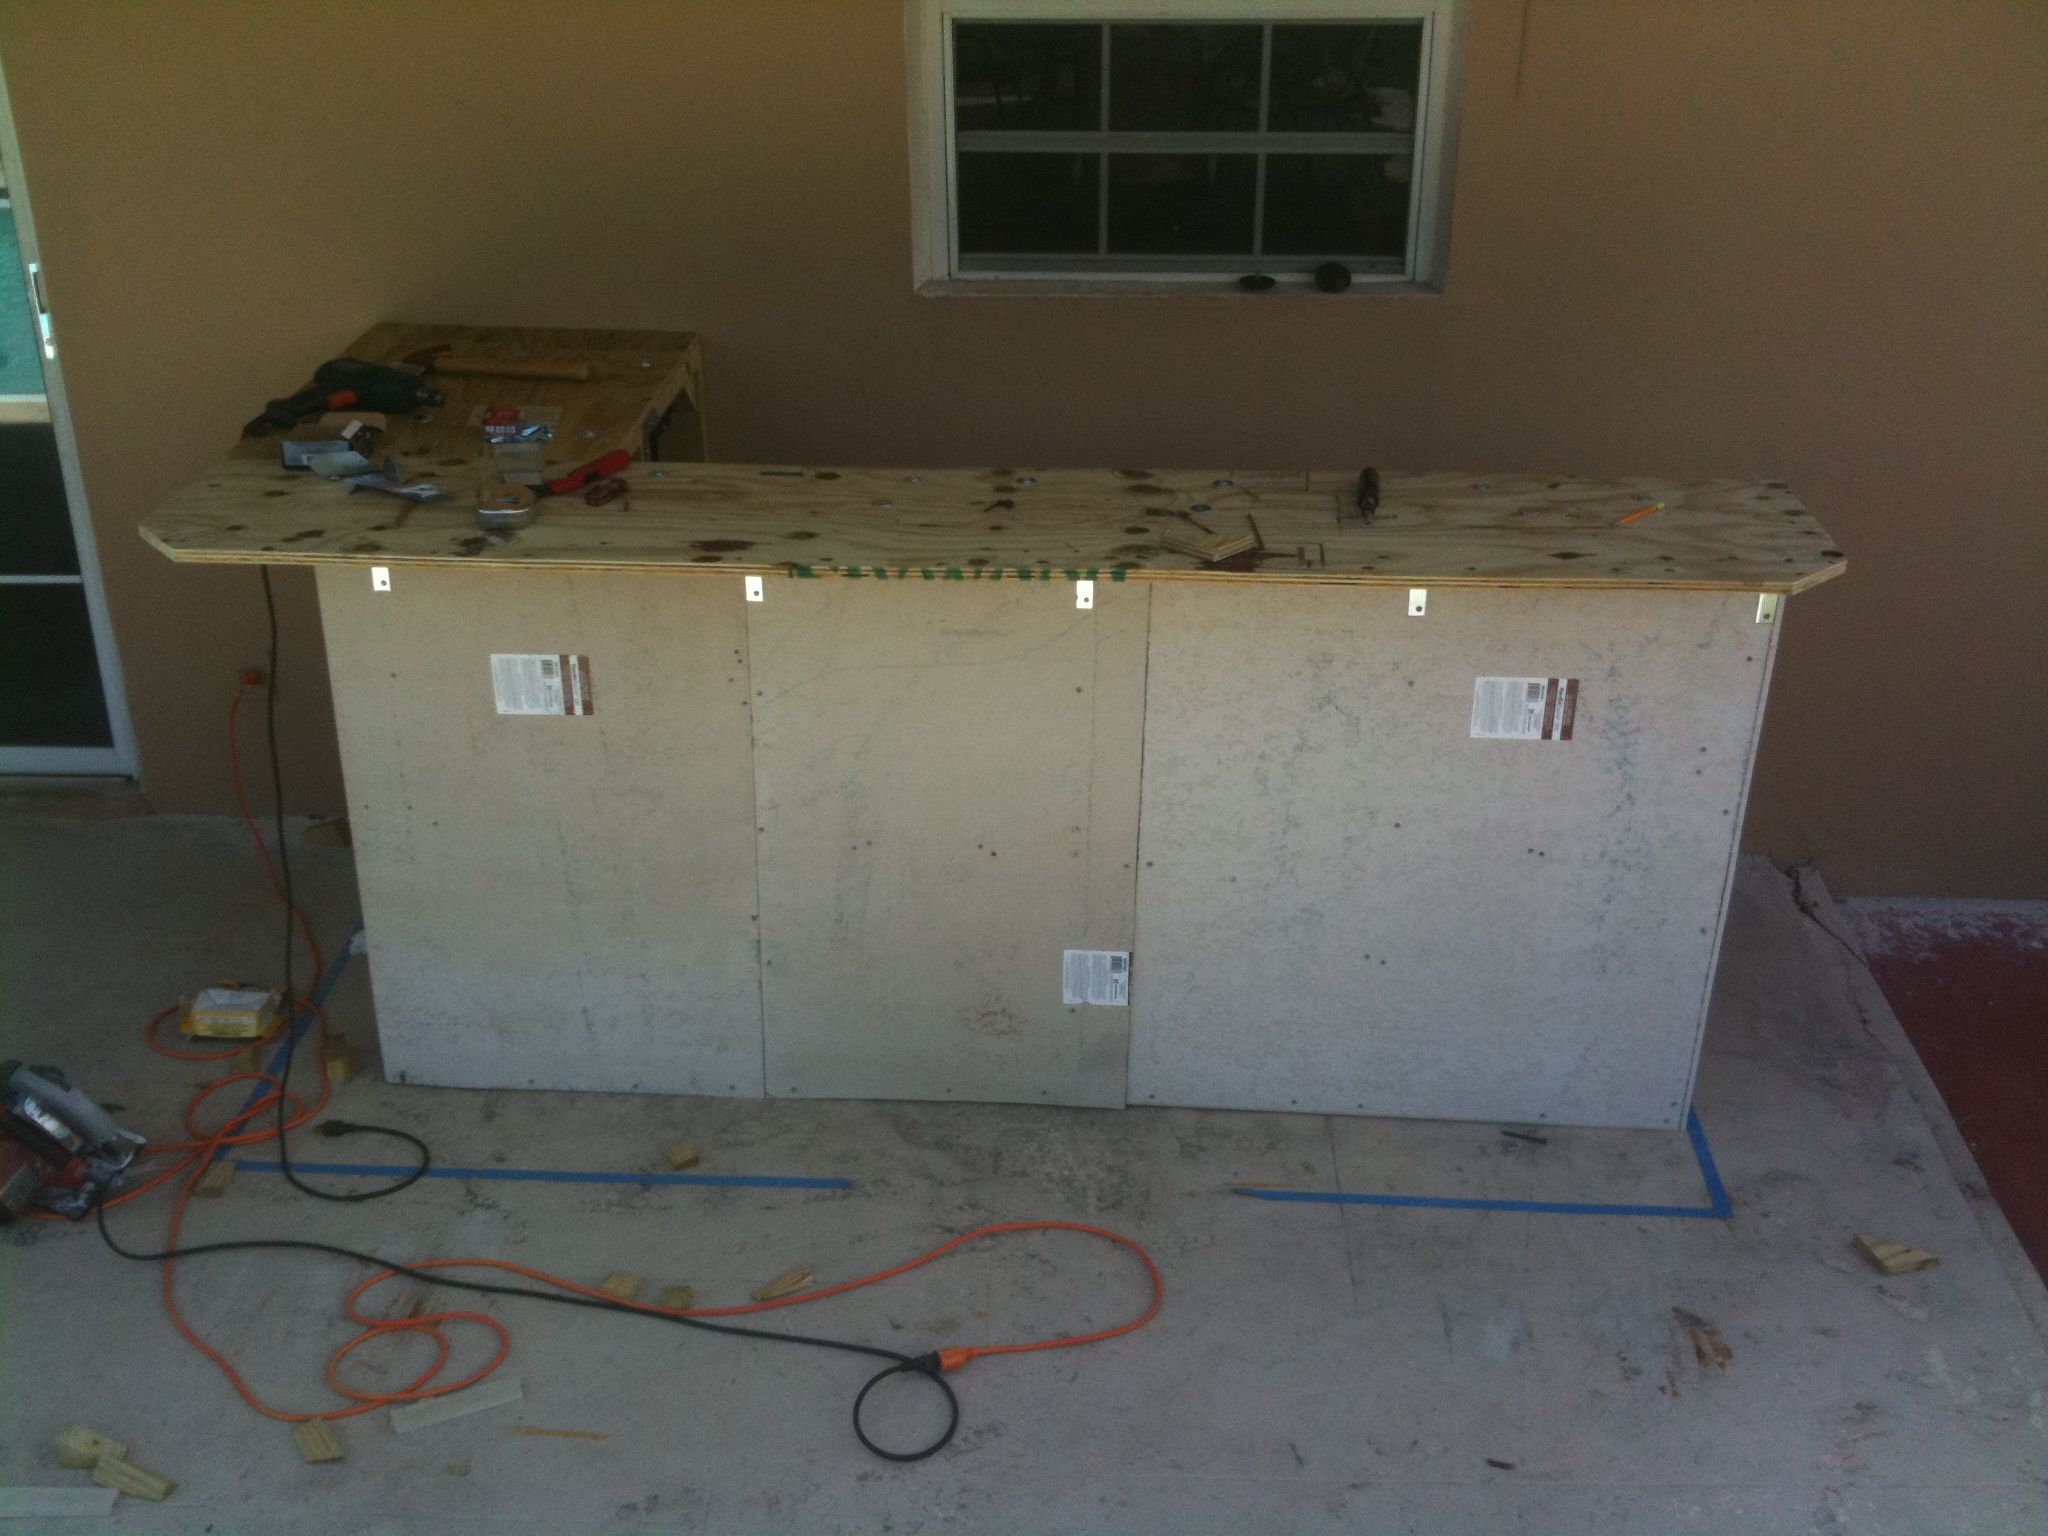
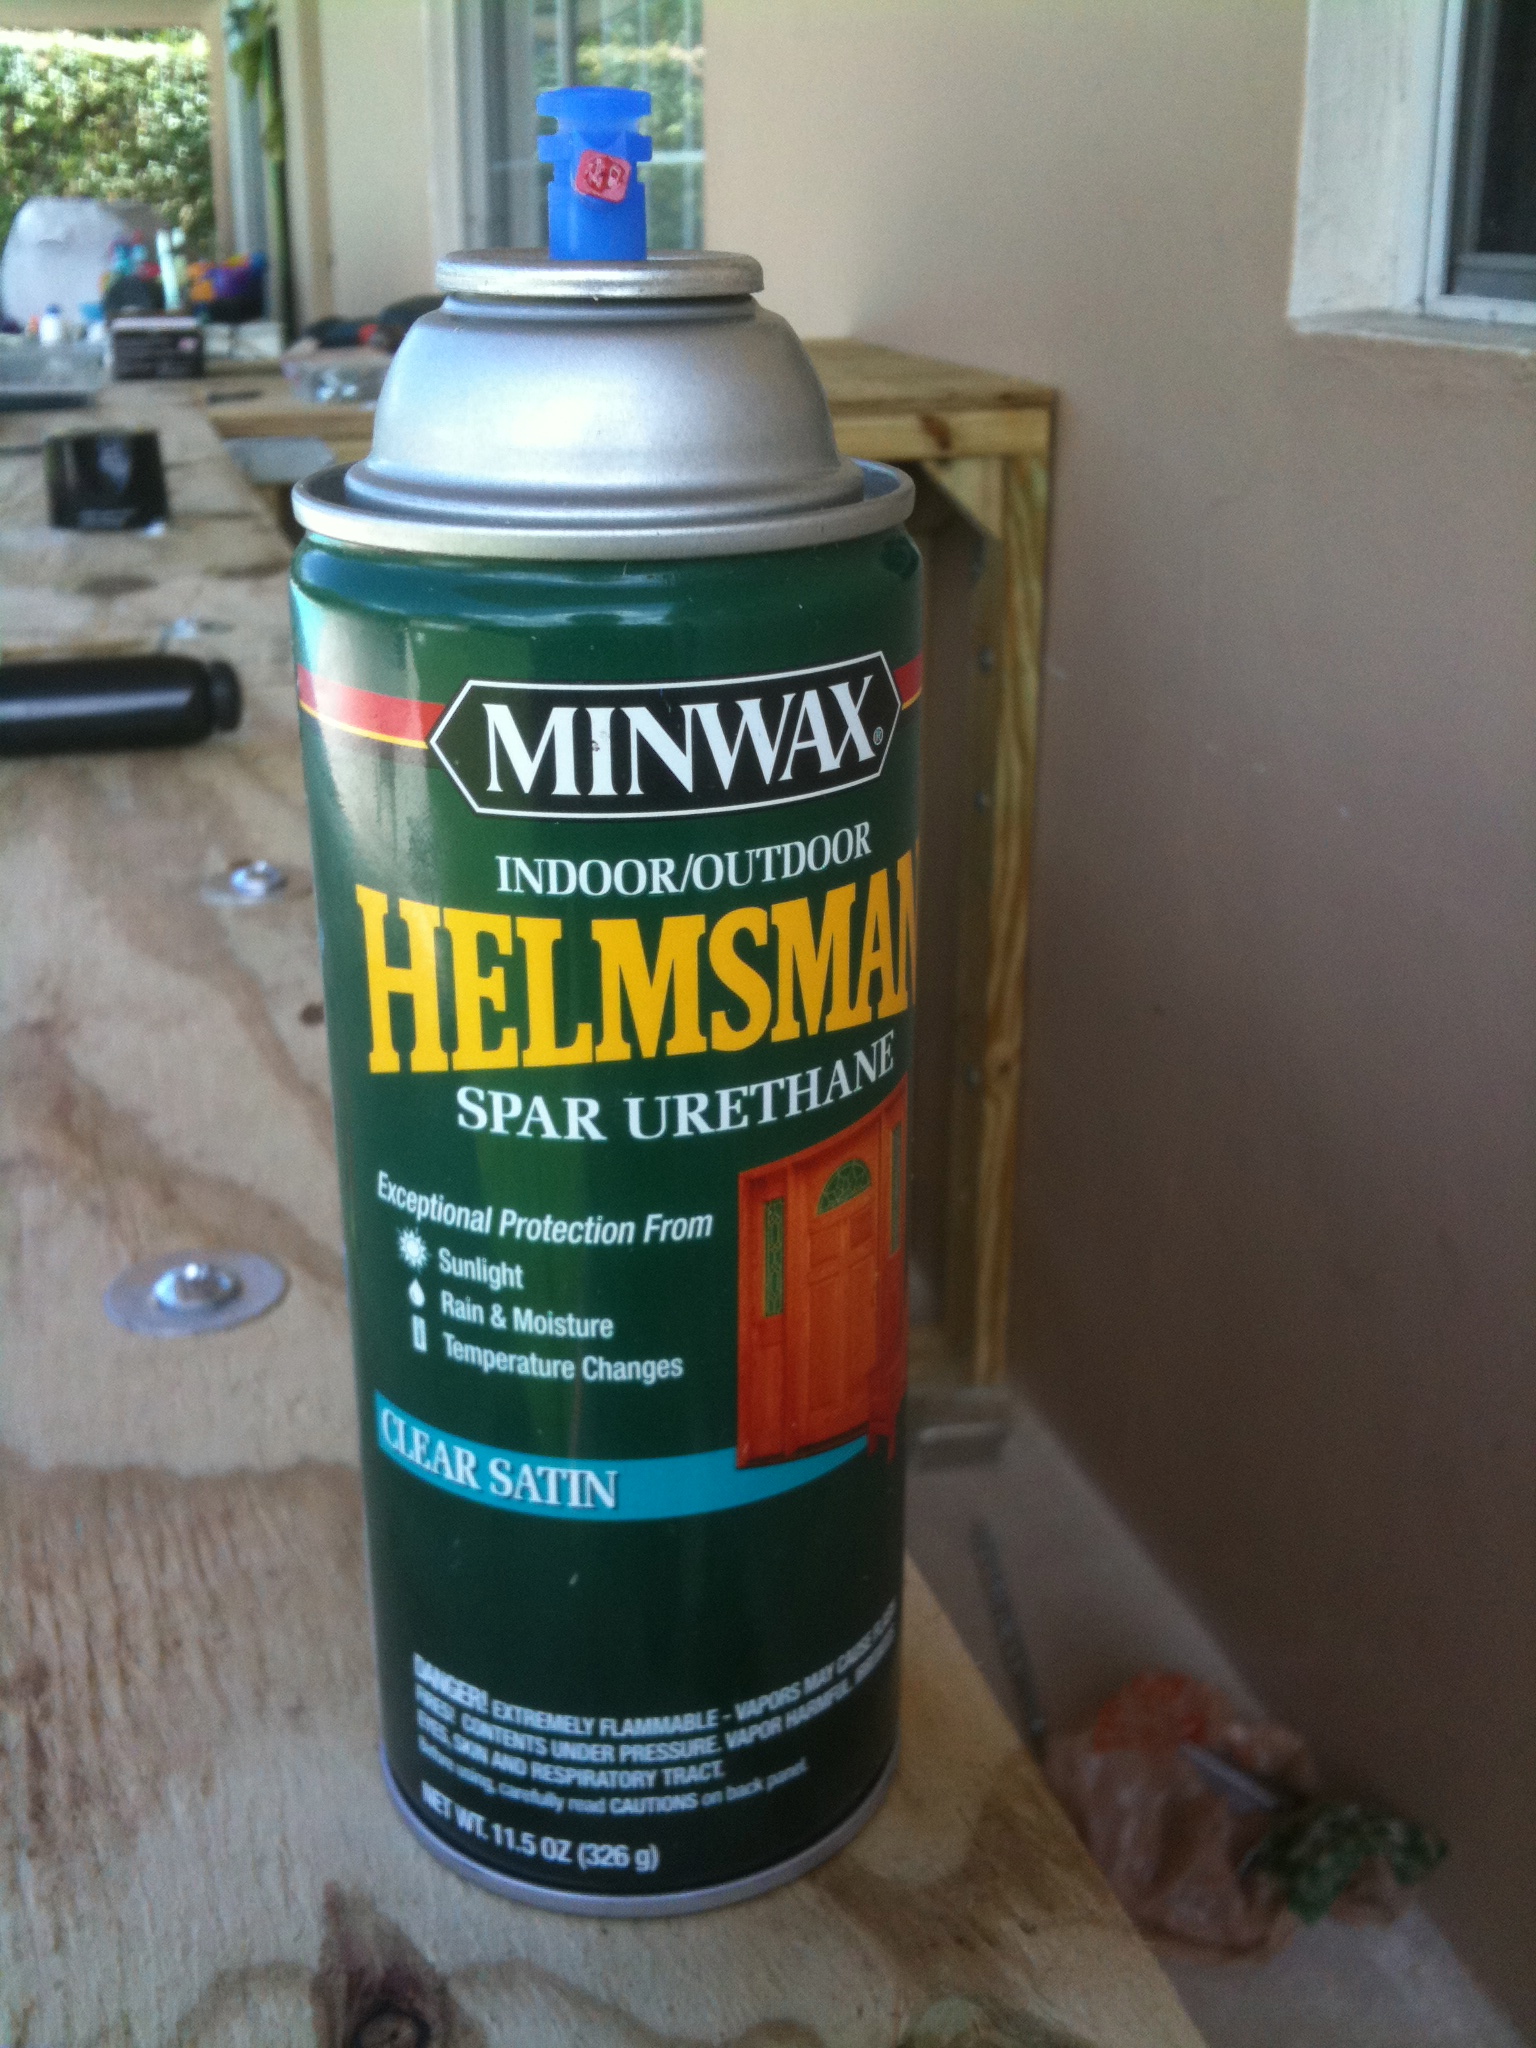
- Polyurethane to make it MORE weather proof
-

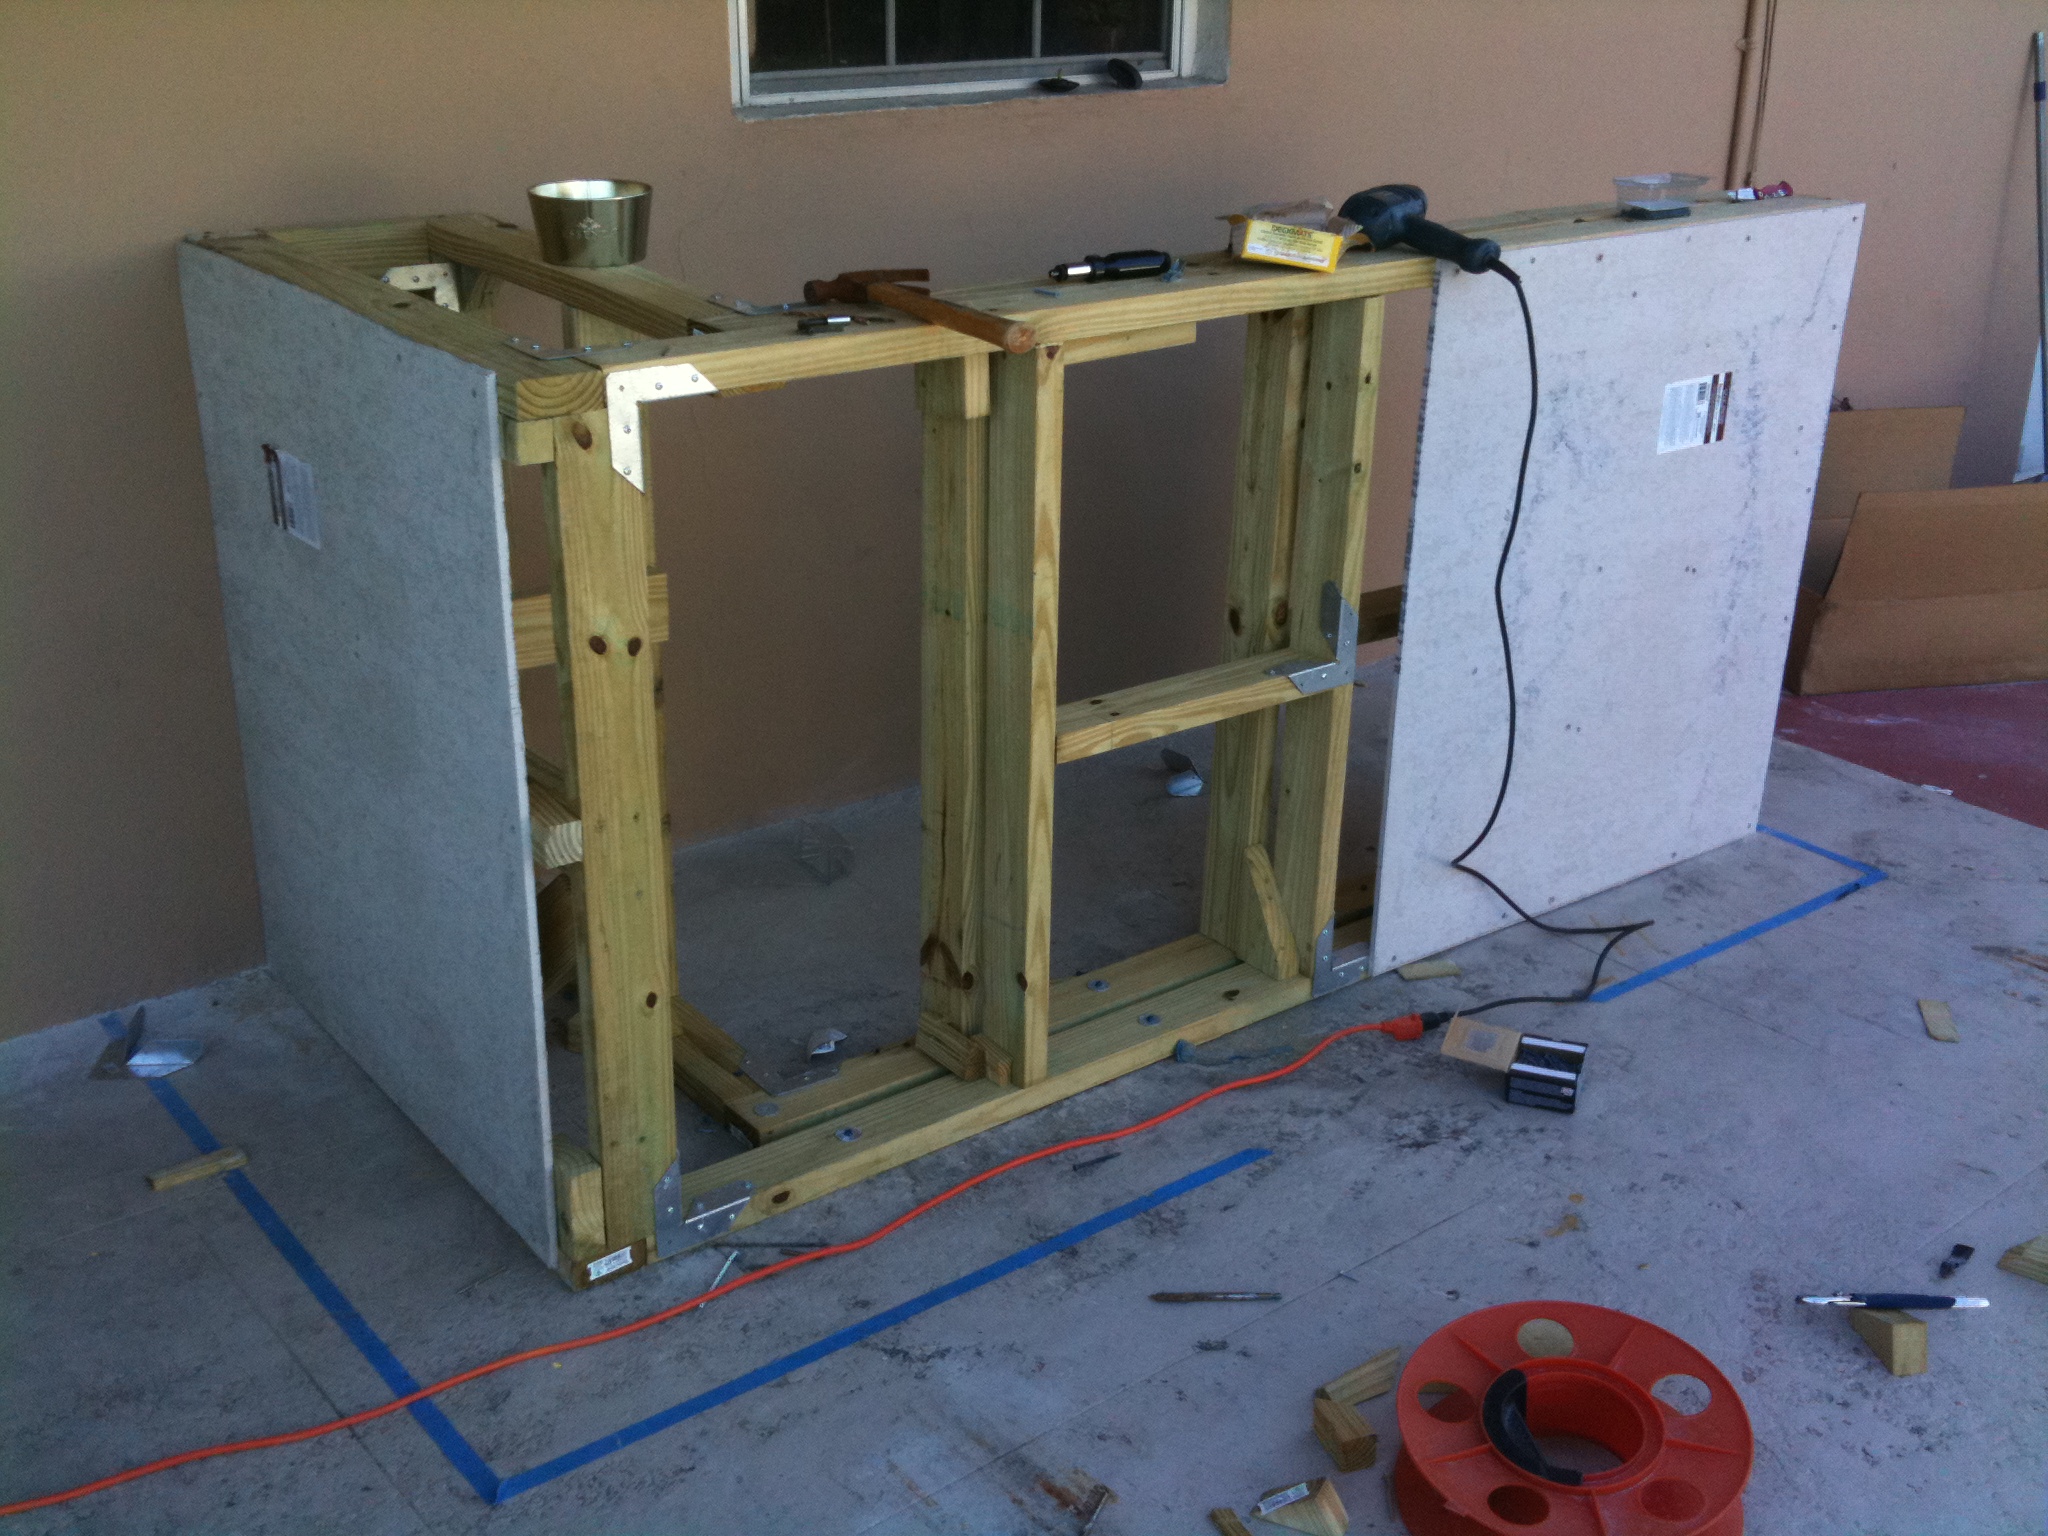
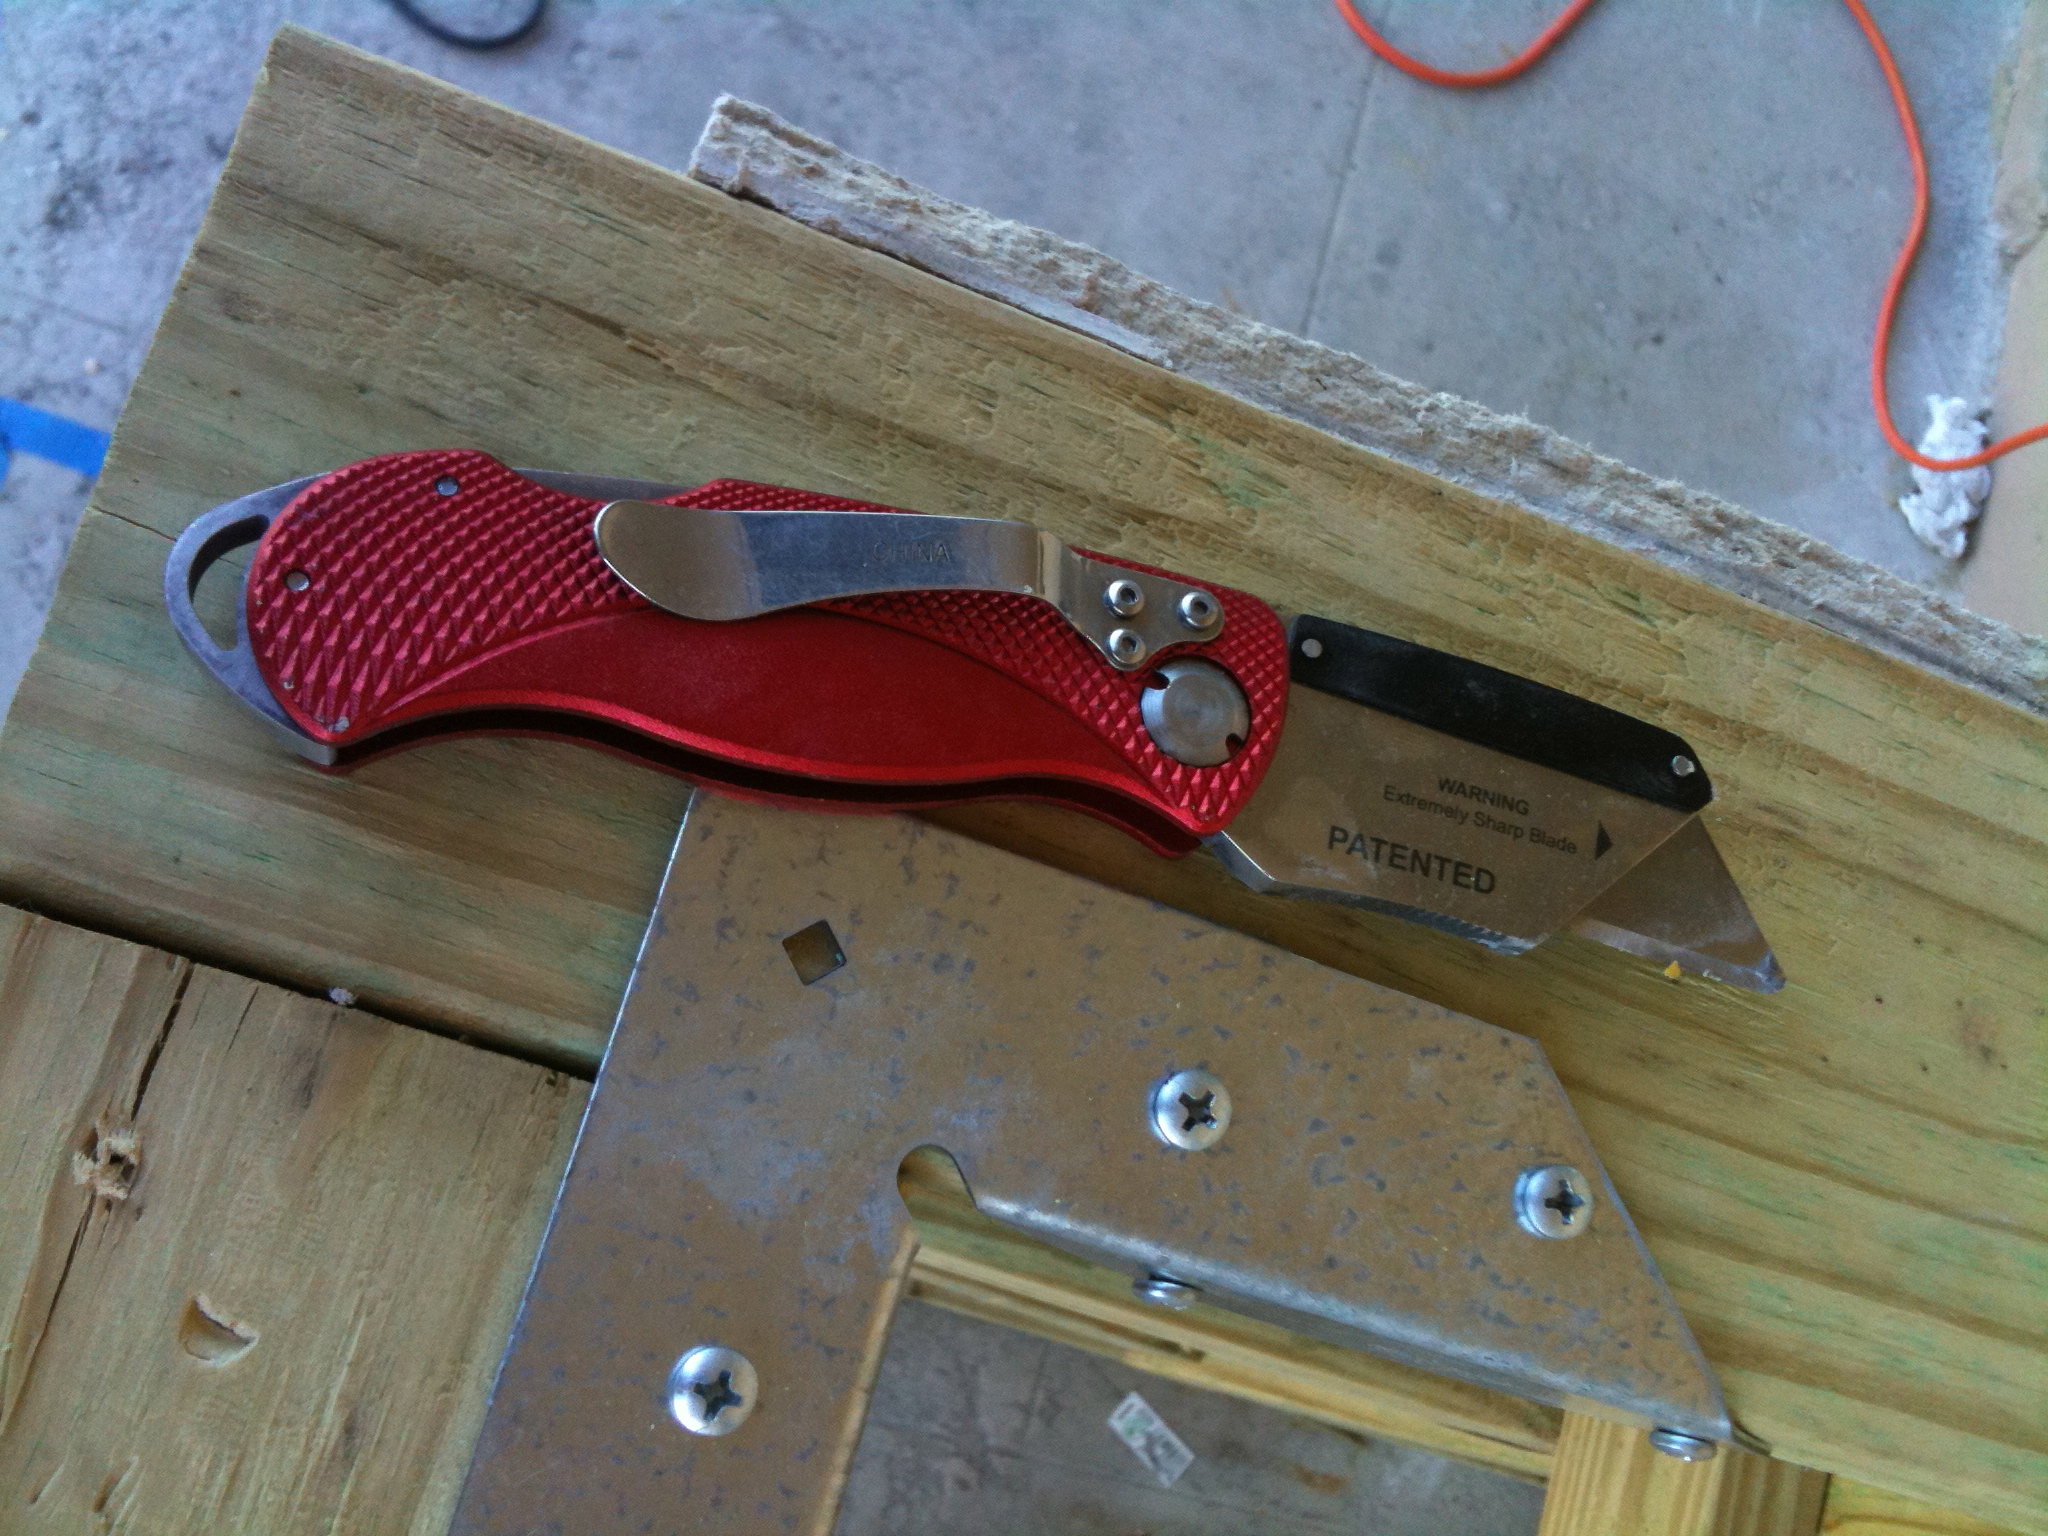
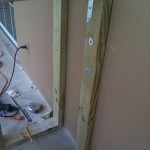
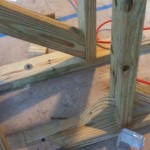
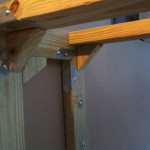
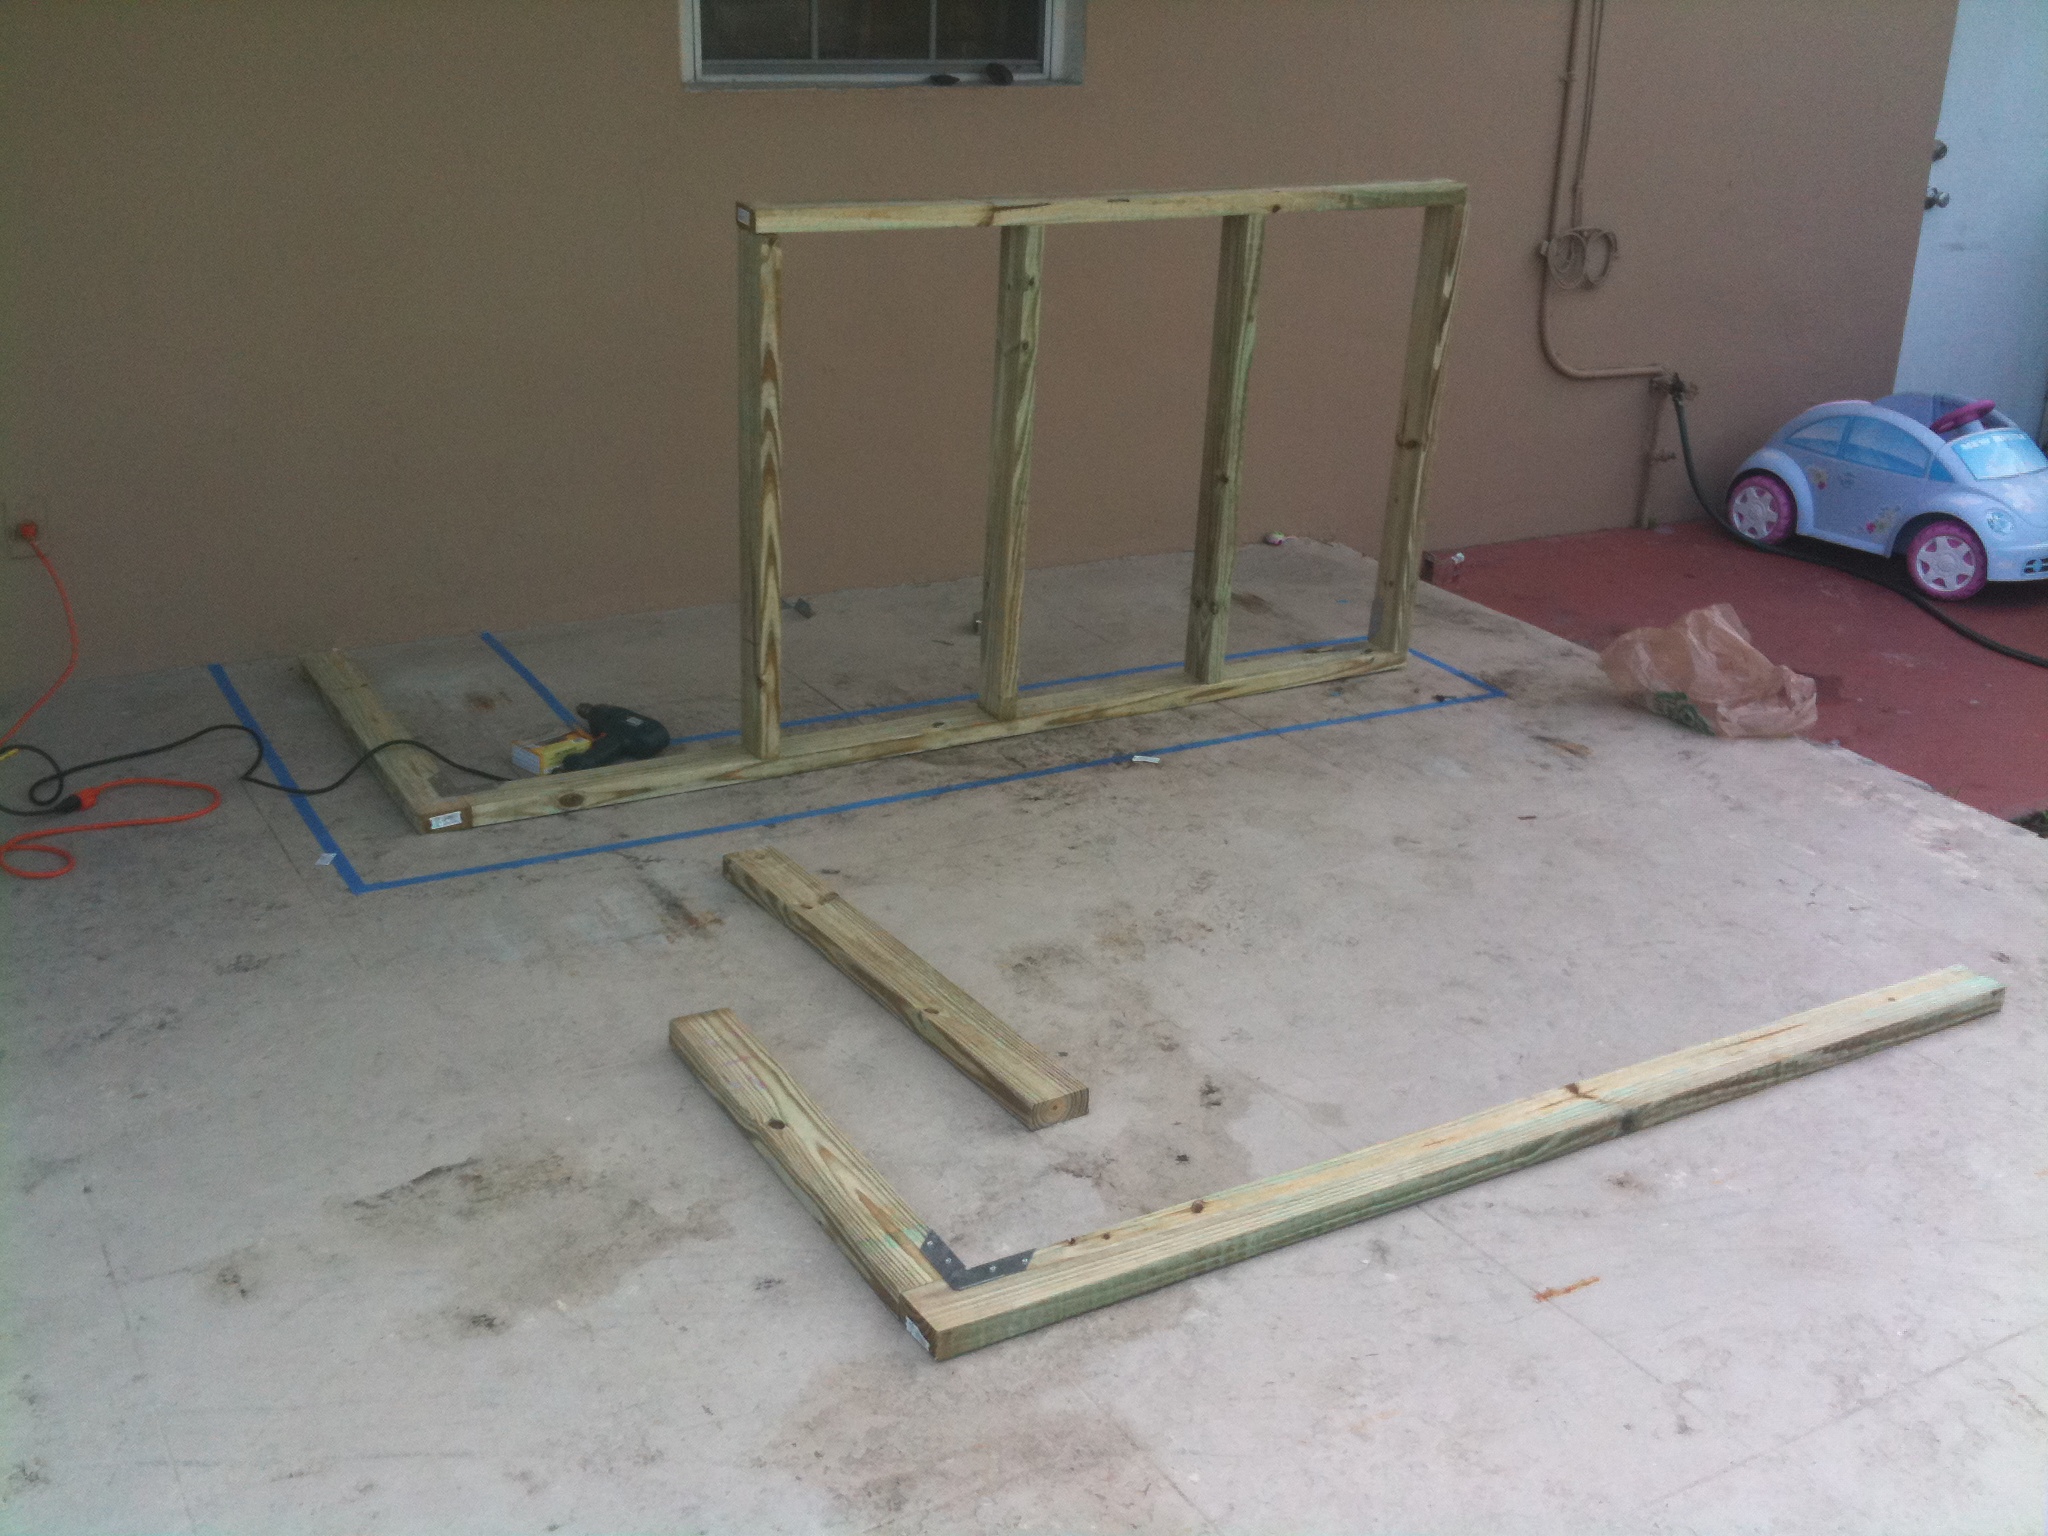
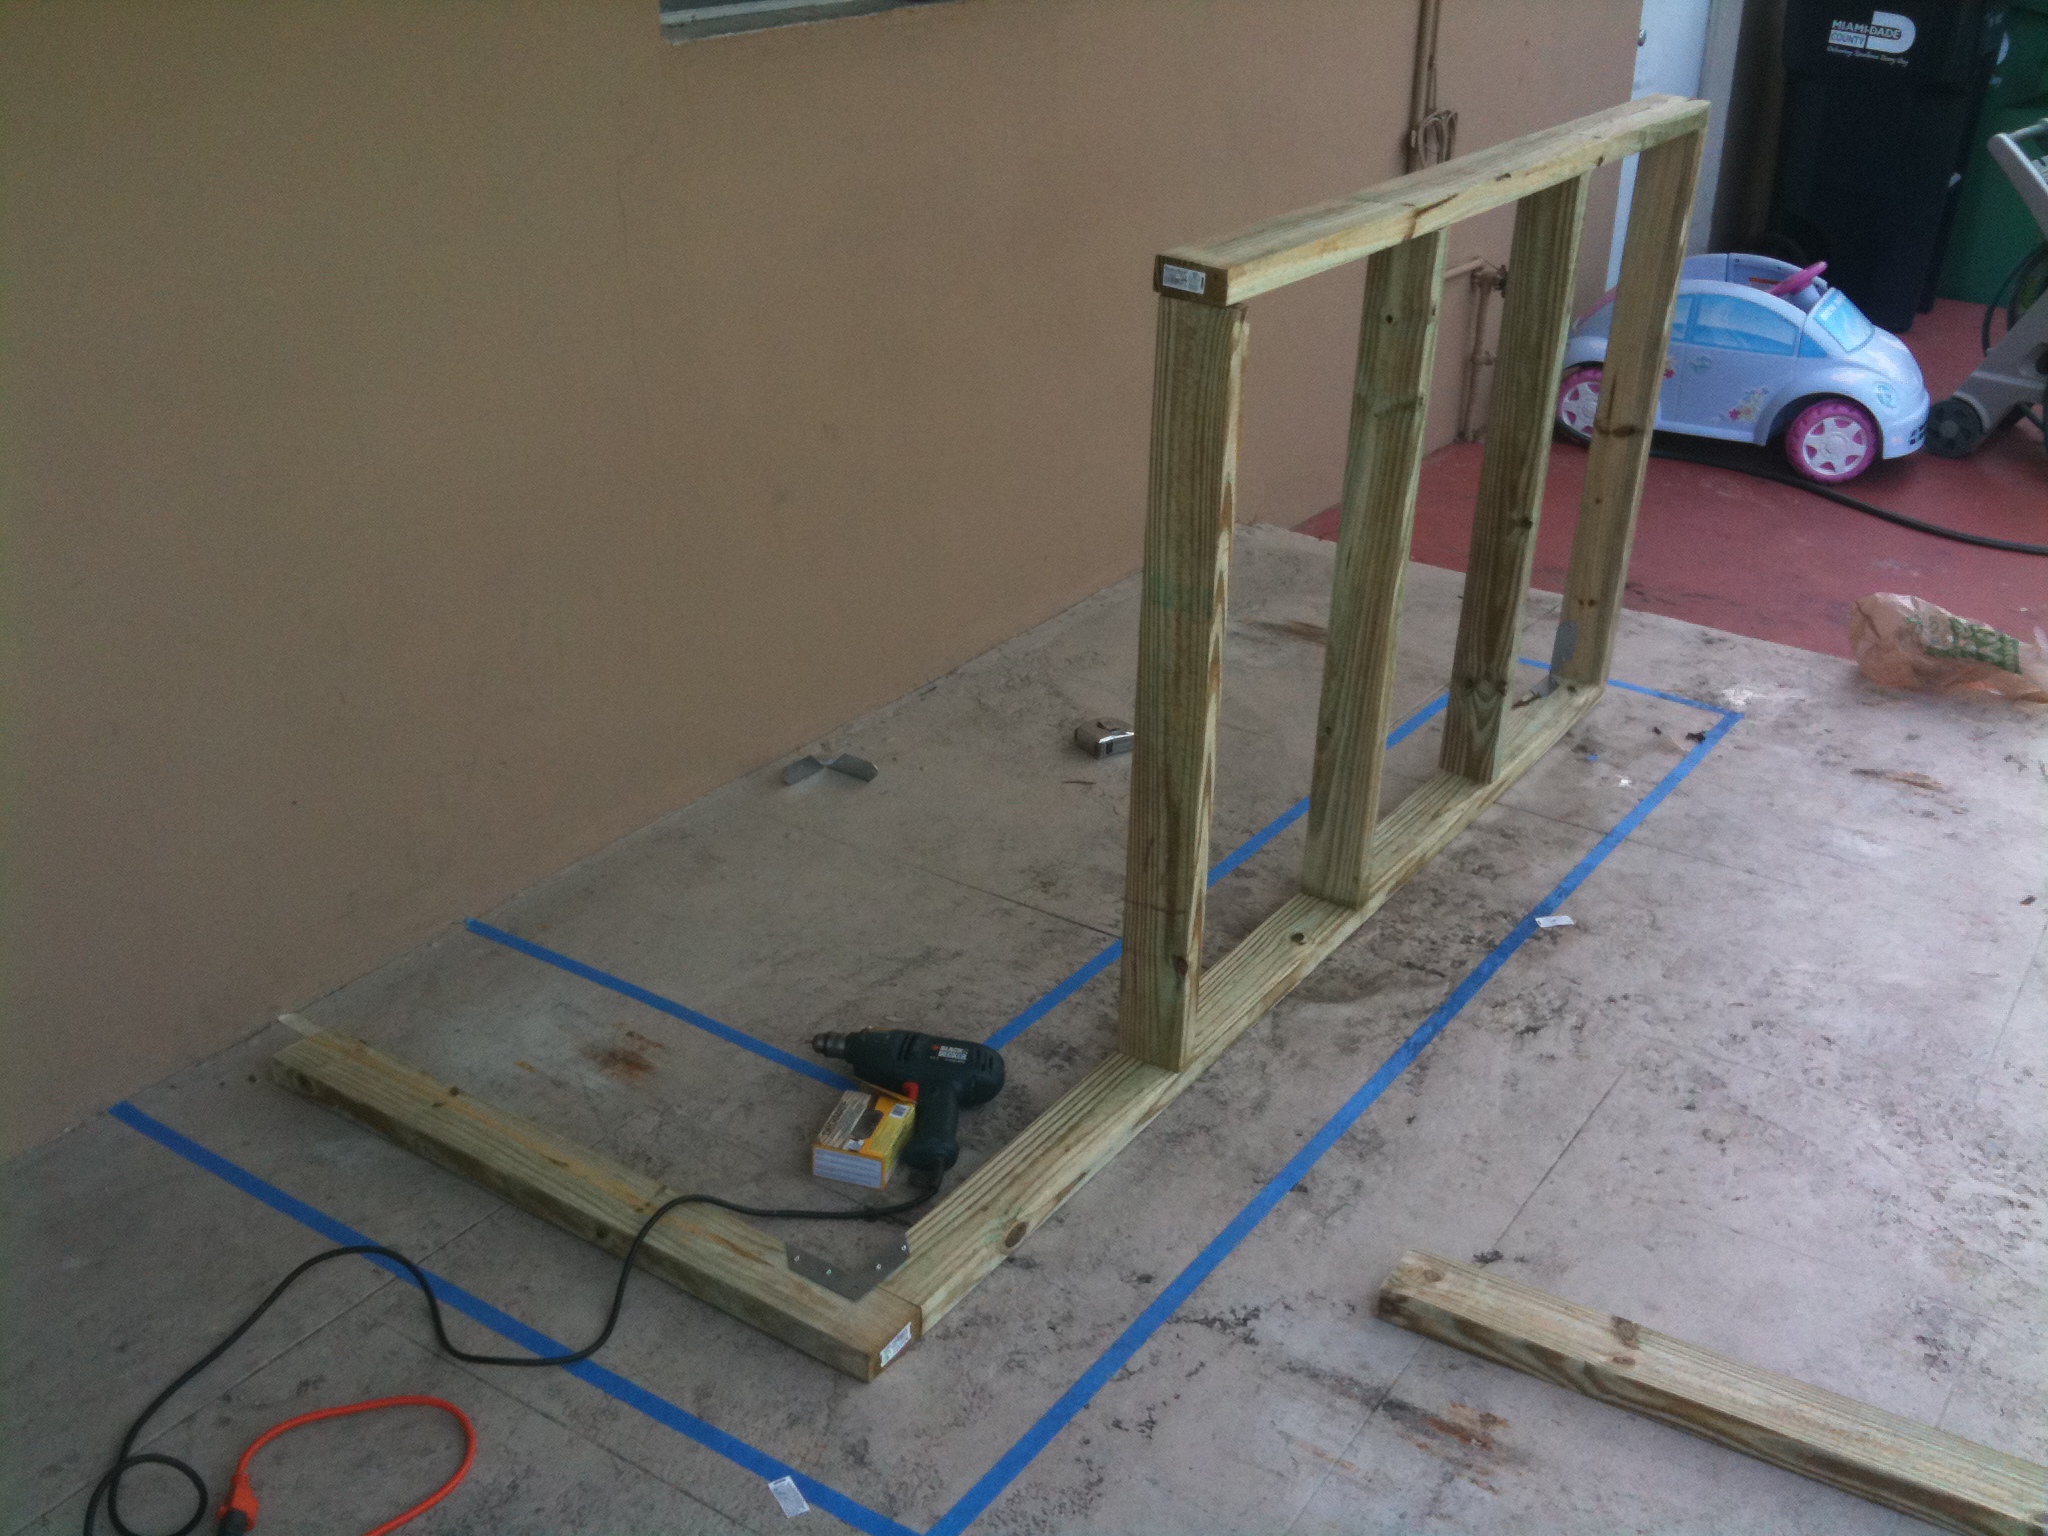
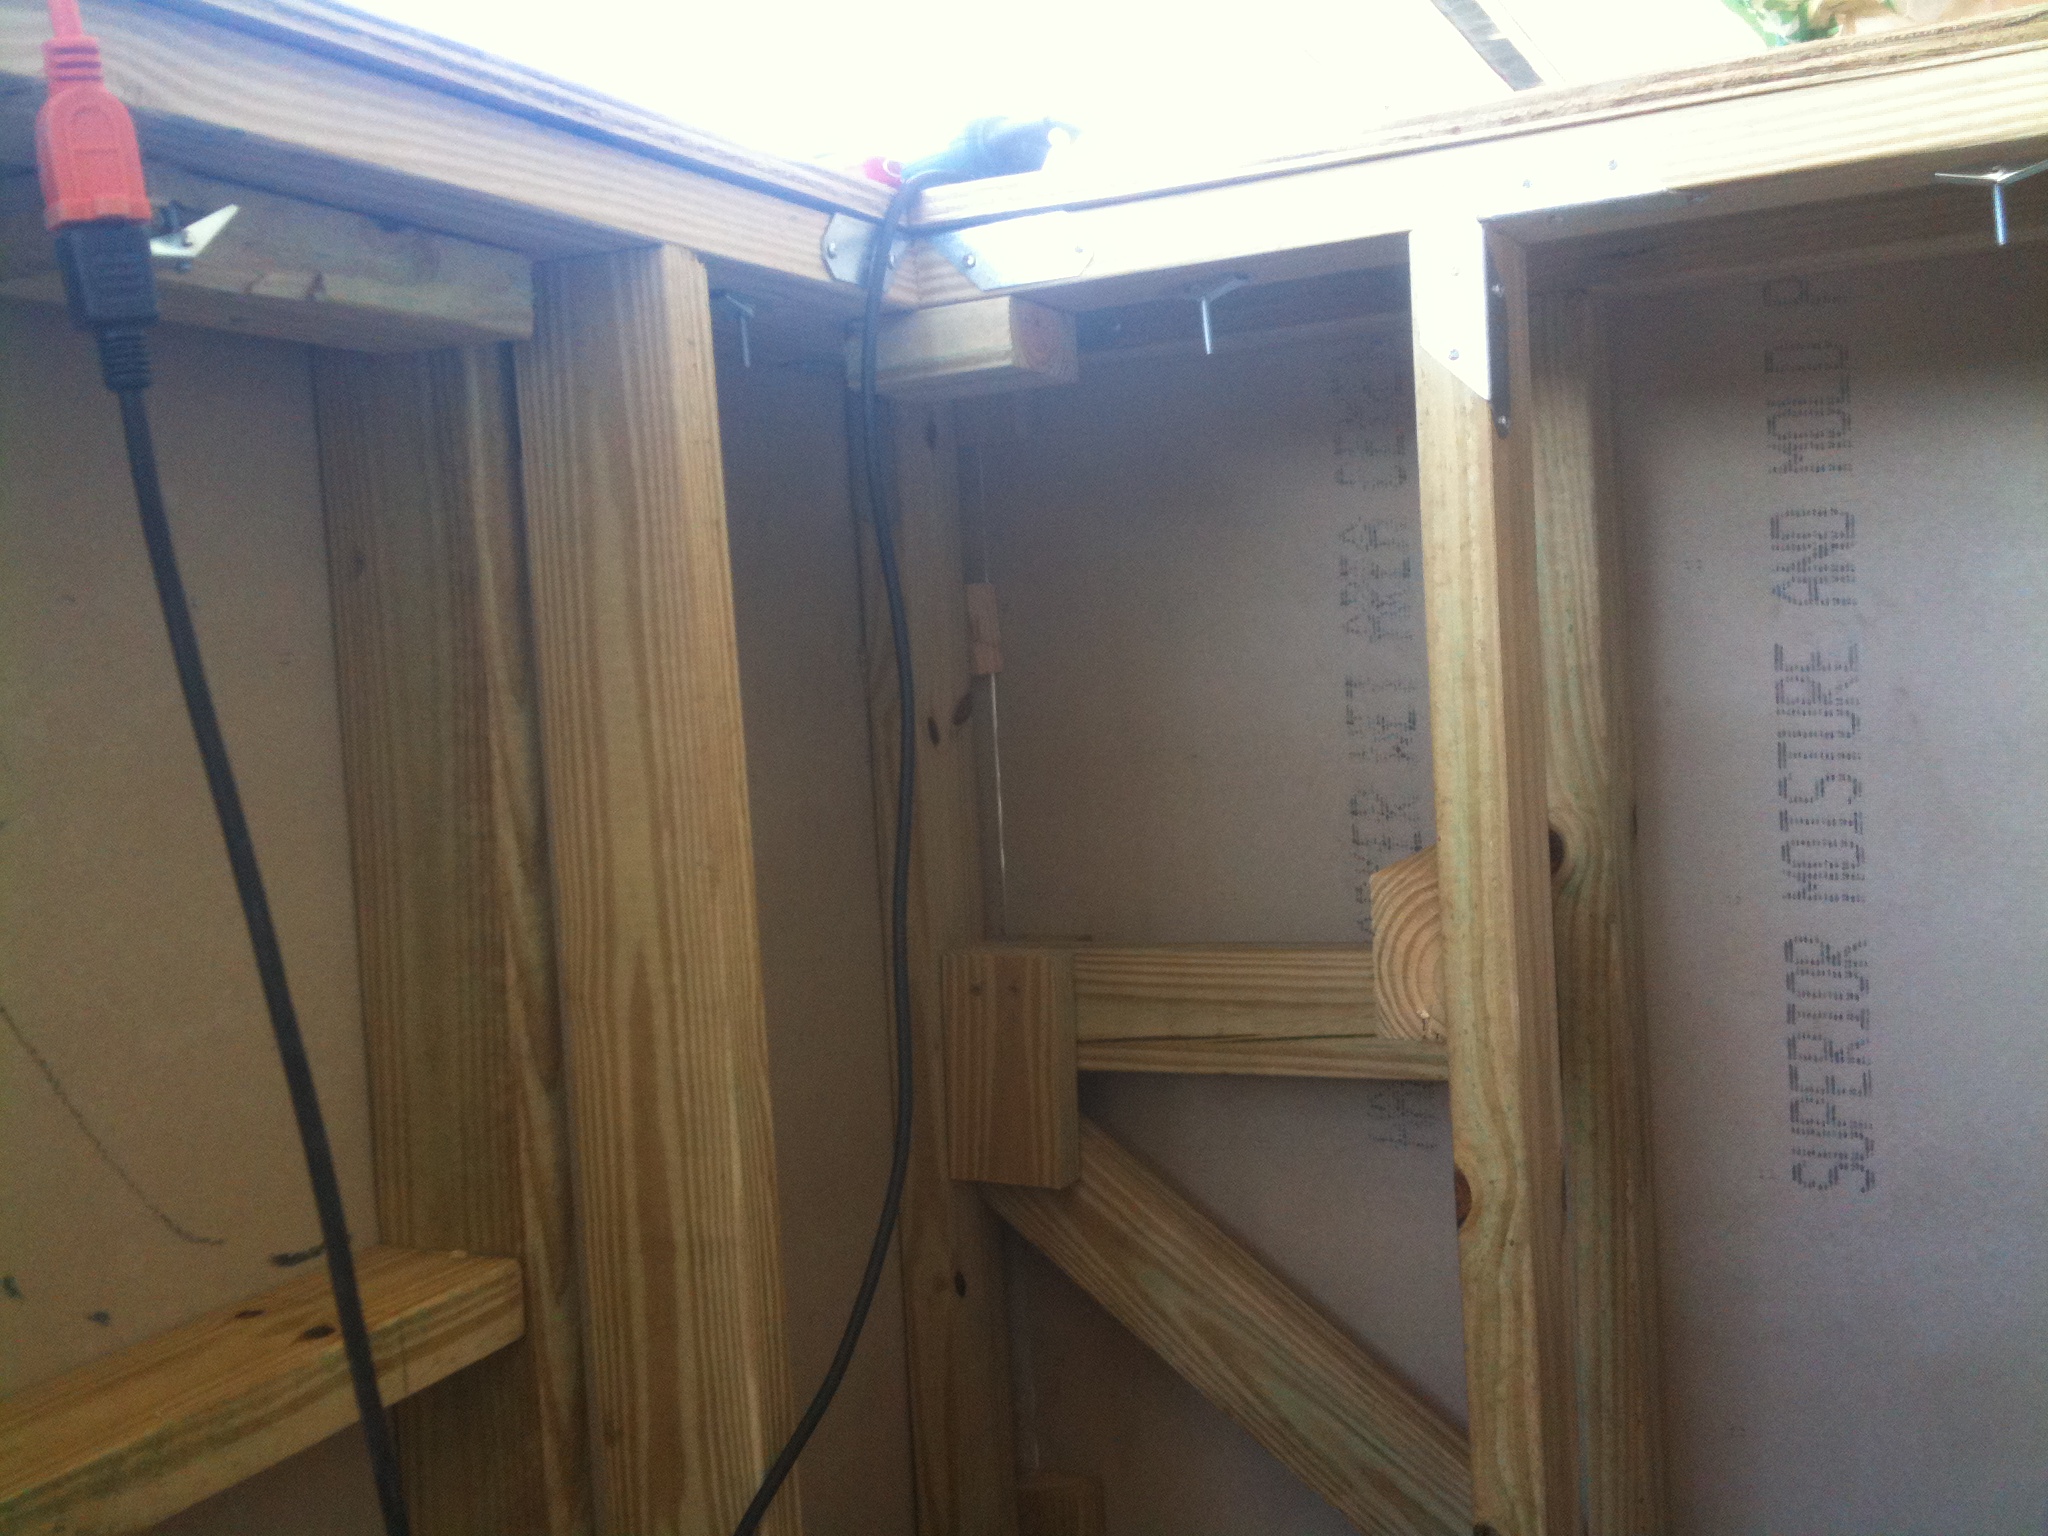
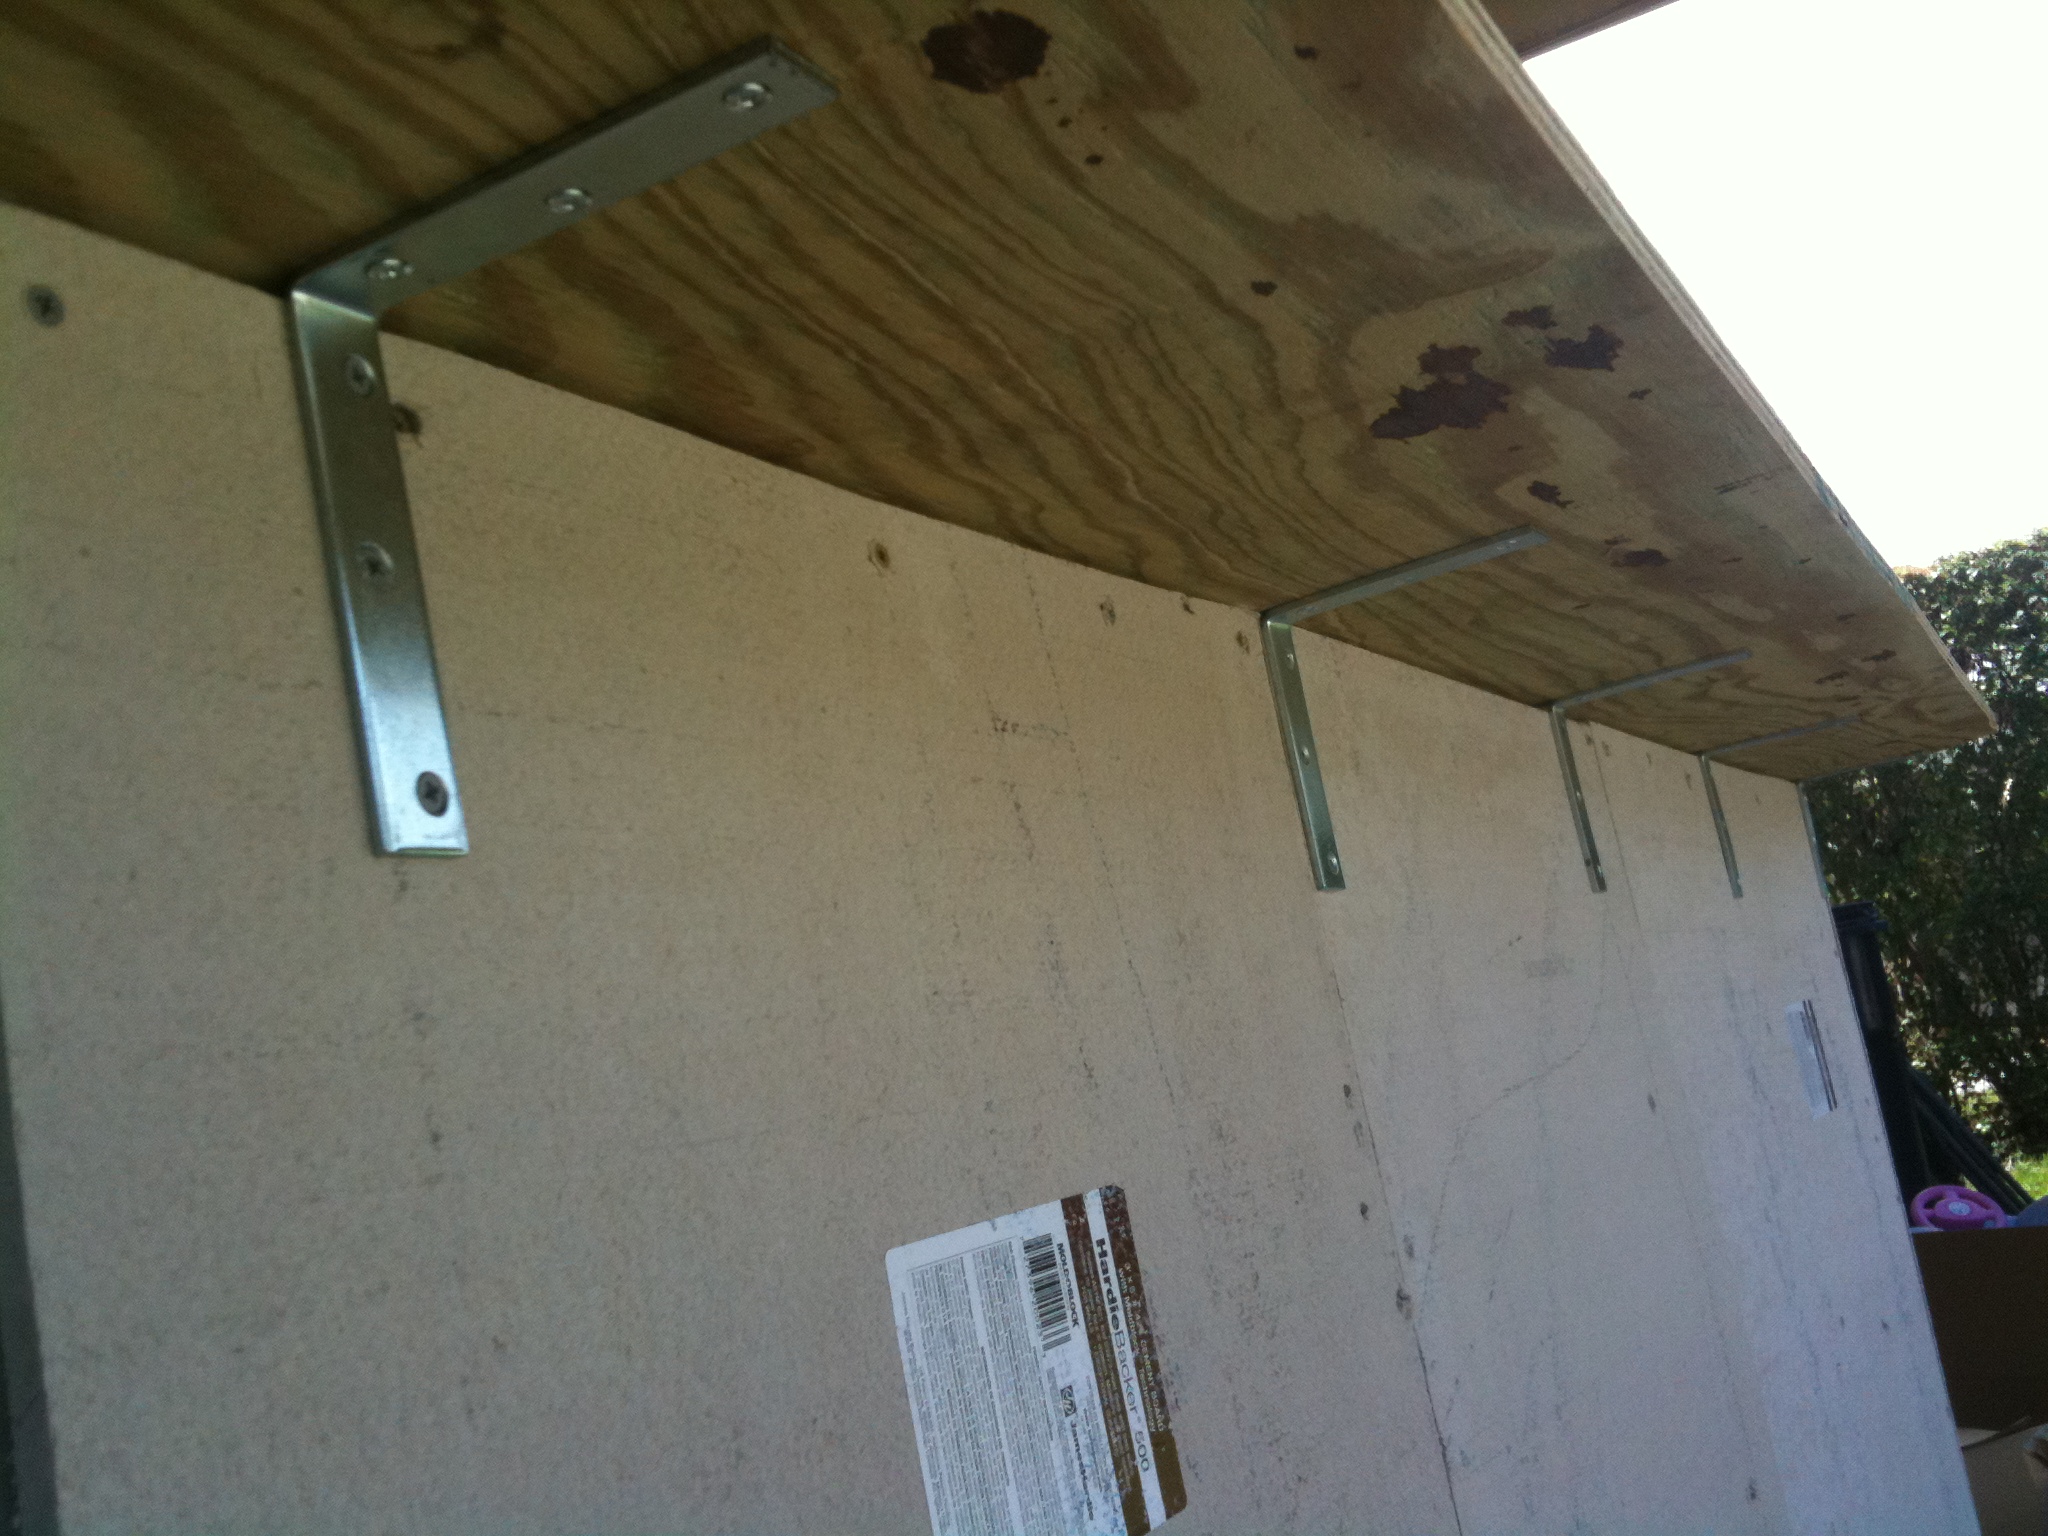
- L brackets
-
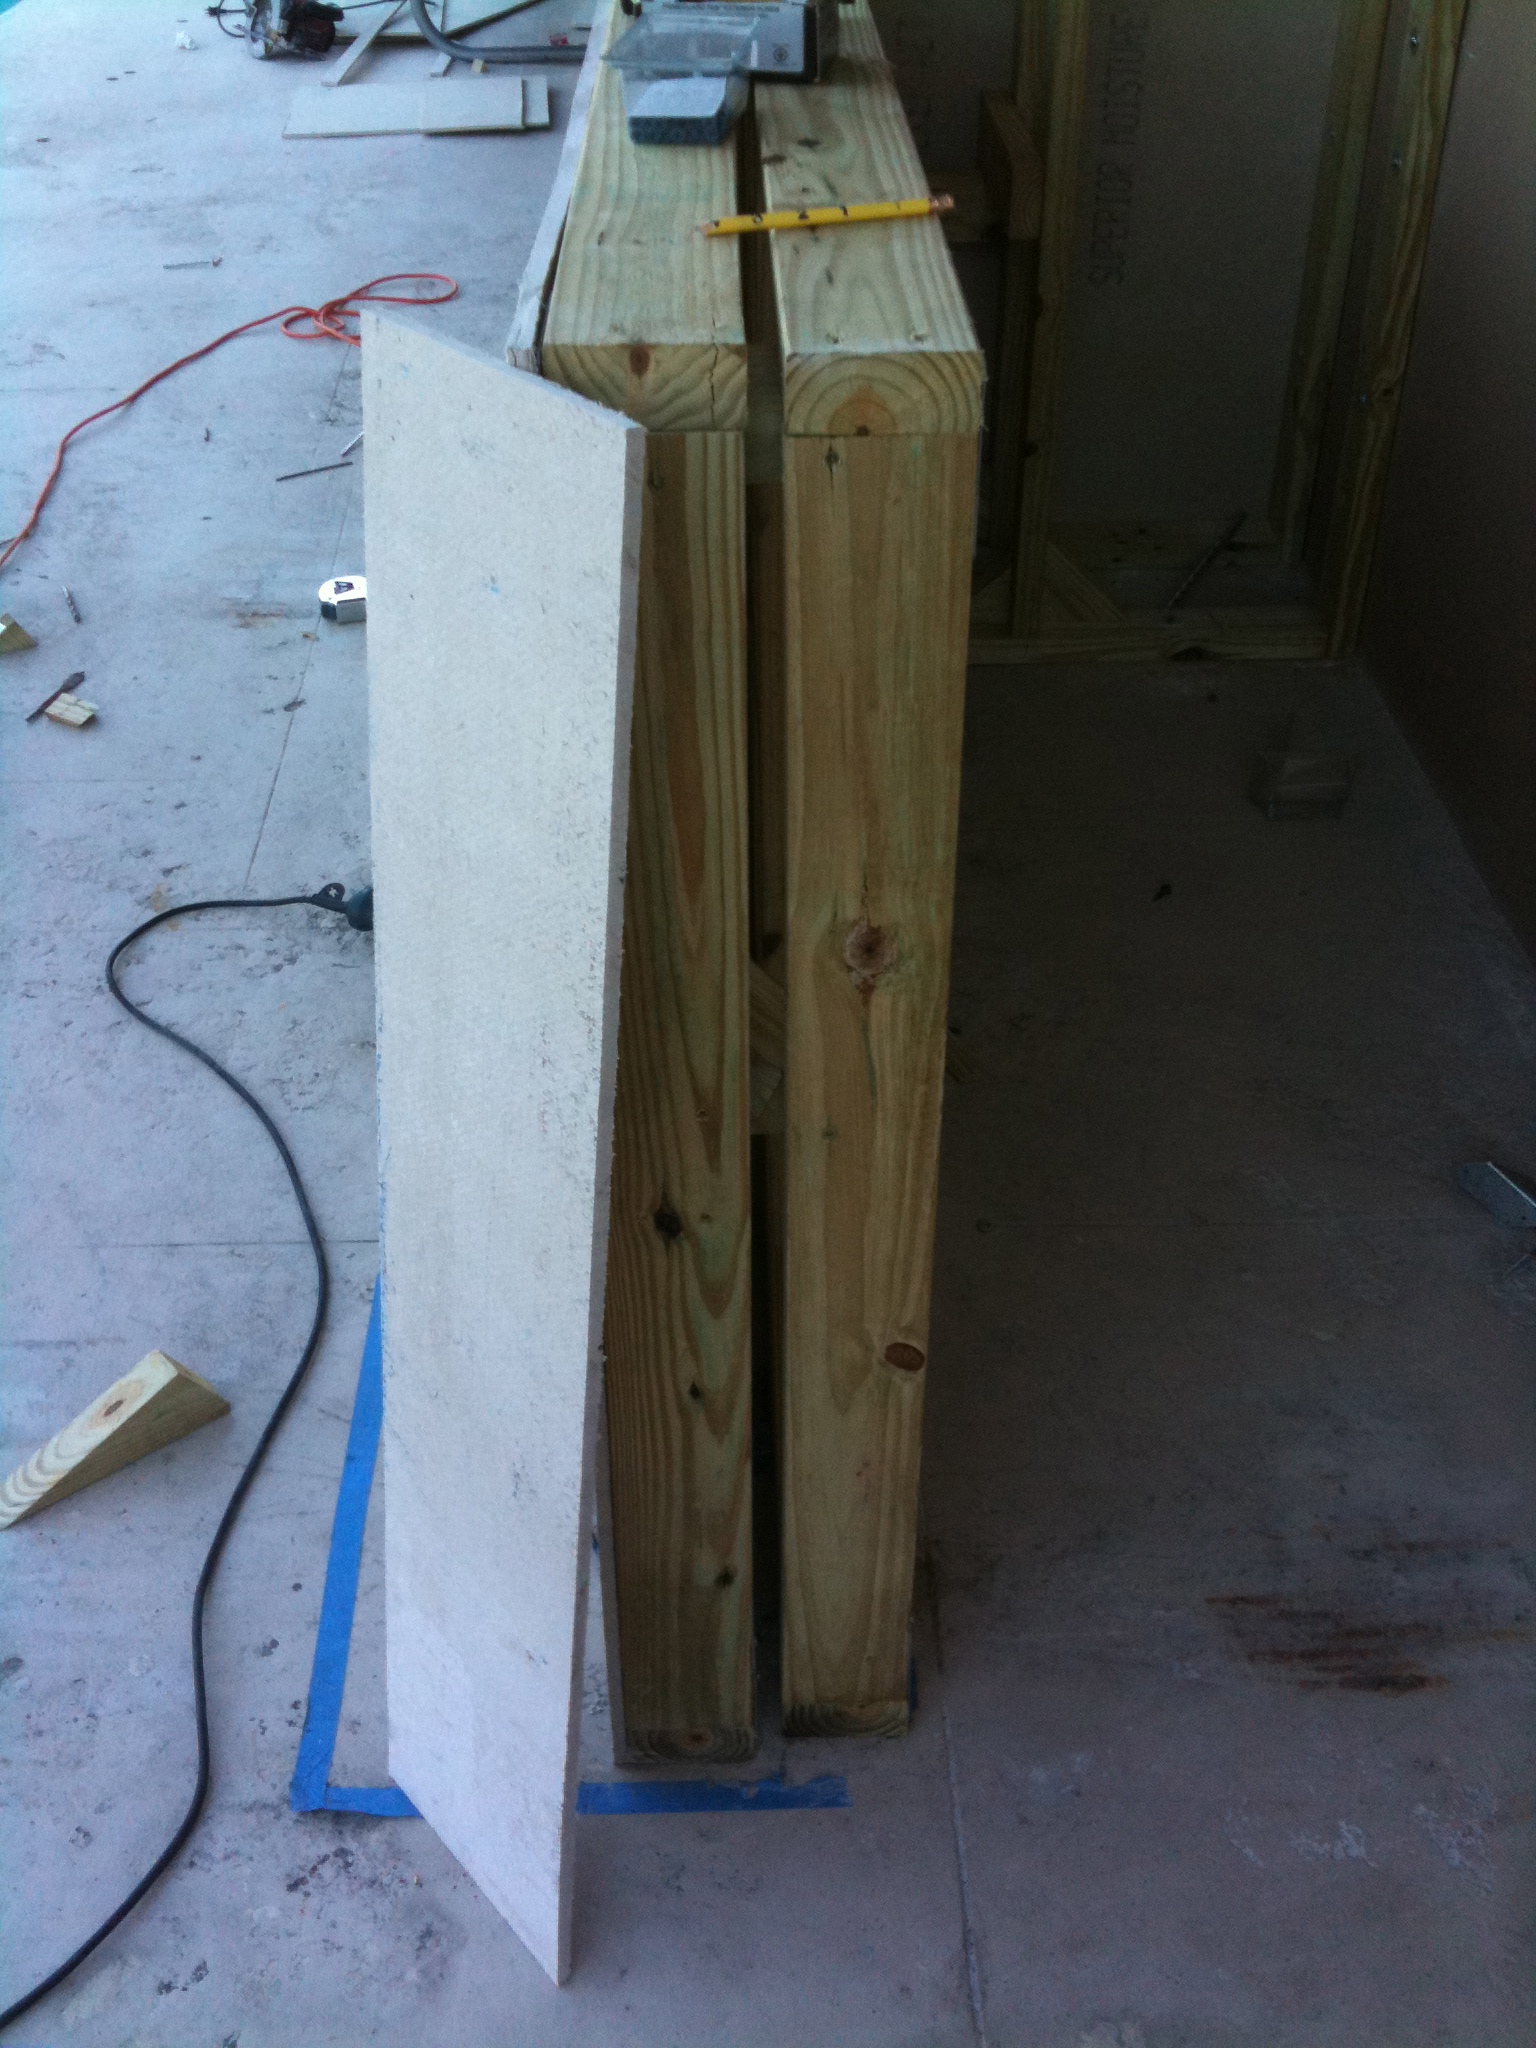
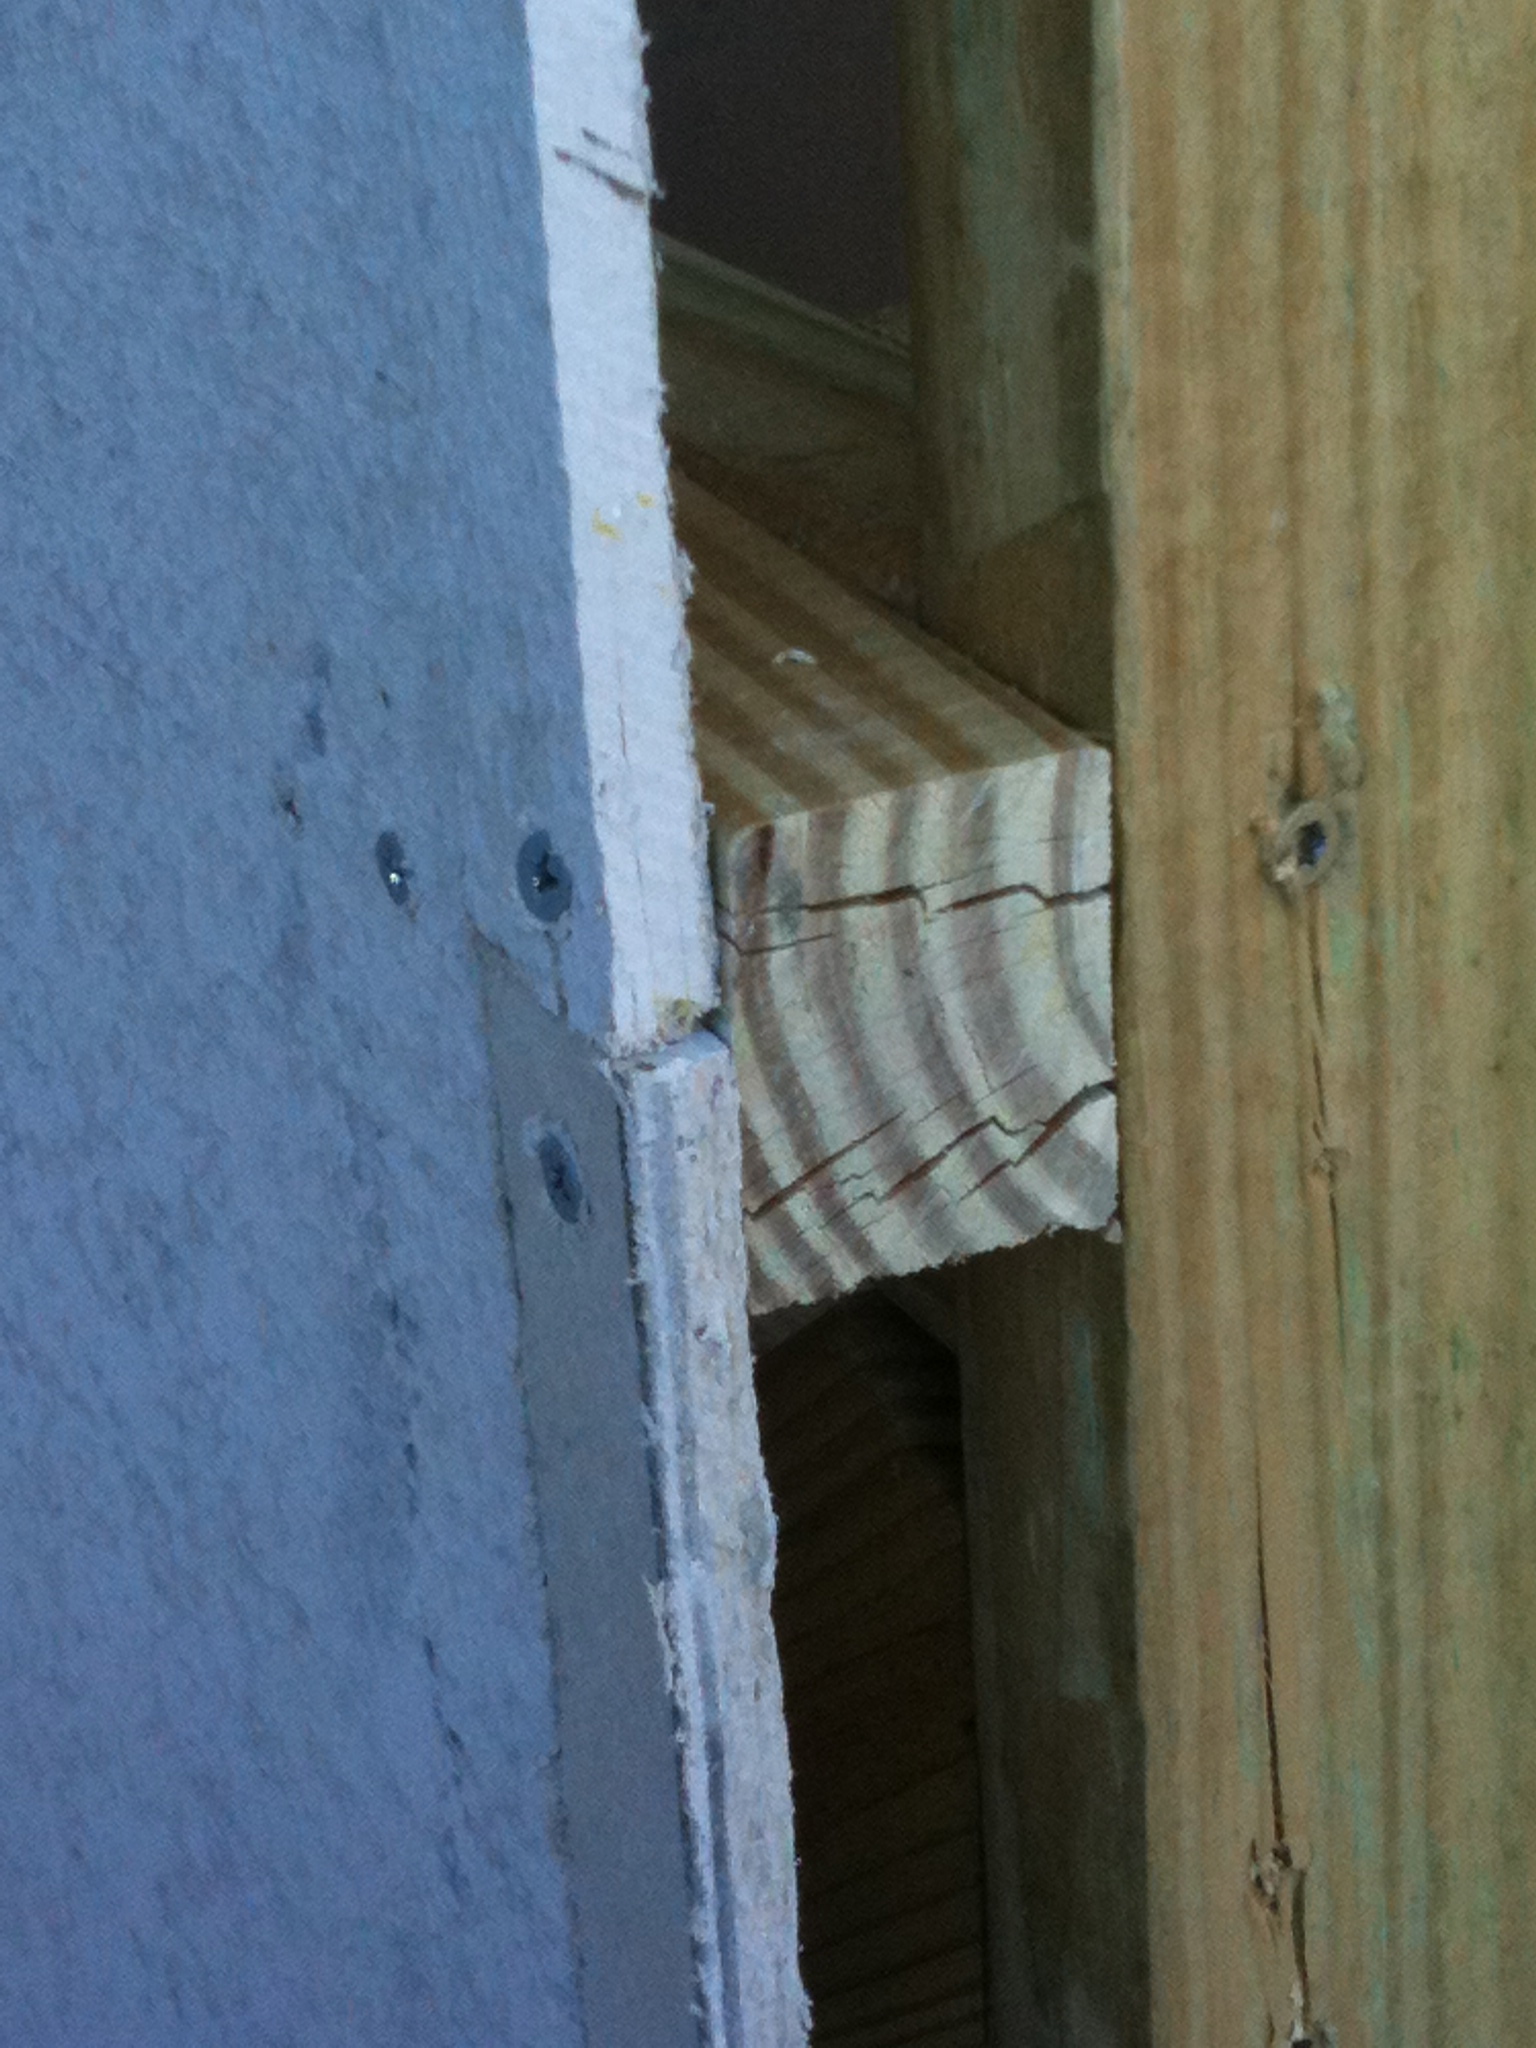
- 1/8″ protrusion I need to cover when I tile
-

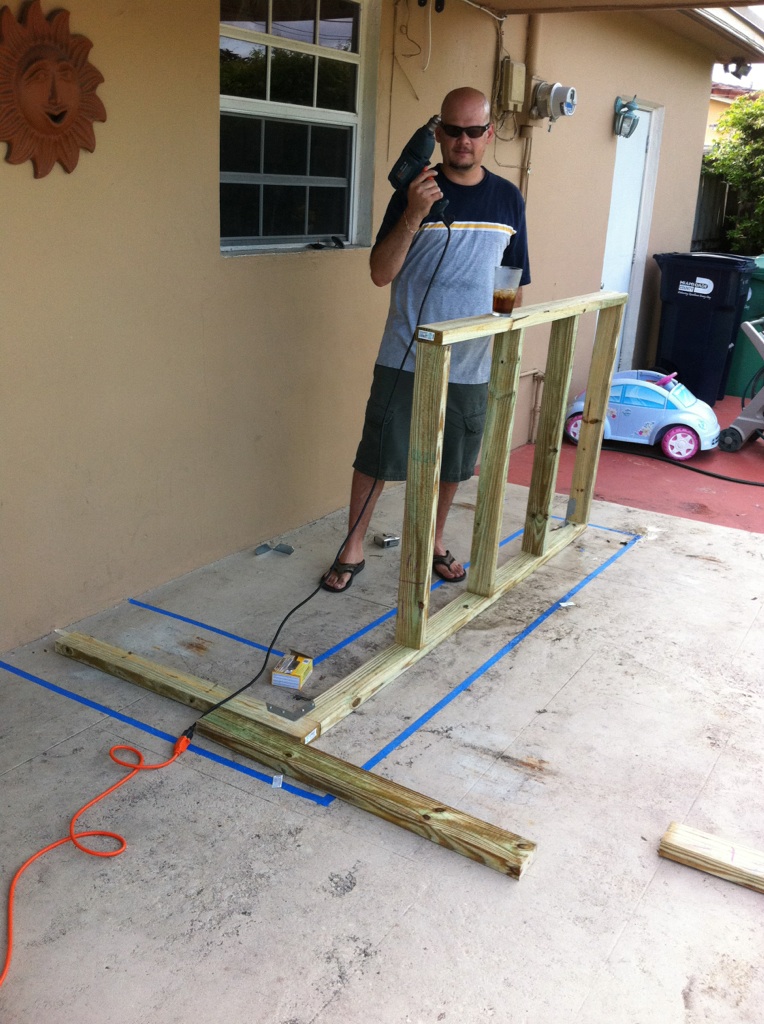
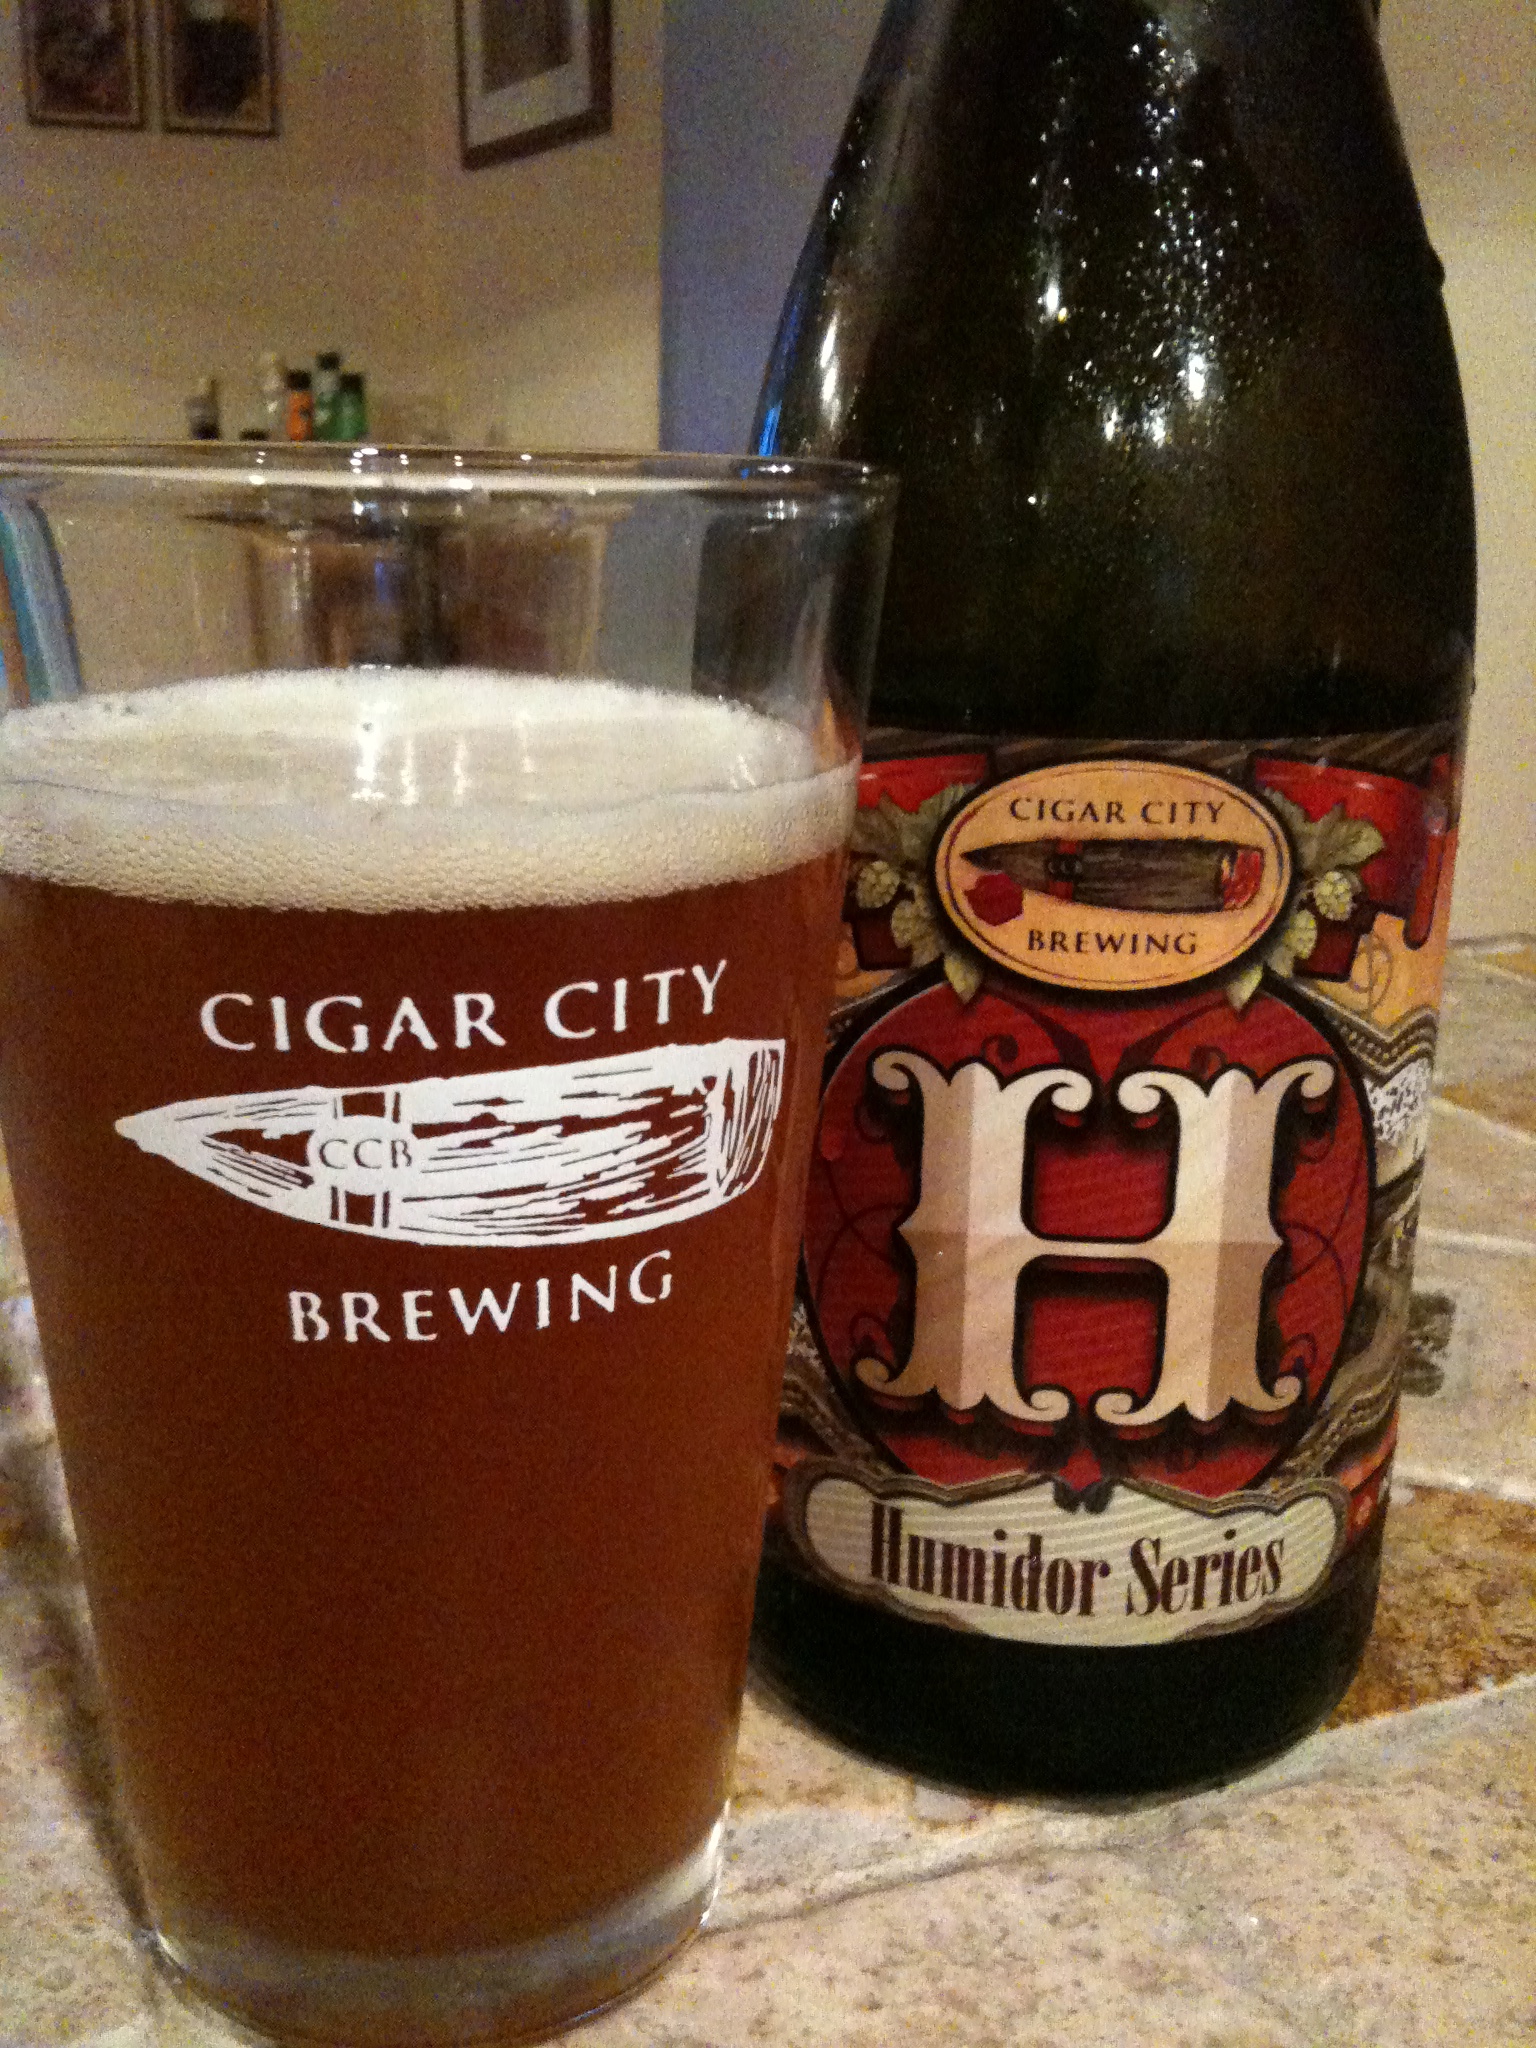
- What?!?! I wasn’t gonna wait ’til I was DONE!!
Running total: $315 (Brew not included)